For a few years now, I have been using SKRWT, an app that does perspective correction in IOS.
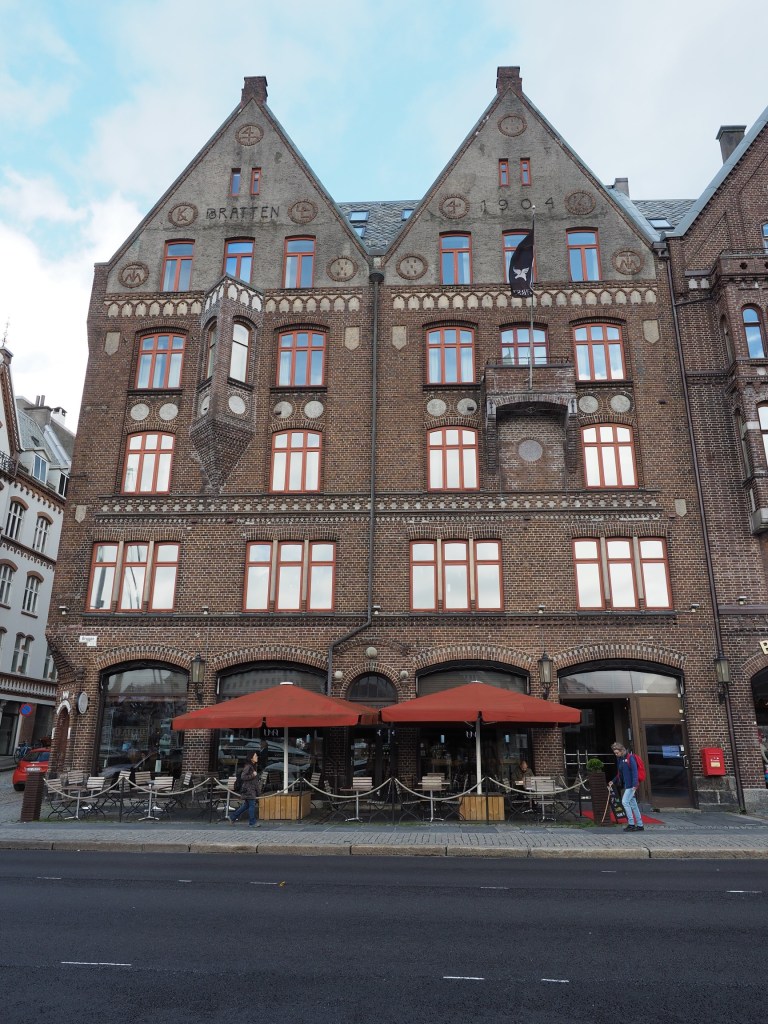
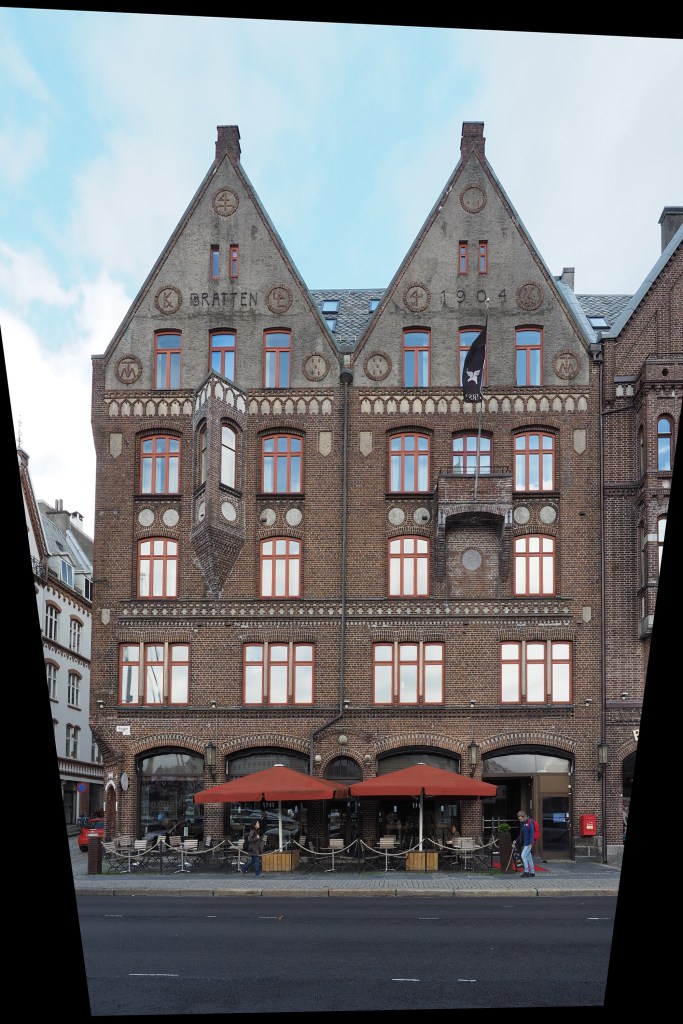
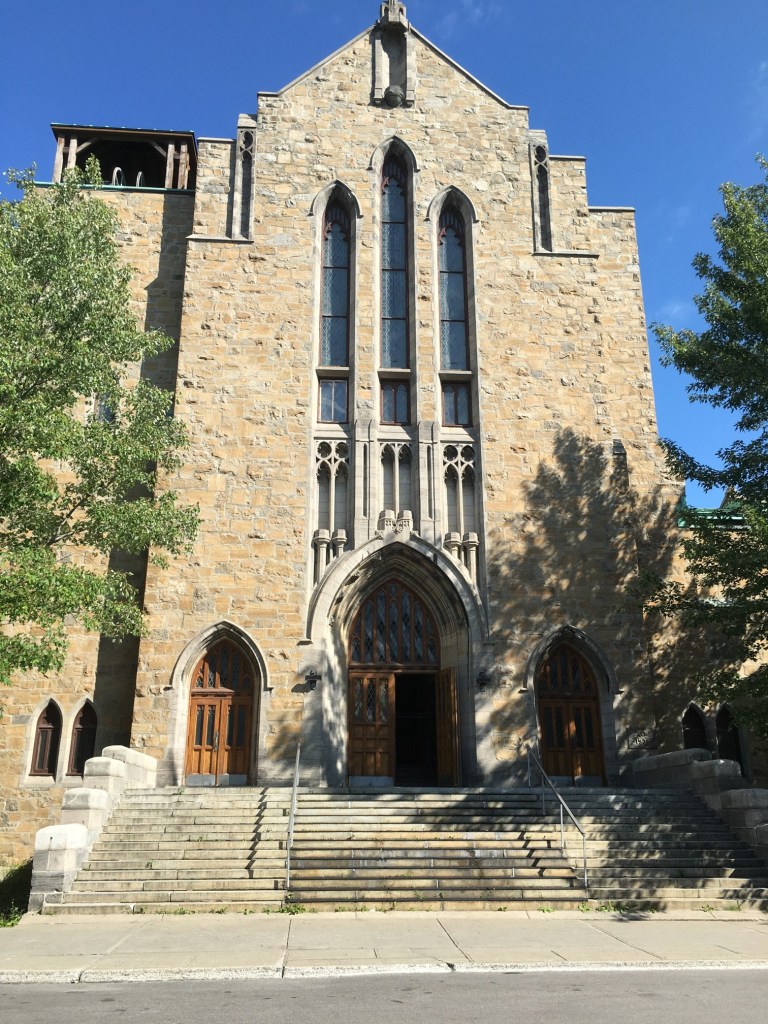
The goal was to have some way of quickly fixing issues with perspective, and distortions, in photographs. The most common form of this is the keystone effect (see previous post) which occurs when the image plane is not parallel to the lines that are required to be parallel in the photograph. This usually occurs when taking photographs of buildings where we tilt the camera backwards, in order to include the whole scene. The building appears to be “falling away” from the camera. Fig.1 shows a photograph of a church in Montreal. Notice, the skew as the building seems to tilt backwards.
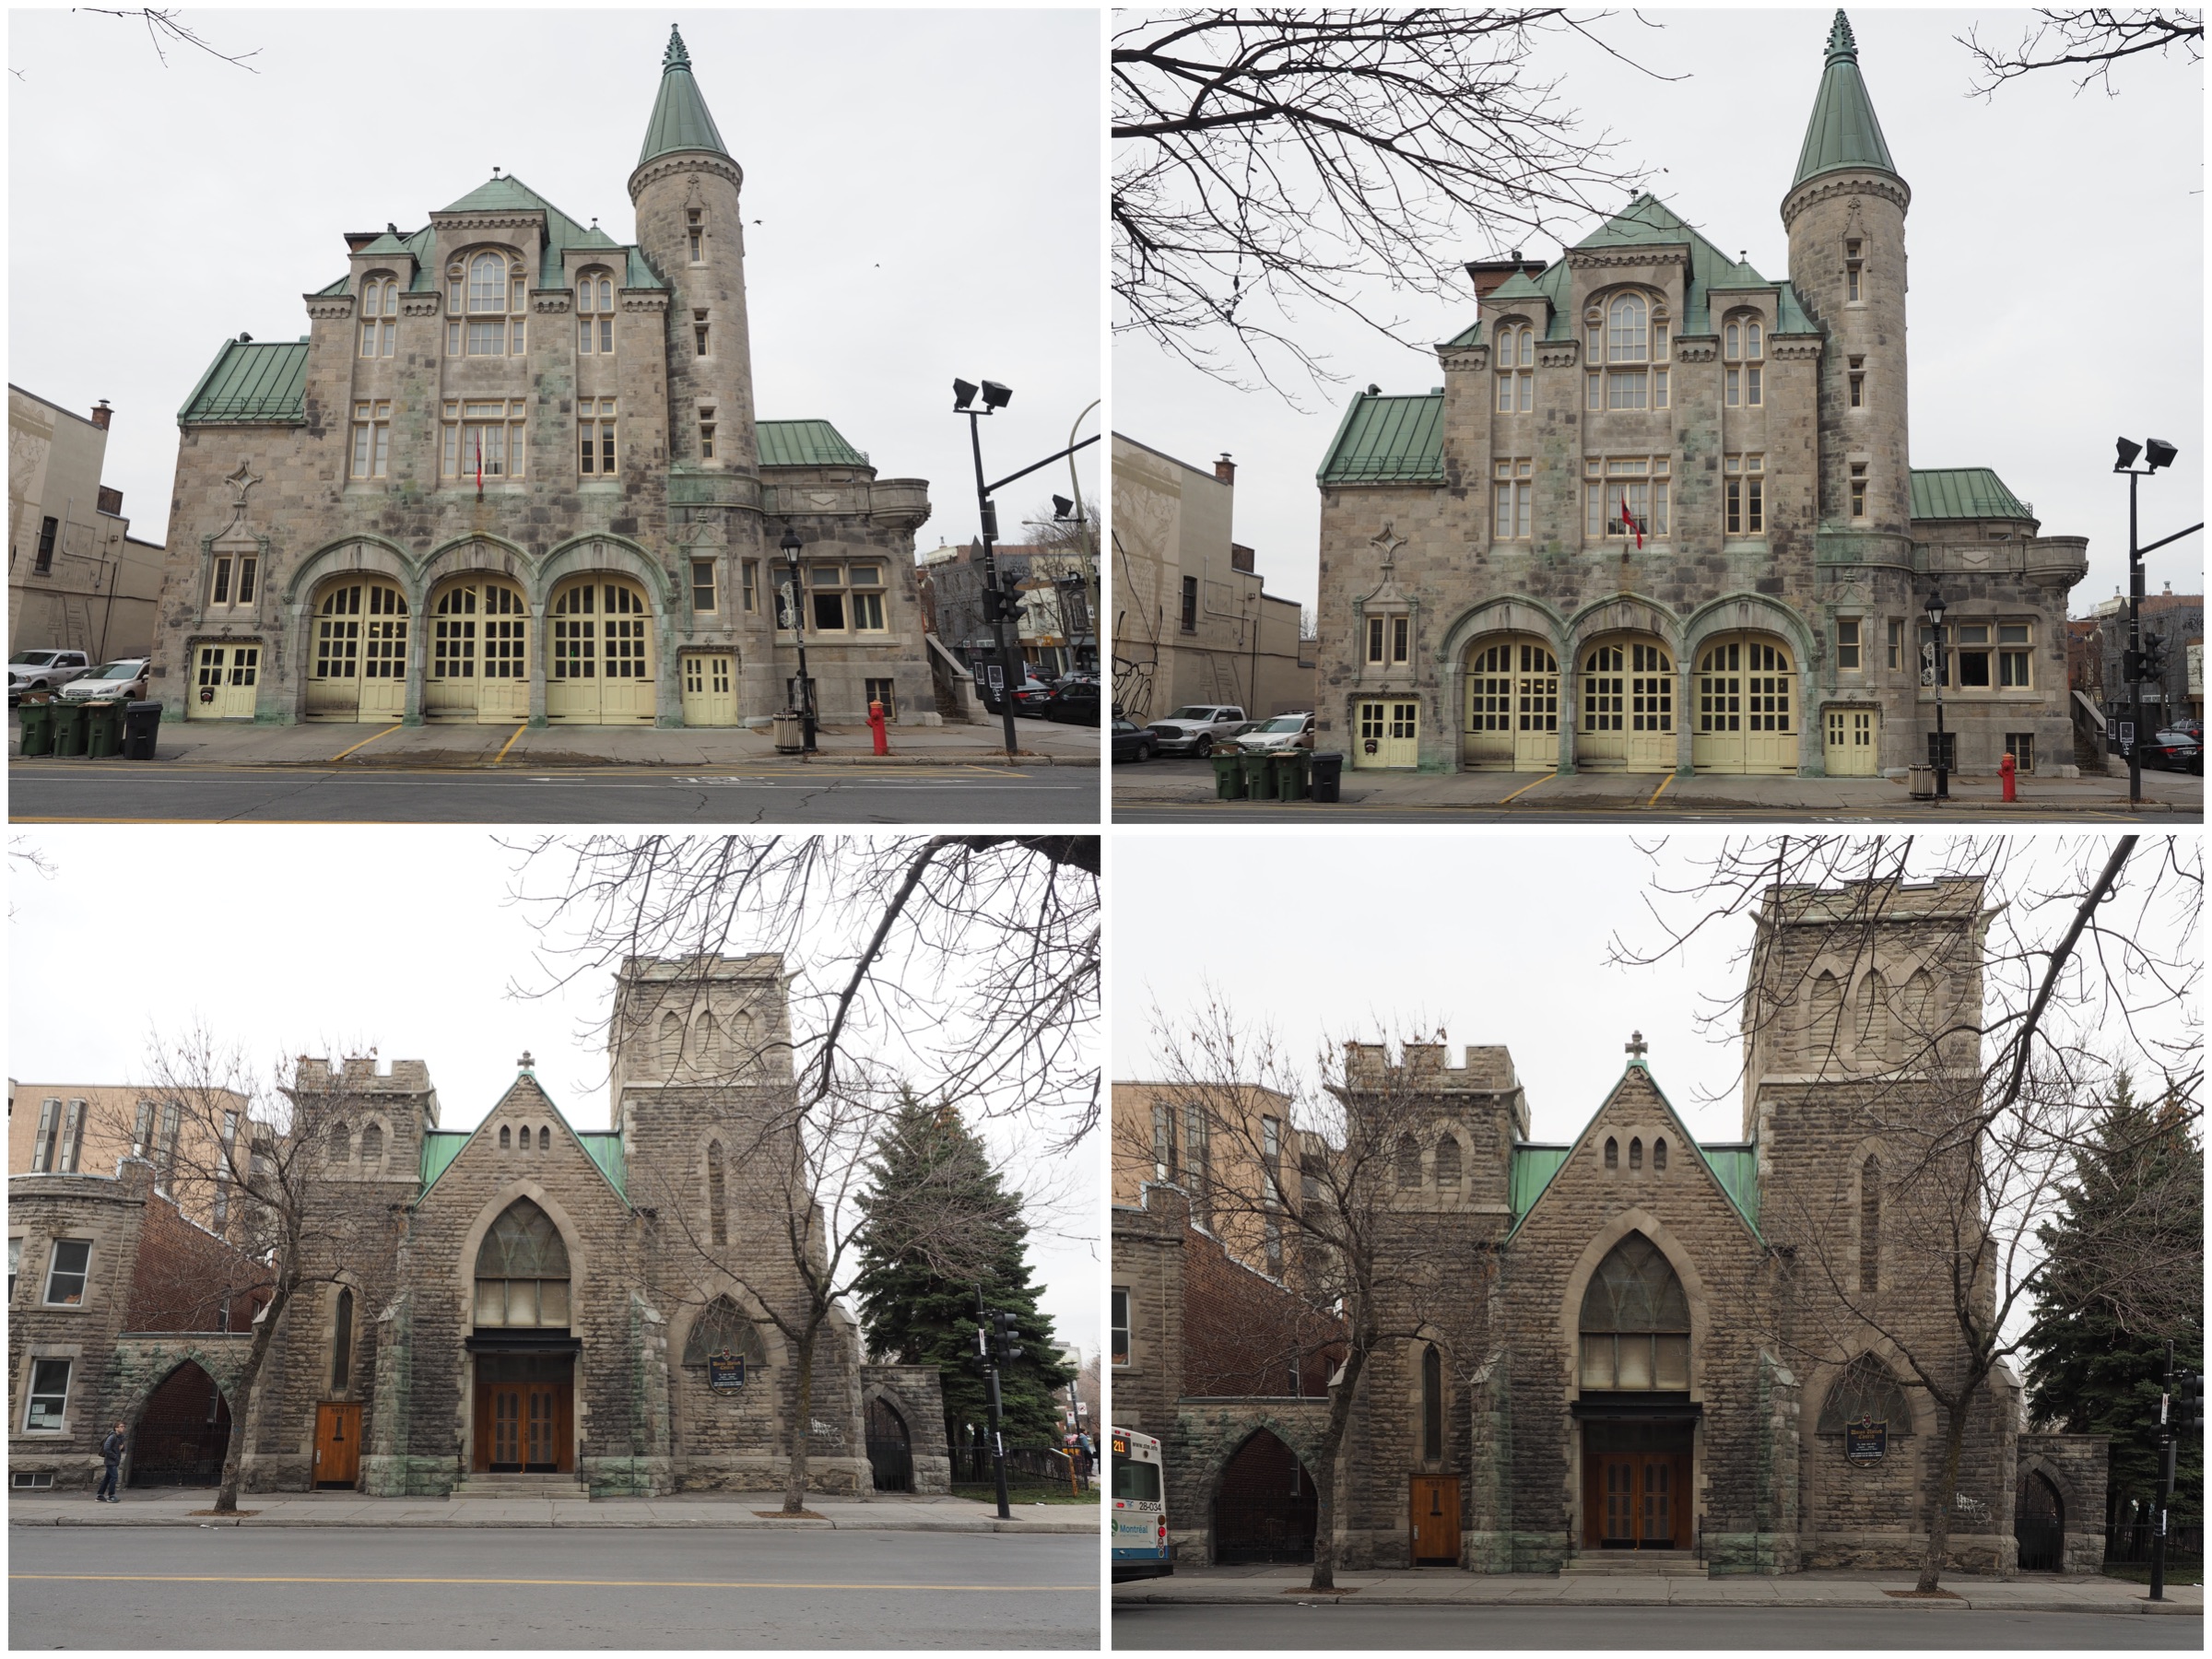
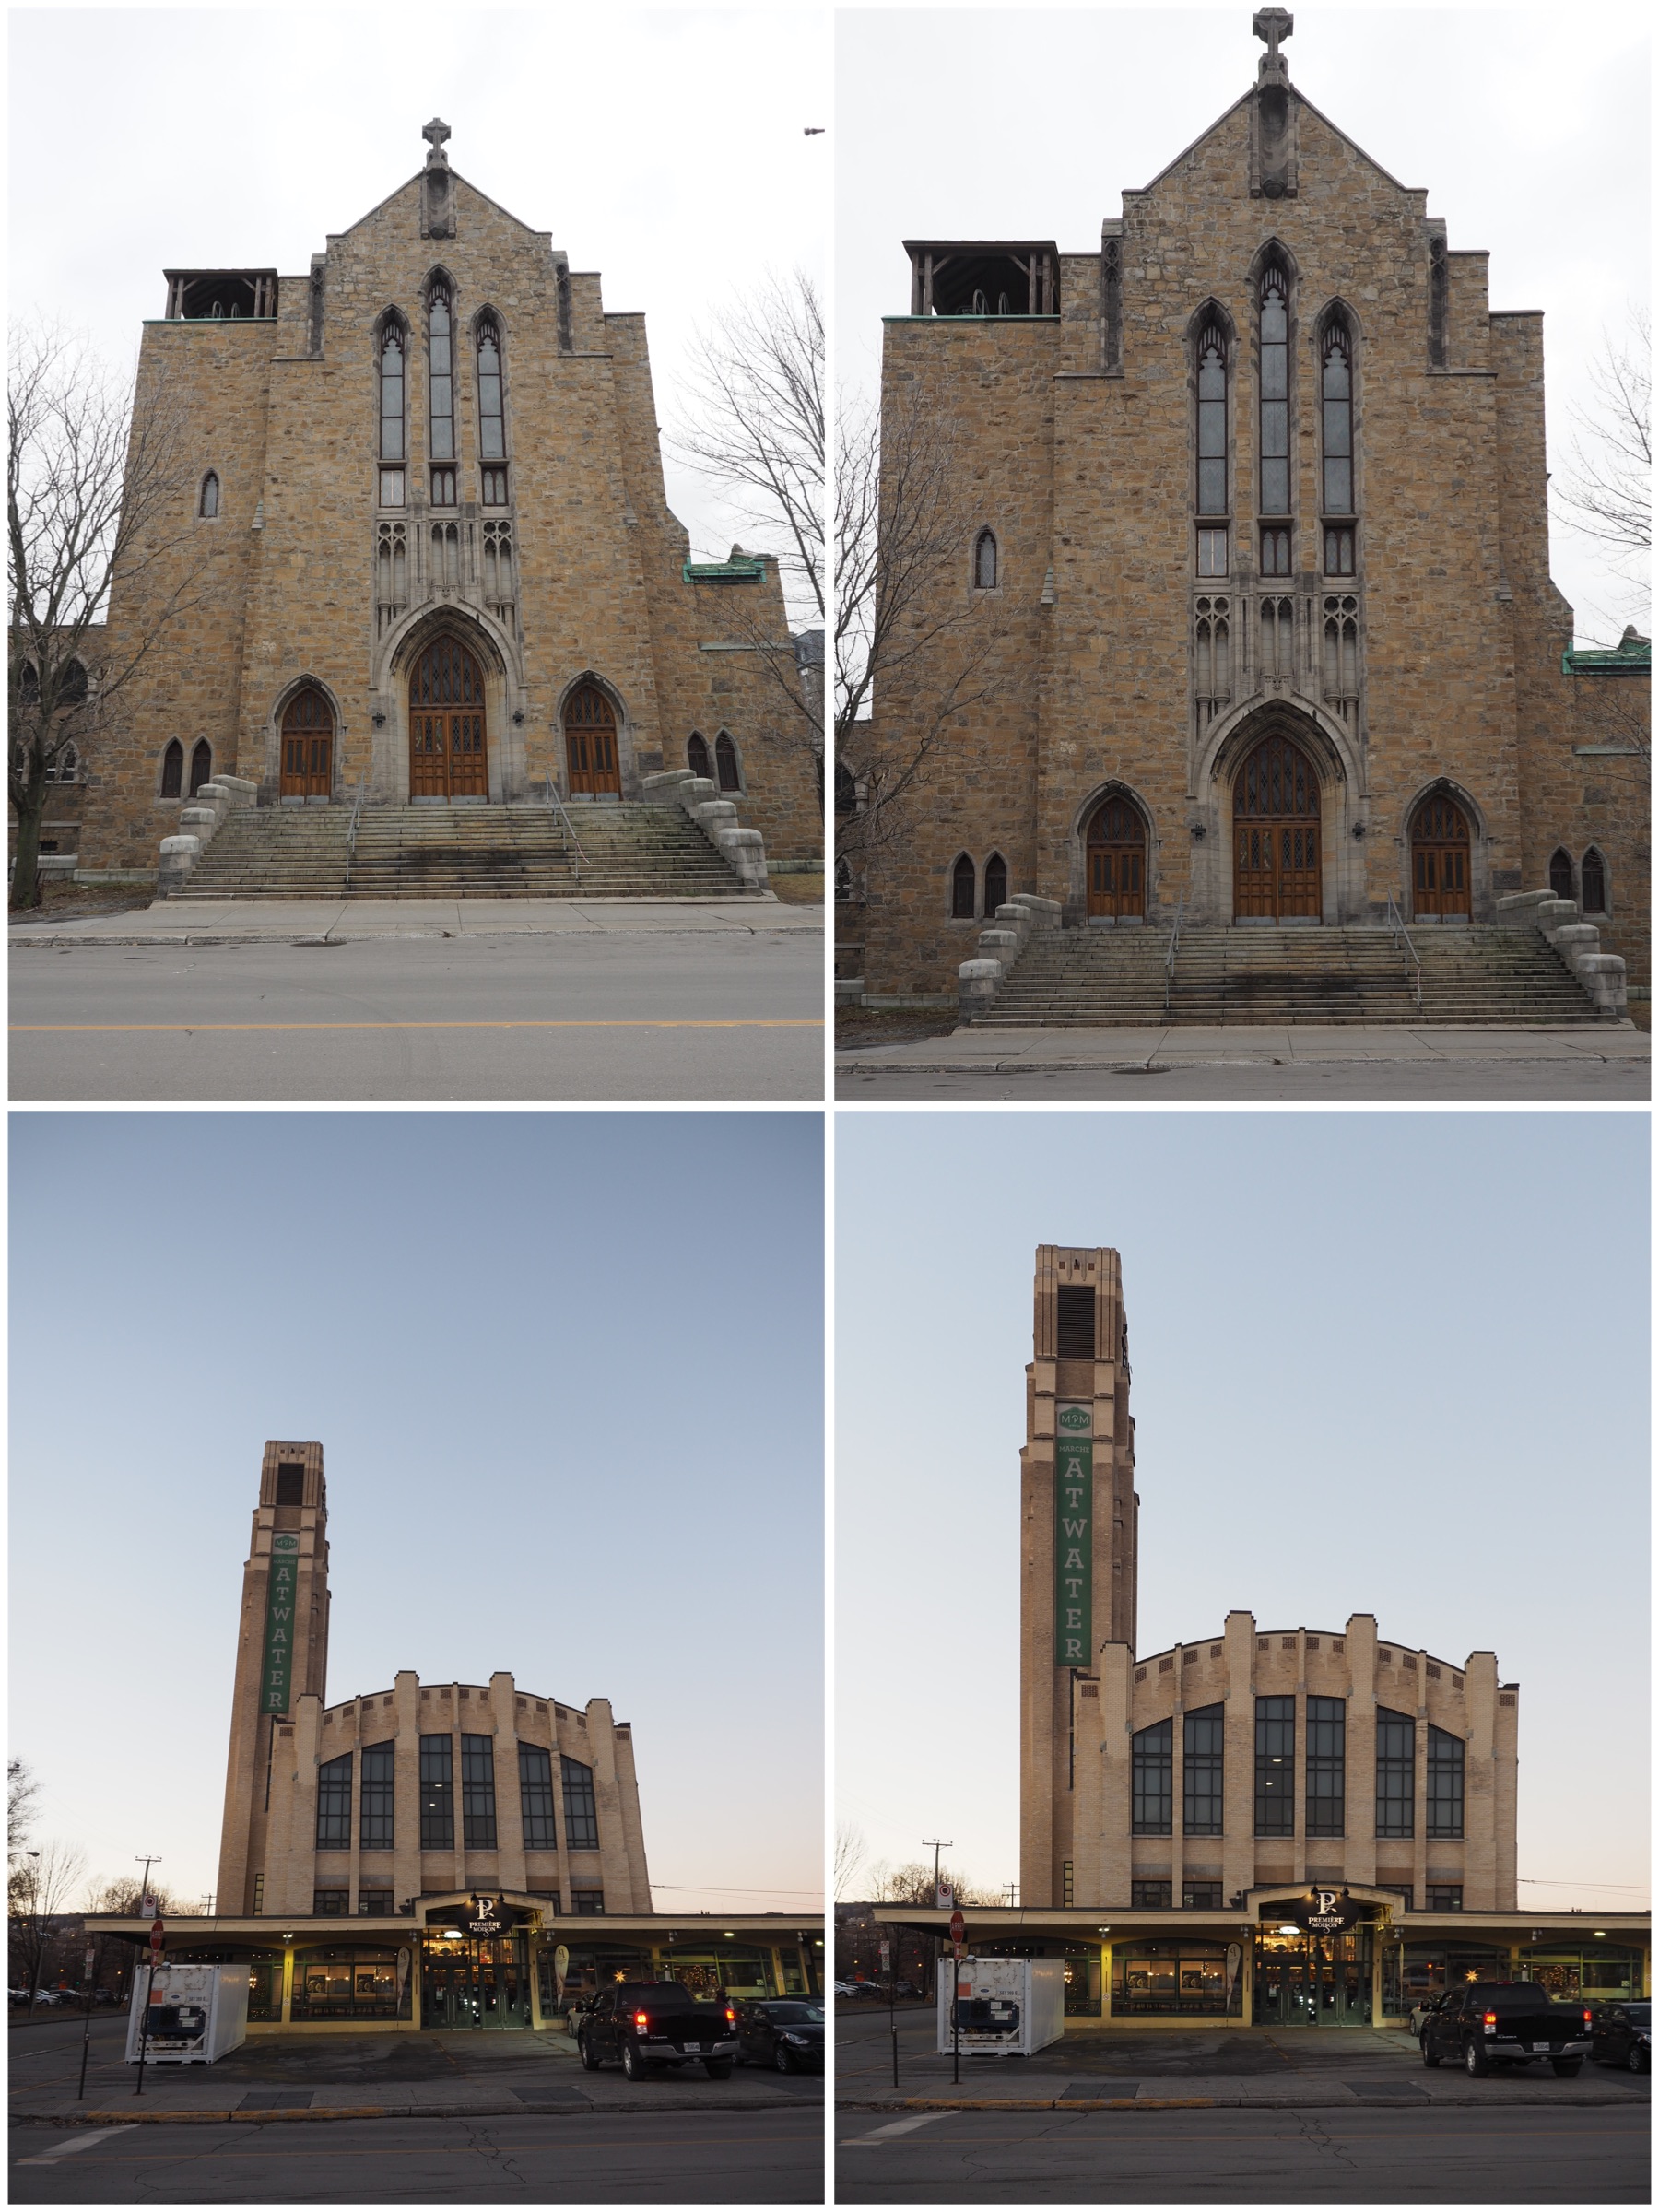
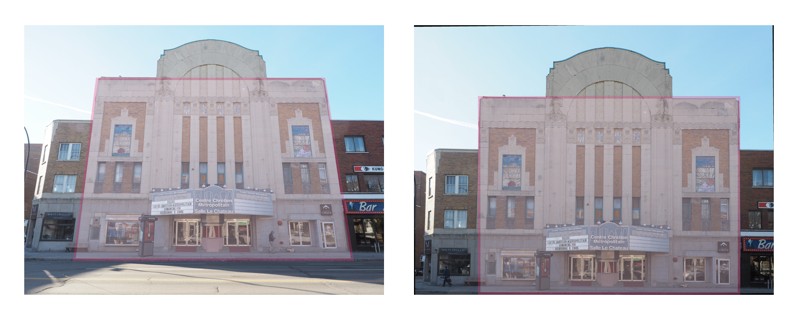
original 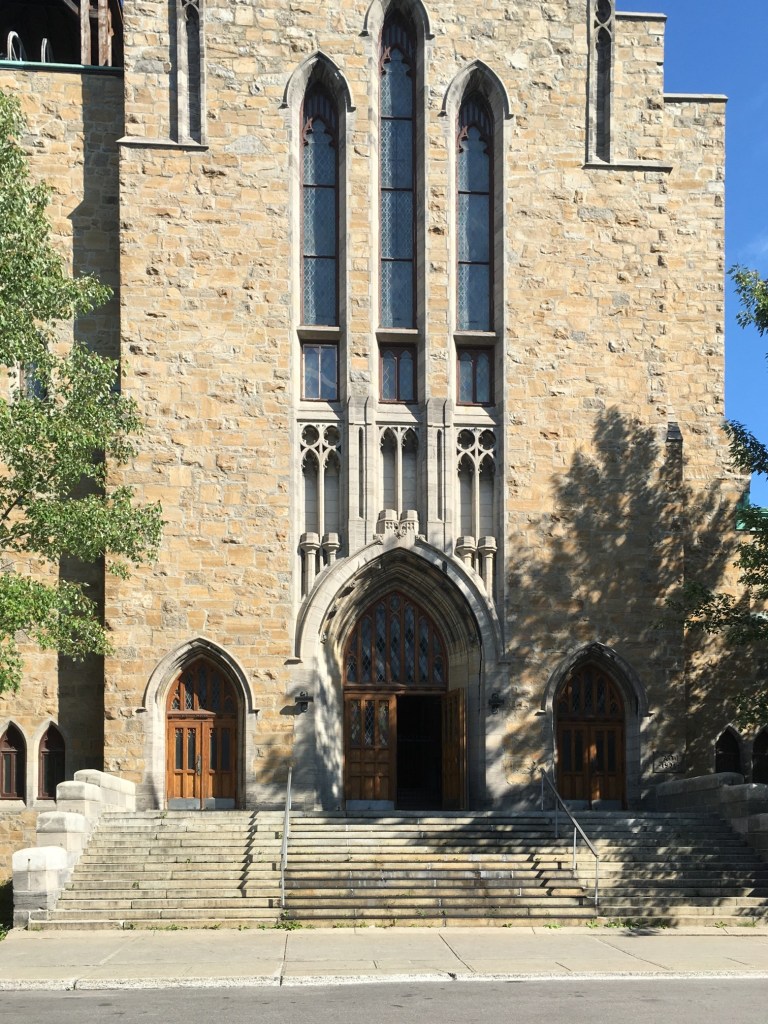
corrected
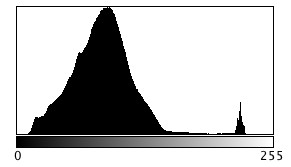
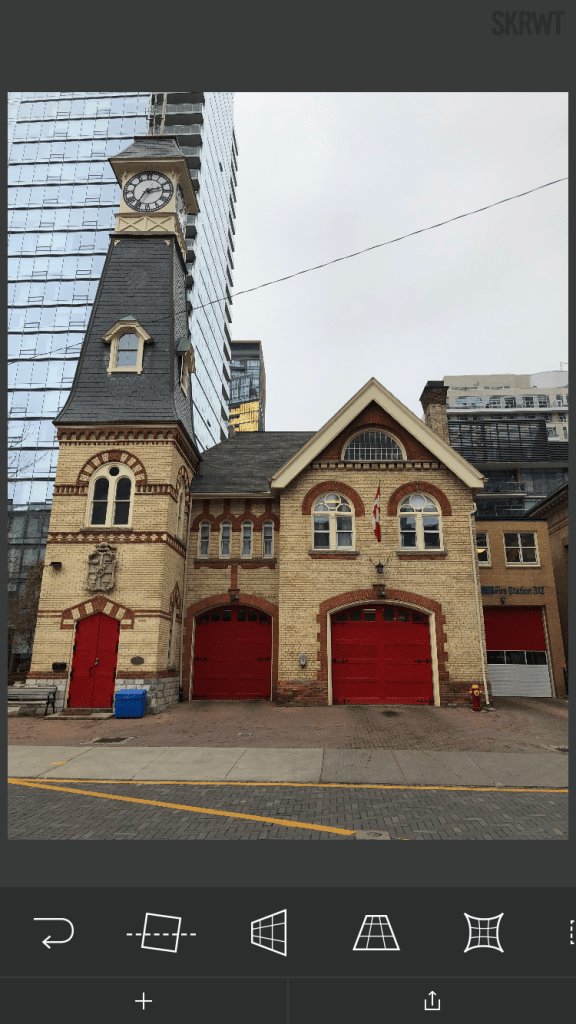
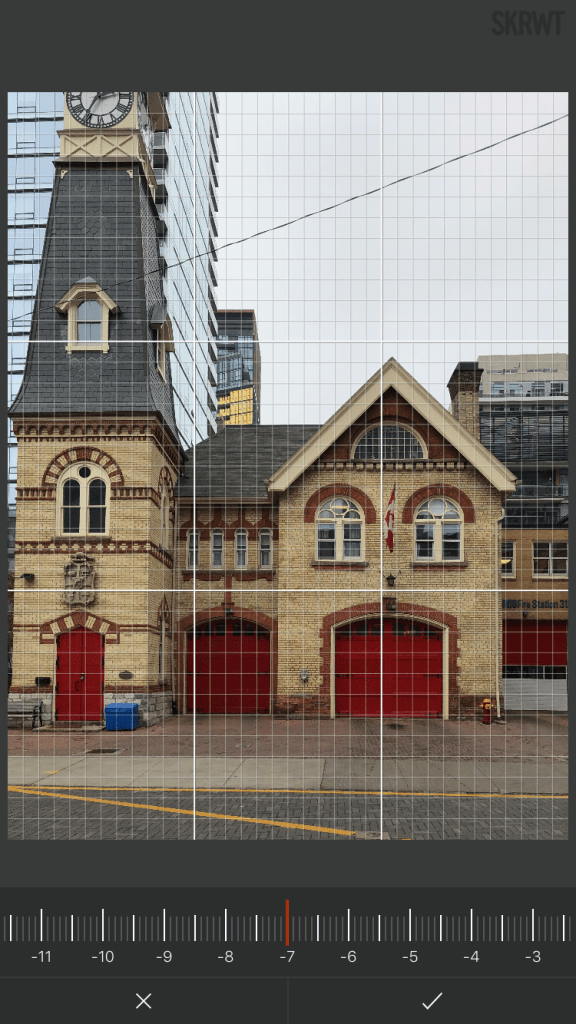
The process of correcting distortions with SKRWT is easy. Pick an image, and then a series of options are provided in the icon bar below the imported picture. The option that best approximates the types of perspective distortion is selected, and a new window opens, with a grid overlaid upon the image. A slider below the image can be used to select the magnitude of the distortion correction, with the image transformed as the slider is moved. When the image looks geometrically corrected, pressing the tick stores the newly corrected image.
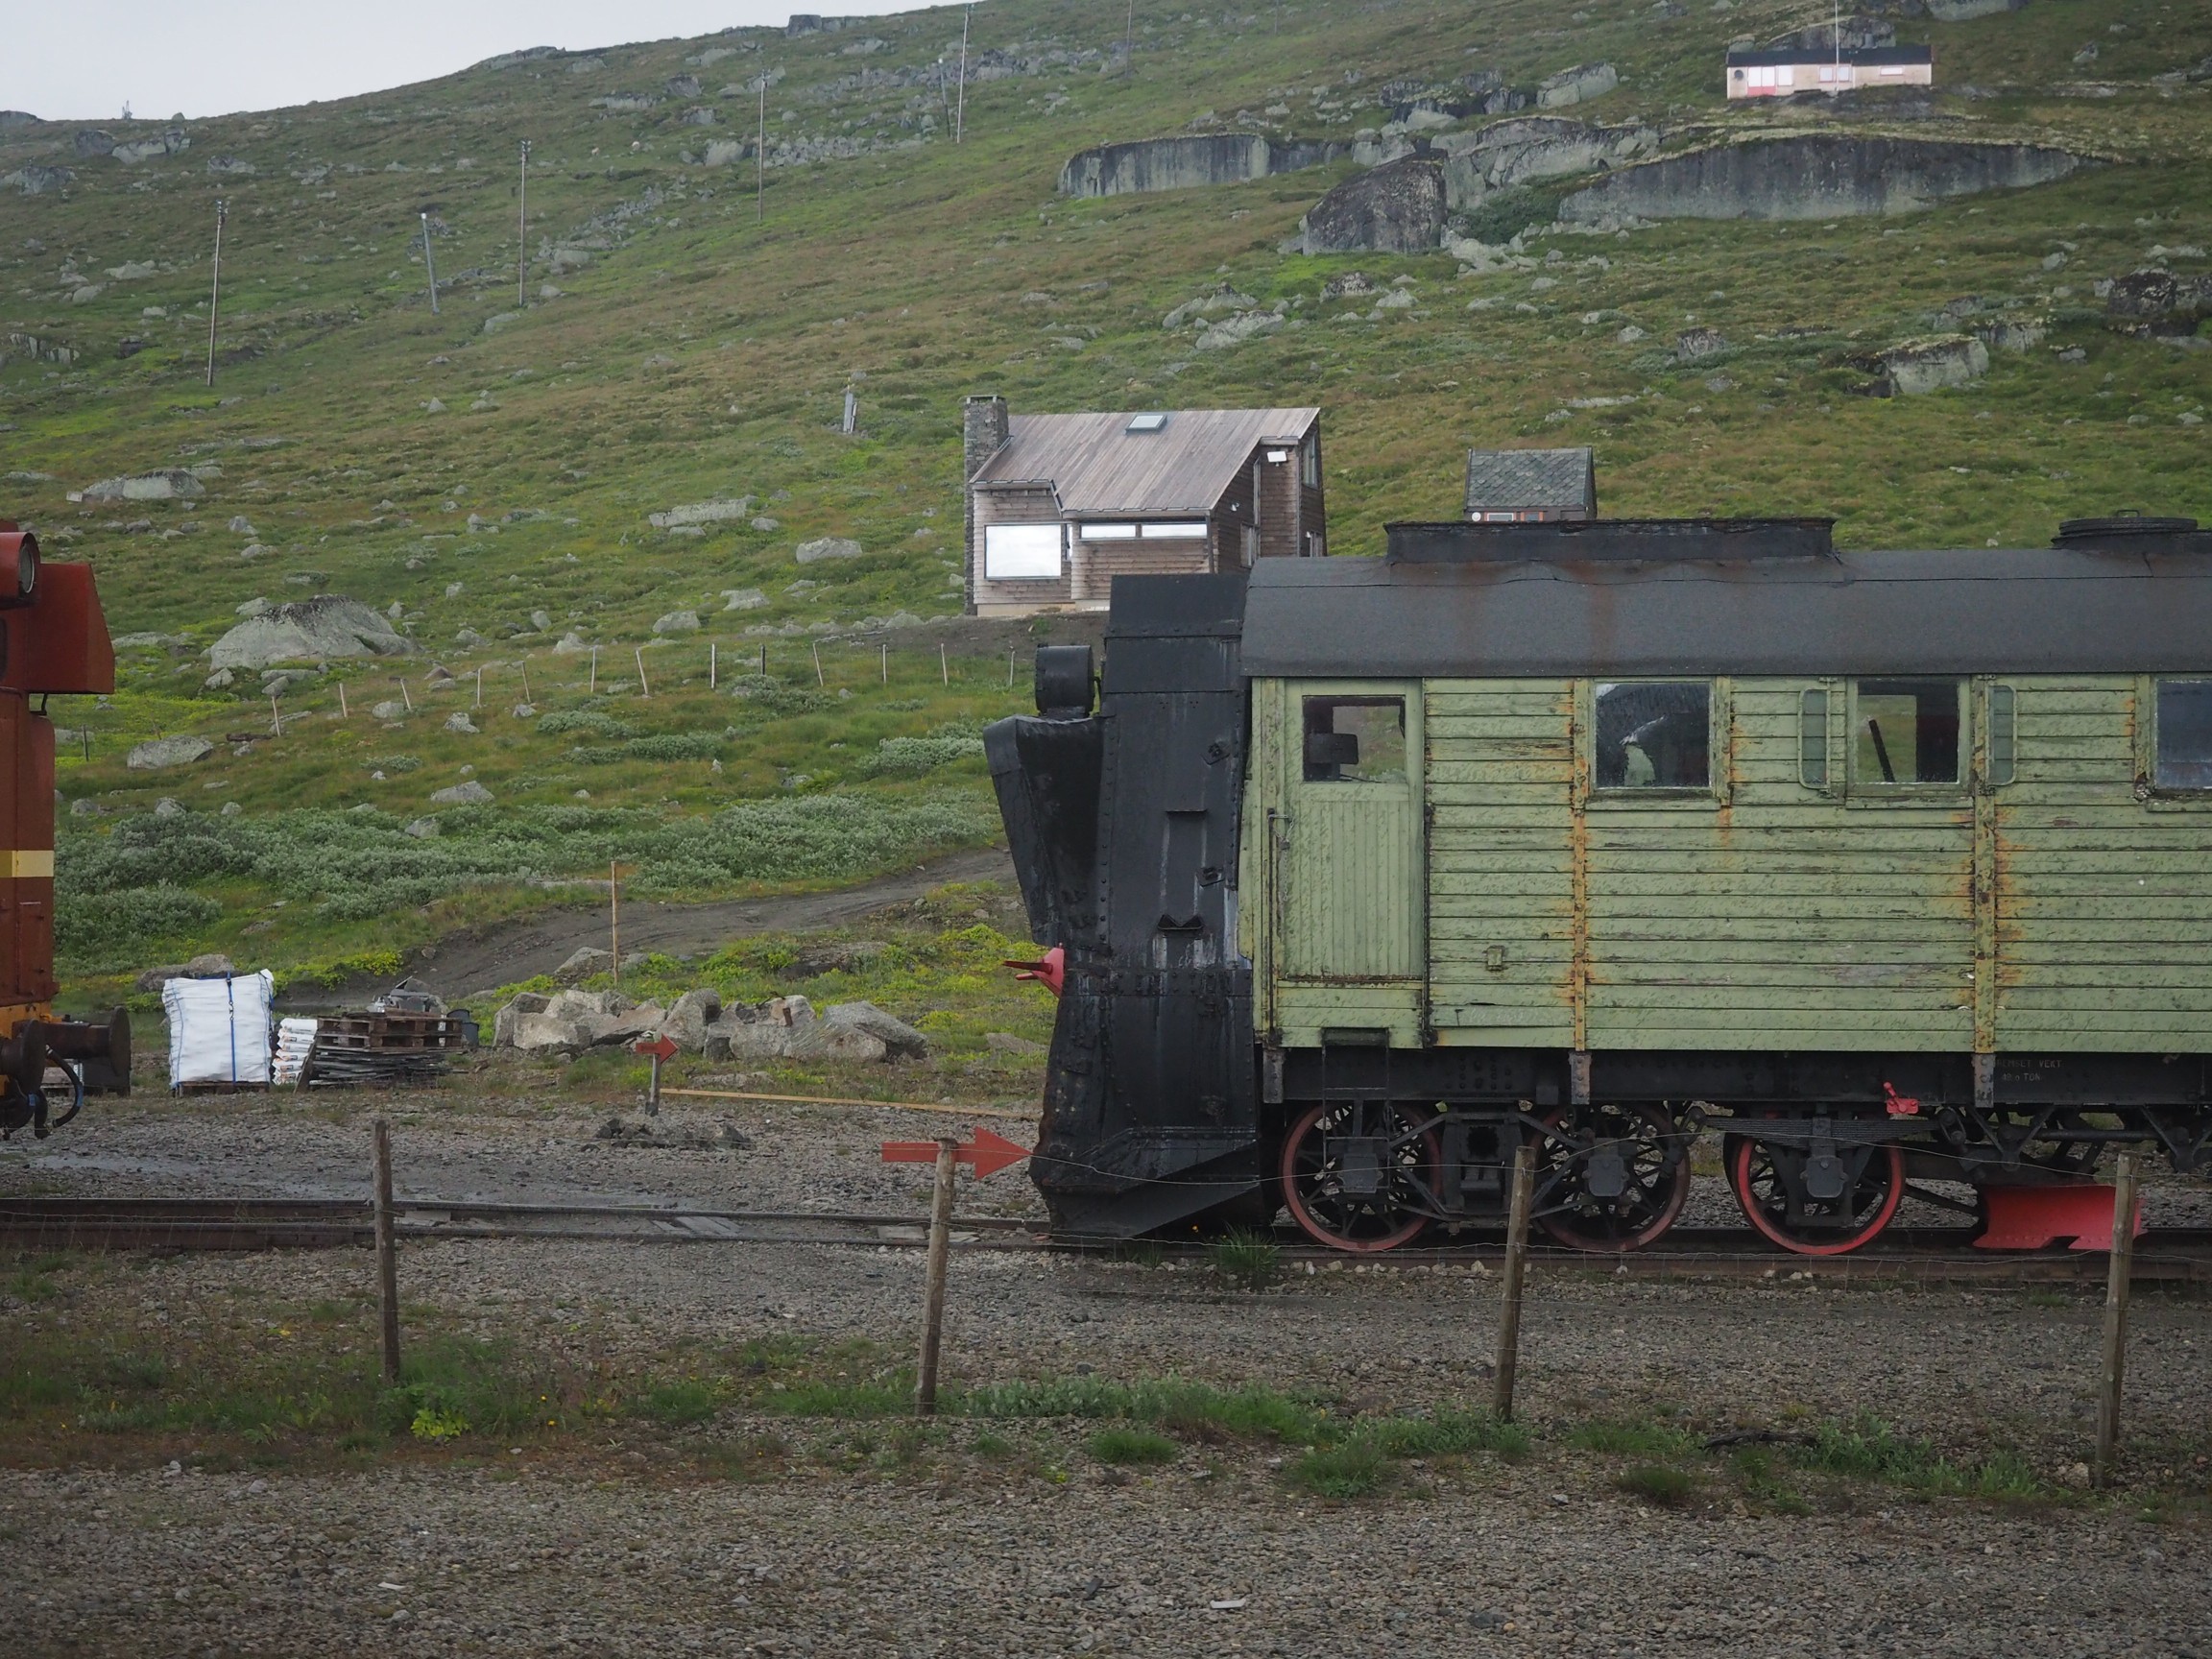
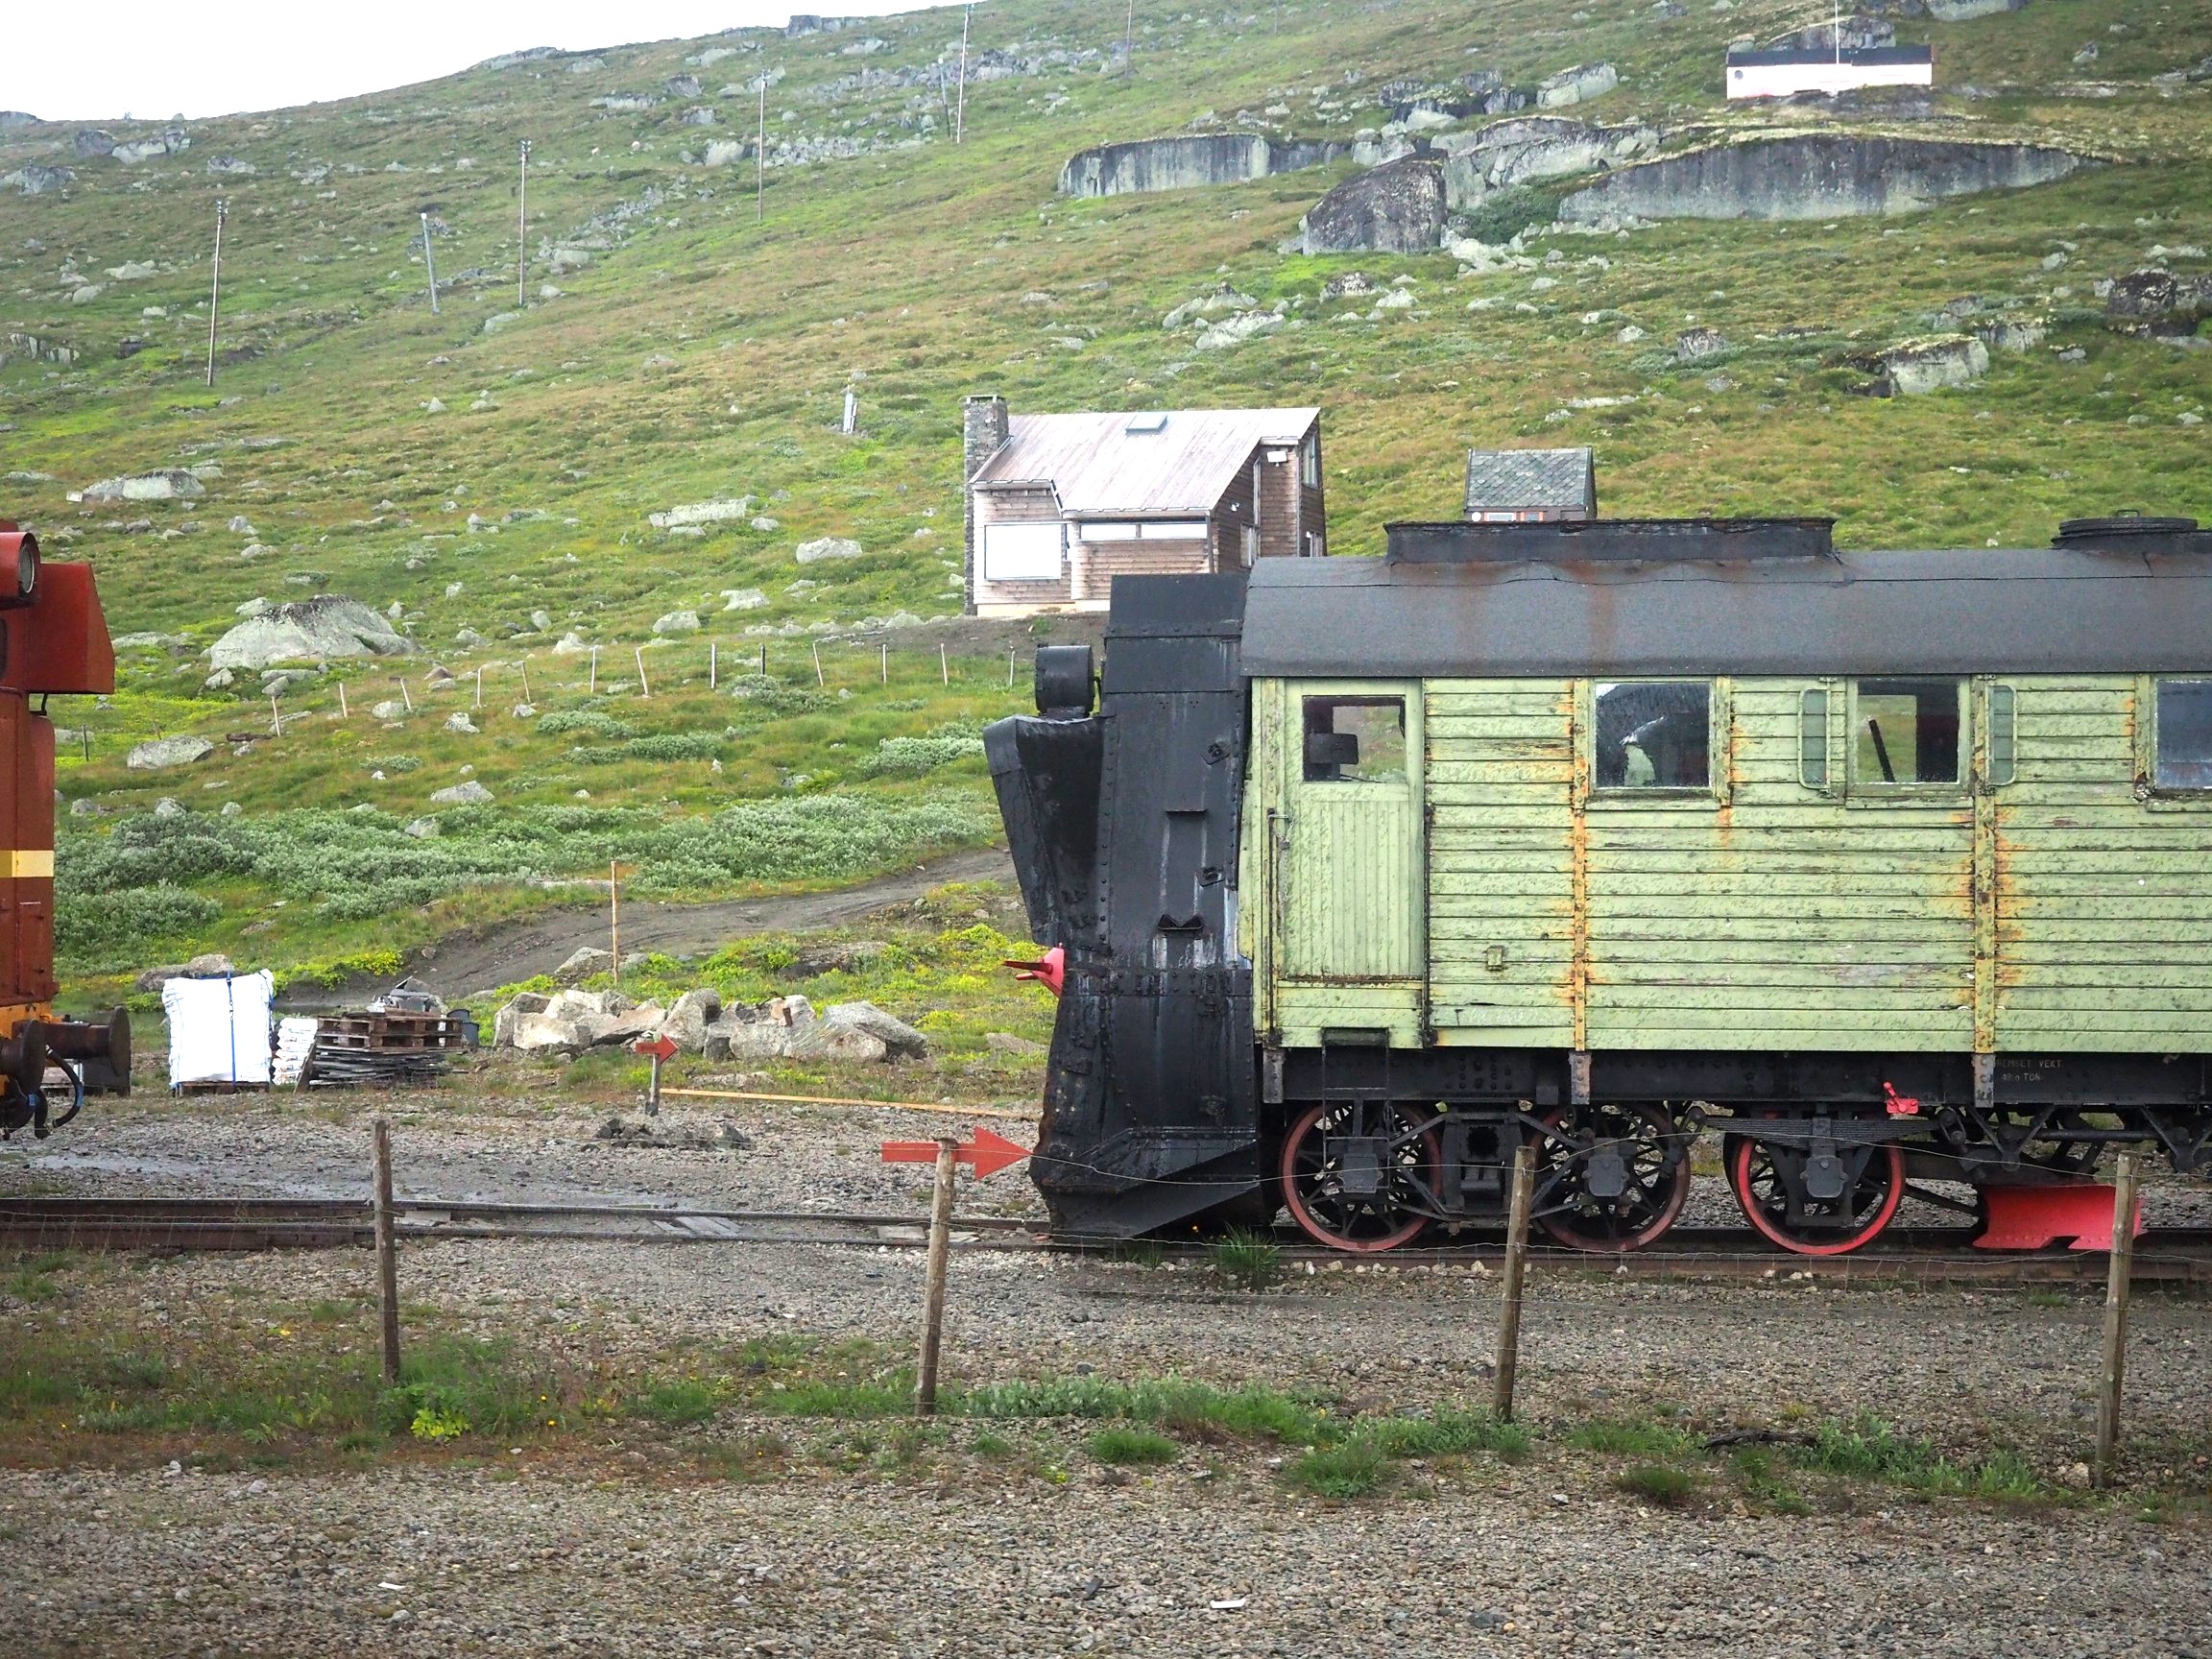
Using the SKRWT app, the perspective distortion can be fixed, but at a price. The problem is that correcting for the perspective distortion requires distorting the image, which means it will likely be larger than the original, and will need to be cropped (otherwise the image will contain black background regions).
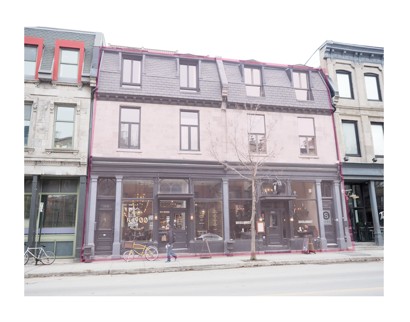
Here is a third example, of Toronto’s flatiron building, with the building surrounded by enough “picture” to allow for corrective changes that don’t cut off any of the main object.
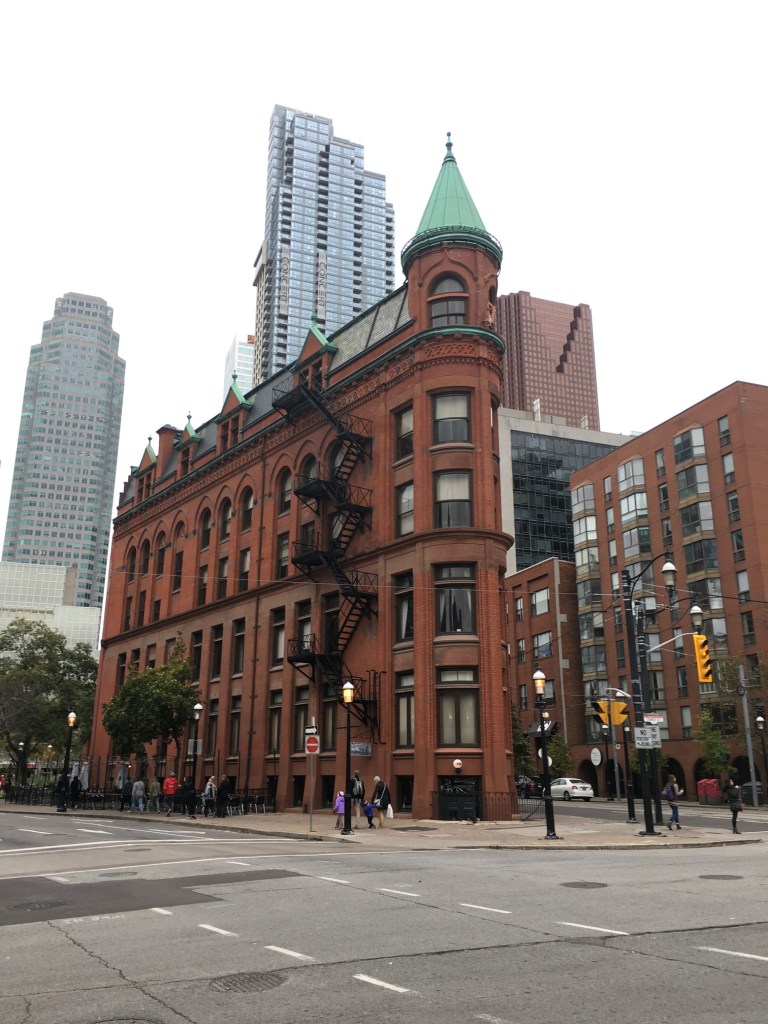
before 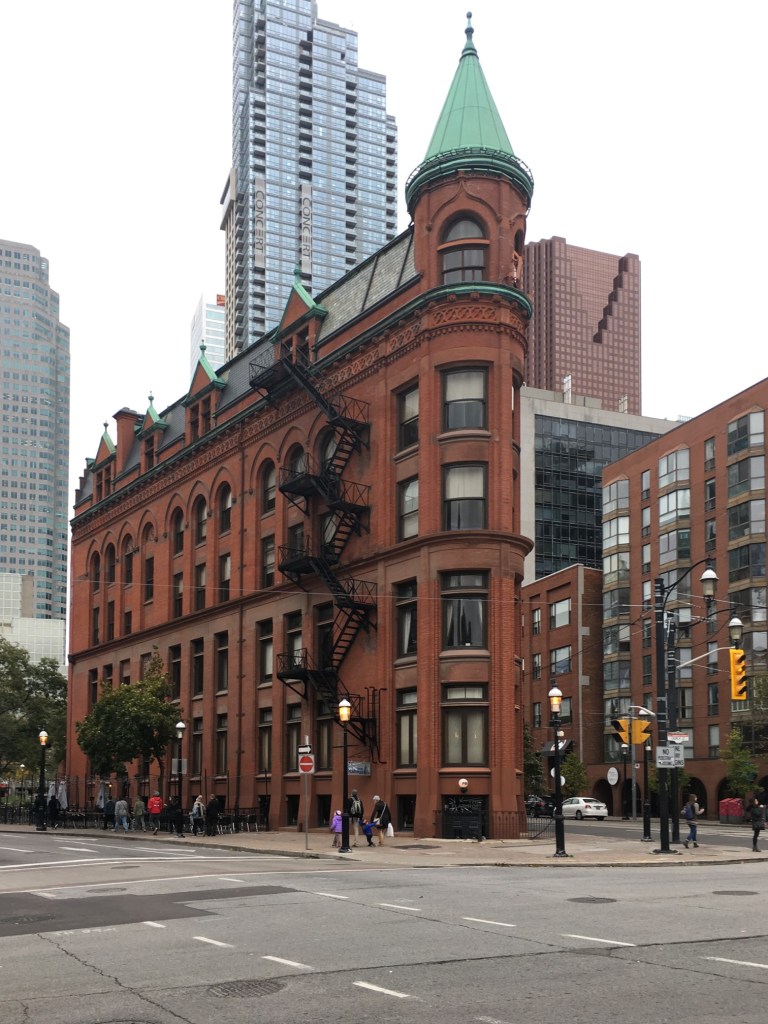
after
Overall the app is well designed and easy to use. In fact it will remove quite complex distortions, although there is some loss of content in the images processed. To use this, or any similar perspective correction software properly, you really have to frame the building with enough background to allow for corrections – not so you are left with half a building.
The sad thing about this app is something that plagues a lot of apps – it has become a zombie app. The developer was suppose to release version 1.5 in December 2020, but alas nothing has appeared, and the website has had no updates. Zombie apps work while the system they are on works, but upgrade the phone, or OS, and there is every likelihood it will no longer work.