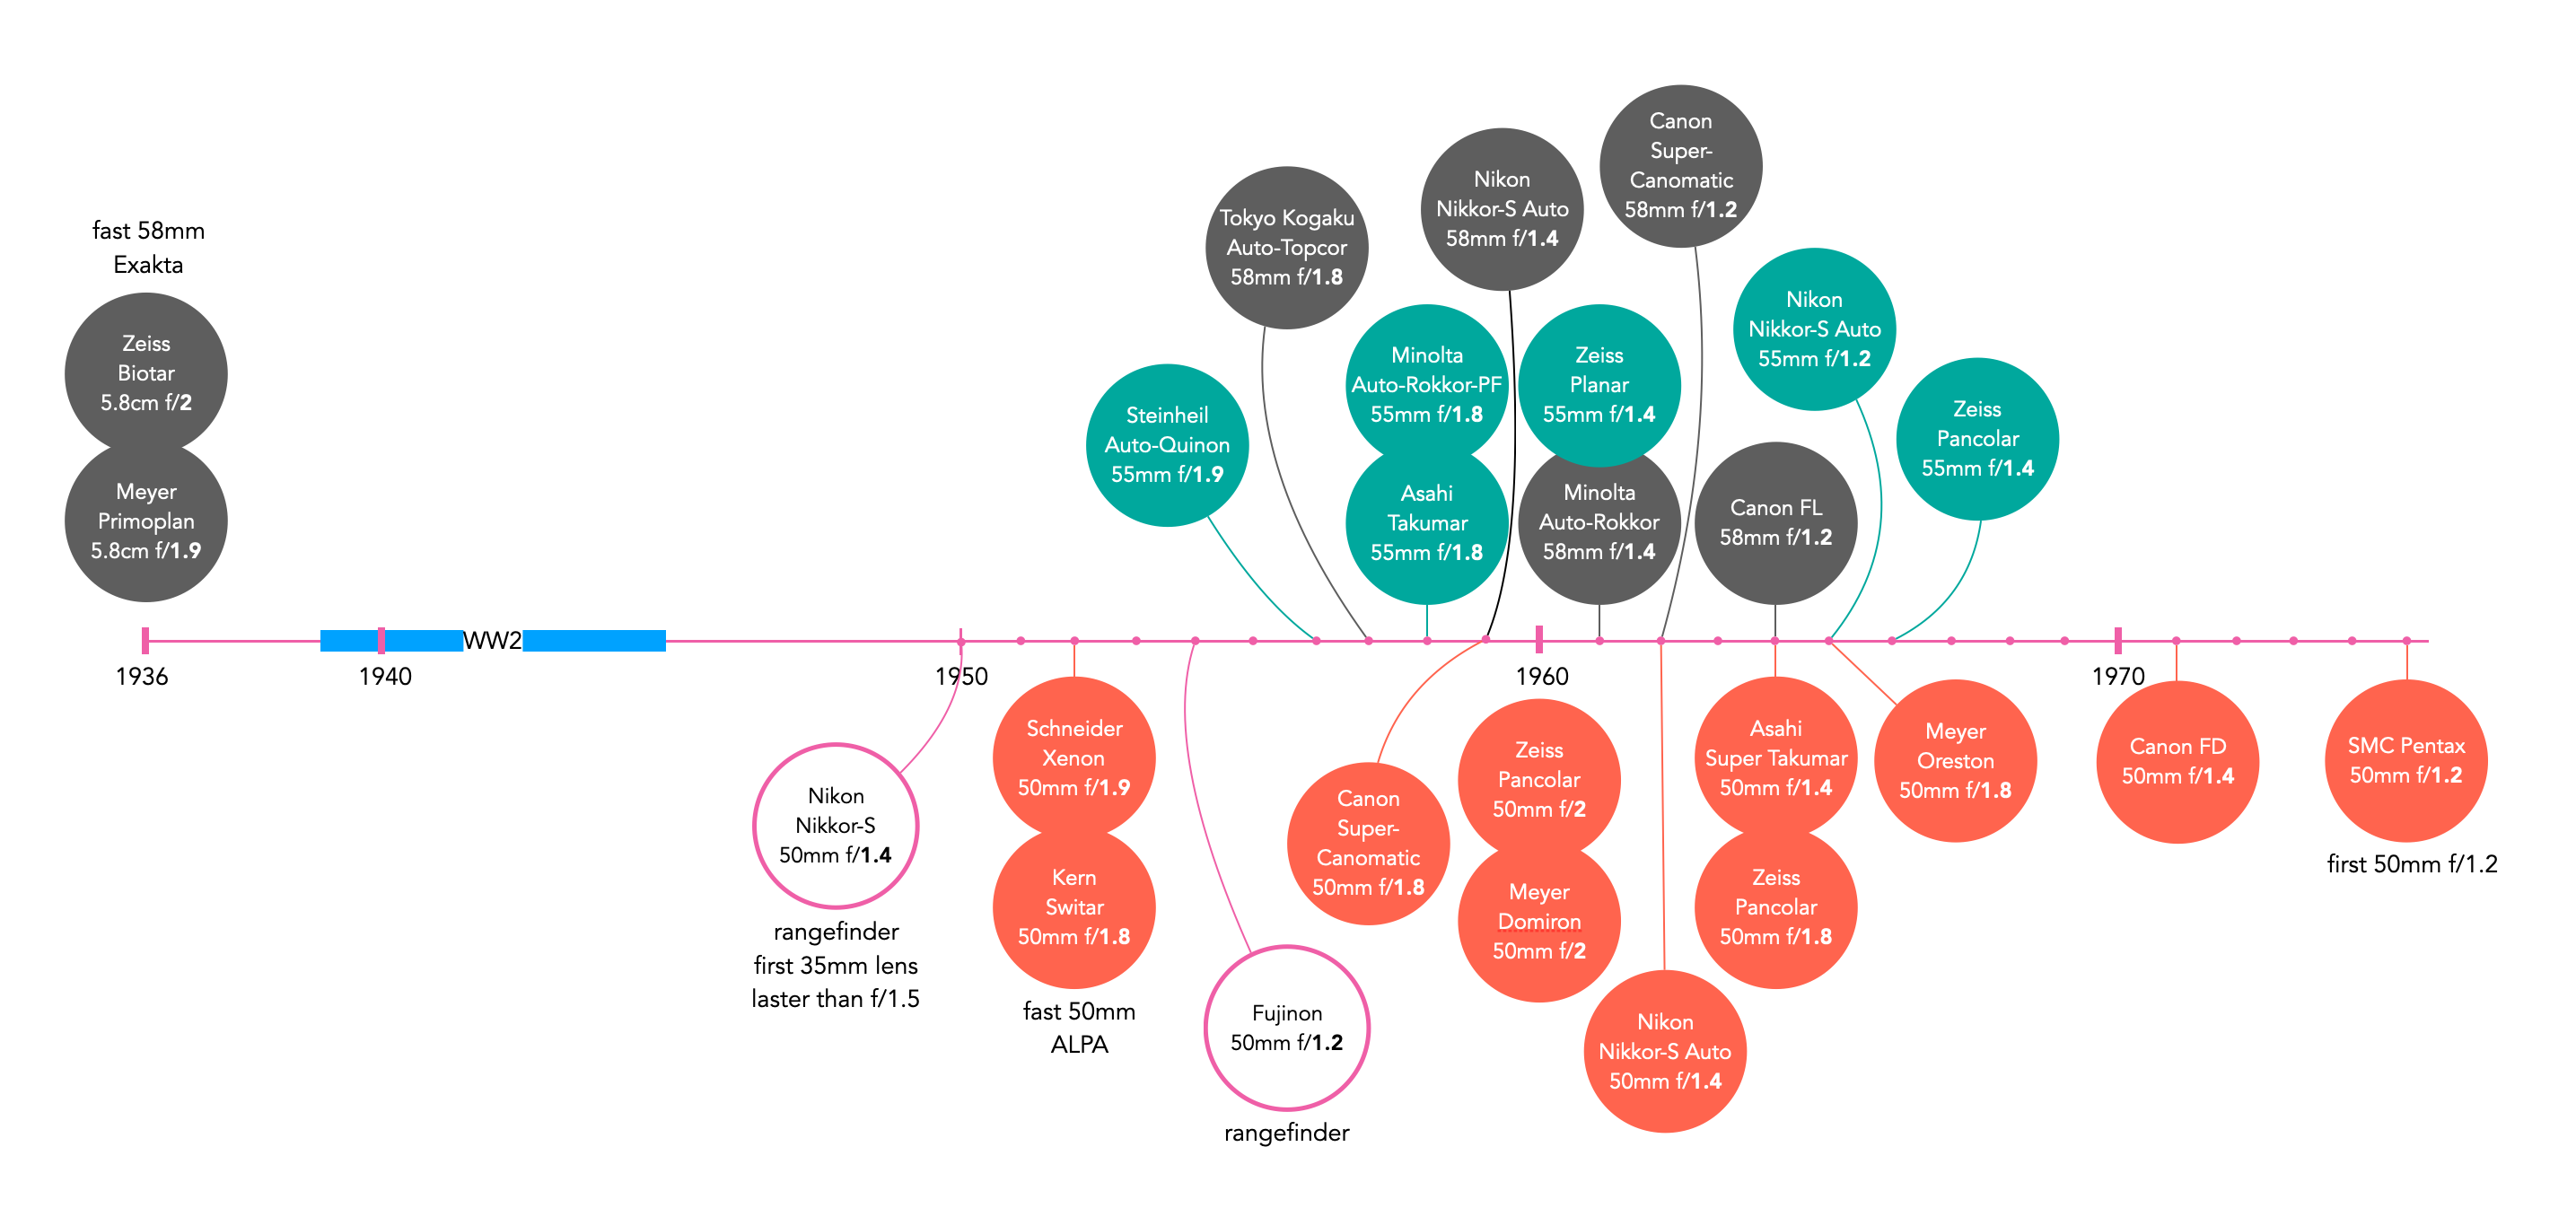
With SLRs becoming more common in the 1950s, so too was the idea of interchangeable lenses. It was possible to but one camera, and a myriad of lenses with different focal lengths to use with it. But the idea of interchangeable likely confused some people, as it turns out that in many cases interchangeable did not really mean interchangeable at all. Interchangeable in the SLR context of the word really just meant not fixed, i.e. the lens could be changed on a camera. But to some interchangeable might have meant the ability to use any lens on any camera.
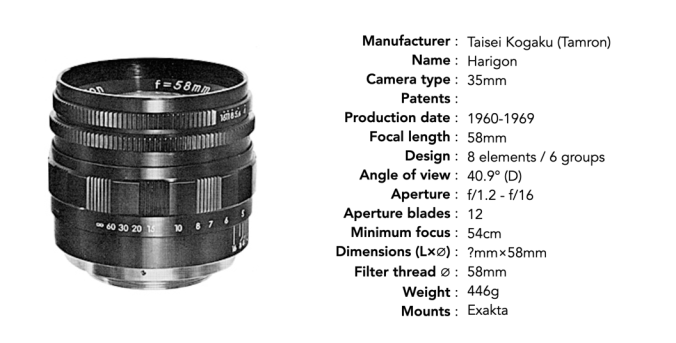
The problem was one of standardization, or rather a lack there-of. When 35mm cameras first evolved, camera mounts evolved quite organically. Rangefinder cameras started with the 39mm screw mount of the Leica and bayonet mount of the Contax. In 1936 Ihagee released the Kine-Exakta the world’s first 35mm SLR, and also the first with a bayonet-mount, perhaps in deference to Leica’s screw mount. There were definite benefits to a bayonet-mount – they were quick and easy to change. But they were also more expensive to manufacture. In 1939 Kamera-Werkstätten would introduce the Praktiflex, which had an M40 screw mount. There was nothing to really stop any manufacturer from introducing a new SLR with a unique mount. From an economical viewpoint, a unique mount makes complete sense, because it guarantees users can only purchase system lenses, and not be able to venture into third-party lenses. It also makes life a little simpler, and there may be some benefit to lenses tailored specifically to a camera. The Praktina from Kamera Werkstätten was such a camera, debuting a new breech-lock lens mount, which meant that the lens environment was very restricted, and lenses used on previous KW systems could not be used, forcing the photographer to buy new lenses. There is also the caveat of the manufacturer actually having to provide an assortment of lenses − SLRs which are released with a limited ecosystem of lenses have historically not been very successful.
Interestingly, mounts that were patented, such as the Exakta mount could not be used by unlicensed lens manufacturers, whereas those who used screw lenses were uninhibited because it would almost be impossible to obtain a patent for what is essentially a screw thread (which is why Leica-copies all used the same screw mount). The Leica M39 mount was based on the Whitworth thread form, and while it may have been possible to obtain a utility patent on some novel use of a thread mount on a camera using 35mm film, the thread itself was not patentable, perhaps because different diameter mounts were already being used on microscopes. The concept of interchangeable lenses resonated well with manufacturers of SLR cameras with focal-plane shutters. Those who designed leaf-shutters were another thing altogether. SLR cameras like Agfaflex, Bessamatic, Contaflex, and the Retina Reflex could only use the interchangeable lenses specifically made for their cameras, because having a behind-the-lens shutters meant that the interchangeable lenses weren’t ‘complete’ lenses as a common portion of the lens system was integral to the system.
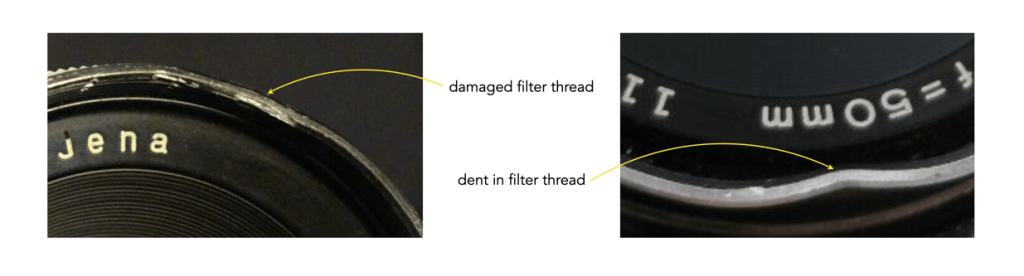
In 1949 both Praktiflex and Contax cameras had adopted yet another mount, the M42 screw mount. For some reason there was something about the M42 that became popular, perhaps because it was not patented, and a little larger than the previous screw mounts. By the mid-1950s then, two SLR camera mounts seemed to have risen to the top: Exakta and M42. As a lot of SLRs from this period originated from East Germany, the use of common lens mounts likely made sense considering the state-owned lens manufacturers. For example lens manufacturer Meyer Optik would produce lenses for both the M42 and Exakta mounts. Of course adopting a “standard” mount did not always result in plain sailing. A M42 lens from one company did not always exactly fit the M42 camera mount of another, and those that did coupled to the camera body effectively. A good example is again the Kamera-Werkstätten Praktina. Produced from 1953 to 1960, the lenses for the system had five different diaphragm control mechanisms: manual, preset, preset with trigger release, semi-automatic, and automatic. Preset and manual lenses in Praktina mounts fit all Praktina cameras [1]. However the semi-automatic lenses made for the Praktina FX would fit, but not work on the Praktina IIa, and the fully automatic lenses for the Praktina IIa, would fit, but not work on the older Praktina FX. The reason is that on the Praktina FX the actuating pin moves forward, and on the IIa it moves backwards.
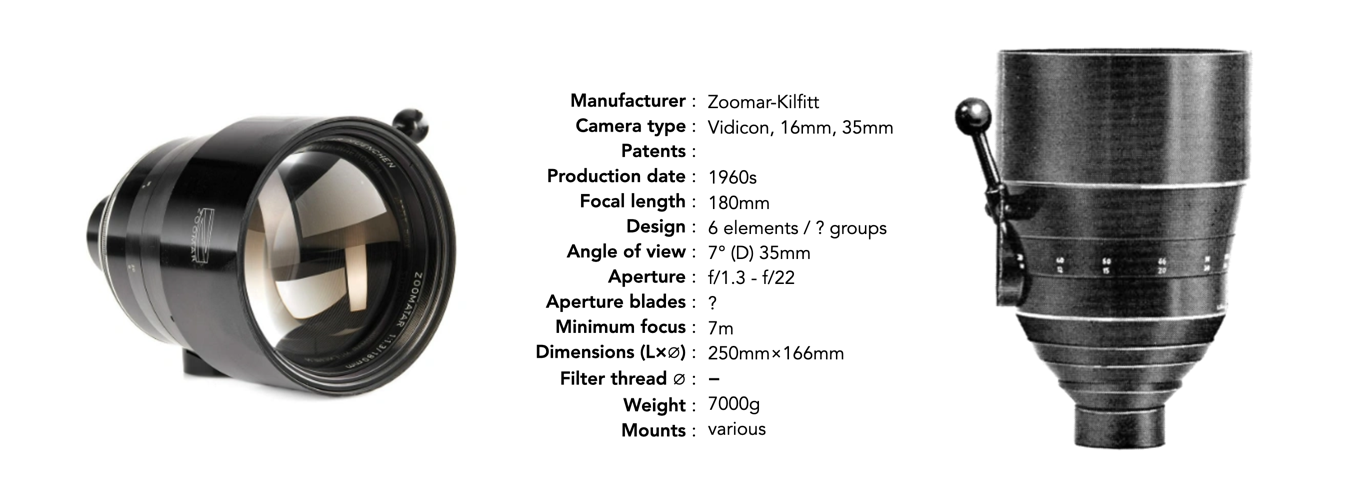
The M42 mount may have been the only truly interchangeable lens ecosystem which evolved. The mount was in production for decades, and a slew of camera manufacturers adopted the mount: Praktica, Zenit-E, Asahi Pentax, Chinon, Cosina, Mamiya, Fuji, Yashica, and even Olympus. To support these cameras, over fifty different manufacturers made lenses for the M42 mount, amounting to probably thousands of different lens models (a precise estimate is somewhat difficult). By the mid-1960s, many camera manufacturers had decided to move towards proprietary mounts. In many cases this was away from screw-mounts to bayonet-style mounts which allowed for: (i) larger diameter mounts; (ii) securer mechanisms for fast and reliable lens change and (iii) mechanisms to allow with aperture coupling with light meters. This might have been considered by some to be purely based on non-conformity, but likely had some underpinnings in the competitive nature of camera manufacturing. To this end, independent lens manufacturers produced single lenses with a series of adapters, which could be changed for those with multiple camera systems. Good examples of this were Kilfitt (they produced more adapters than lenses), Tamron (Adaptall) [2], and Novoflex.
So lenses were only really interchangeable in the largest of systems, i.e. Exakta, and M42 the latter of which may have been the most successful. There was a small window of interchangeability, but only in so much that it relates to the existence of adapters, and a cameras ability to use other lenses. For example ALPA cameras had a flange-focal-distance (FFD) of 37.8mm, which means it could provide adapters for mounting systems with a FFD greater than 37.8mm (of which there were many). Many systems had a large FFD, meaning their ability to use interchangeable lenses from other systems was limited.
There has never been one all-encompassing, ubiquitous means of attaching a lens to a camera. The closest we came was the screw-mount M42, its reign yielded to that of the bayonet mount, a victim of its own limitations. At this juncture, many manufacturers went with their own proprietary mounts in part to facilitate automatic apertures and other the inclusion of electronics in lenses. True interchangeability may actually exist in the guise of specific brand biomes. A good example here is the Leica M-mount, which was introduced in 1954 and is still used on Leica cameras today, allowing even older analog lenses to be used on a modern digital camera.
NB: What is interesting is that in the rangefinder realm, so many of the clones produced just copied the L39 mount of the Leica (although in reality there were some issues with 39mm standardization as well). The lack of interest here may have had less to do with any lofty ideas of standardization, but rather providing access to a cheaper Leica, and easy access to a slew of existing lenses.
Further reading: