The real info regarding angle-of-view on iPhone cameras

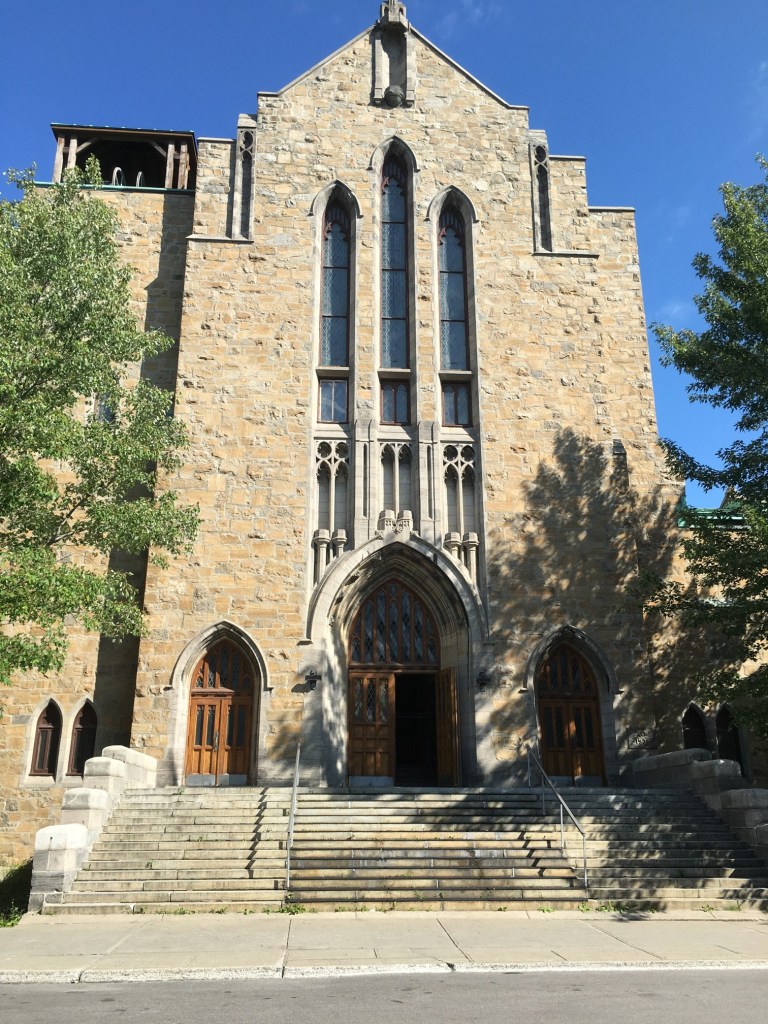
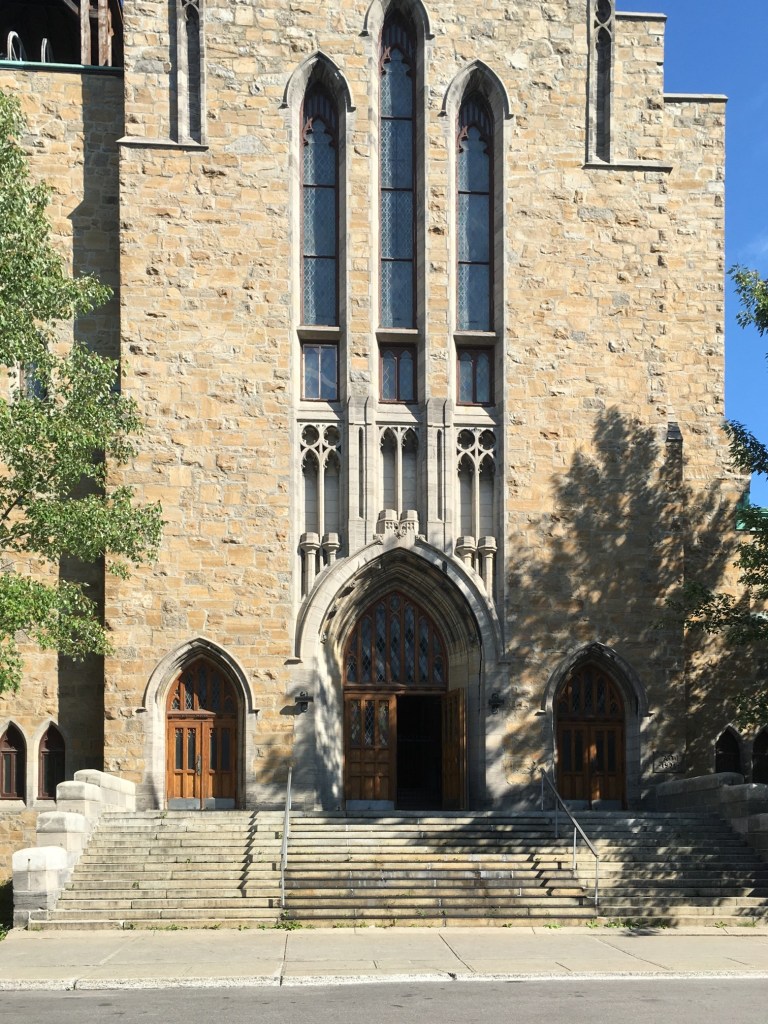
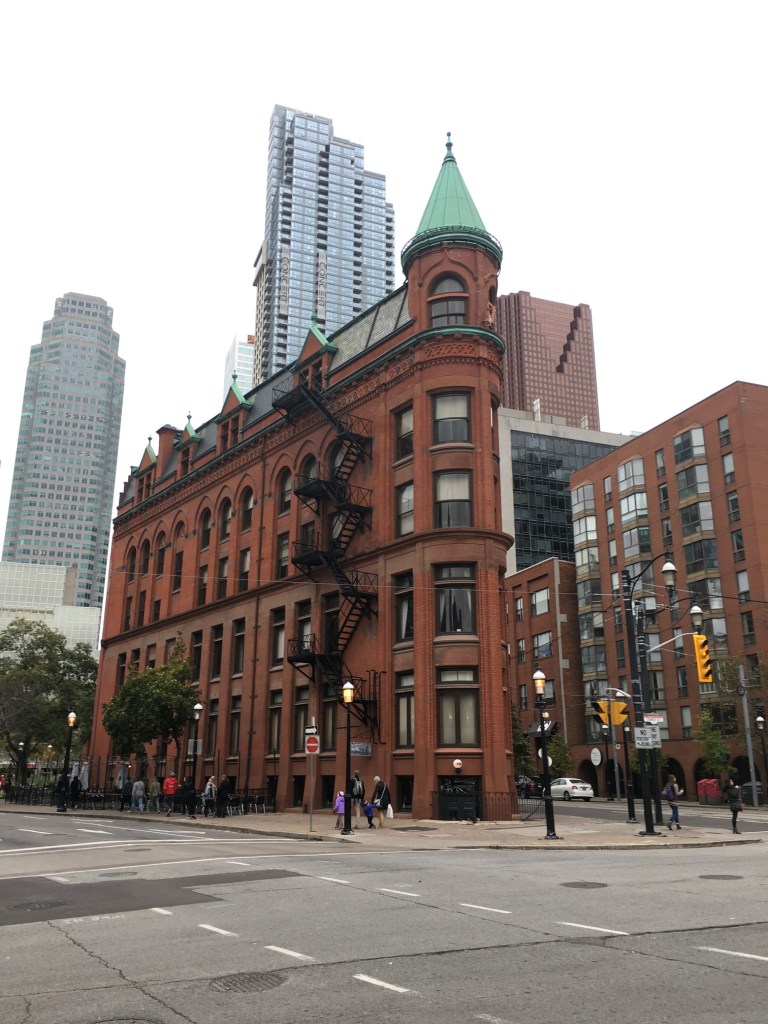
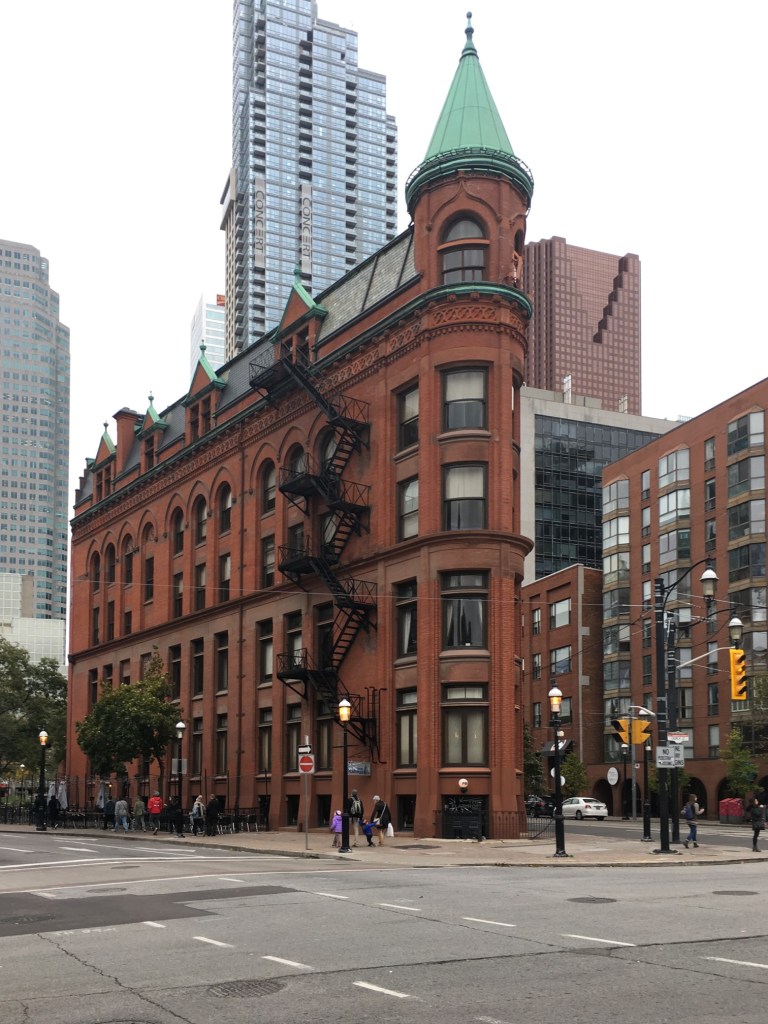
I must say, I quite like the wide lenses on the iPhone 14. It has two rear-facing cameras, an ultra-wide with a focal length of 13mm, and a 26mm wide (full-frame equiv). I don’t really want to get into reviewing these cameras, because other people have already done extensive reviews. An example of a portrait shot taken with each camera is shown below in Figure 1 (picture of the Gooderham “flatiron” Building in Toronto).

Fig.1: Example of portrait photos using both 26mm and 13mm cameras.

But I do want to talk briefly about the Angle of View (AOV) of these cameras. Firstly, you really have to hunt for some of this information. Apple doesn’t really talk about sensor size, or even AOV to any great extent. The most they give you is that the AOV of the ultrawide camera is 120°. But they don’t tell you the full story (maybe because most people don’t care?). It may be 120°, but only in landscape mode, and that angle describes the diagonal angle, which as I have mentioned before isn’t really that useful for most people because it is much harder to conceptualize than horizontal degrees (it’s no different to TV’s, and nobody measures a TV based on its diagonal).

Pixel countFocal lengthSensor sizef-numberAOV
landscape
Crop factor
12MP26mm (equiv.)Type 1/1.7 (9.5×7.6mm)f/1.569° (H)4.6
12MP13mm (equiv.)Type 1/3.4 (4×3mm)f/2.4108°(H)
120°(D)
8.6
iPhone 14 (rear-facing) camera specs

So the wide-angle camera has a horizontal AOV of 69°, and the ultrawide has an AOV of 108°. But this is when a photograph is taken in landscape mode. When a photograph is taken in portrait mode, the horizontal AOV defaults to the vertical AOV from landscape mode – this means 85° for the wide, and a mere 50° for the ultrawide. This concept is the same for all sensors in all cameras, because in portrait mode the width of the photo is obviously less than that of the landscape photo. In mobile devices such as the iPhone this does become a little trickier, because most photos are likely taken in portrait mode.

Examples of the AOV’s in portrait mode for each of the focal lengths as they relate to the photographs in Figure 1 are shown below in Figure 2 (along with the potential AOV’s for landscape mode).

Fig.2: A visual depiction of the portrait AOV’s associated with the photographs of Fig.1

This is really more of a specification problem, information which I wish Apple would just post instead of ignoring. Some people are actually interested in these sort of things.

A review of SKRWT – keystone correction for IOS

For a few years now, I have been using  SKRWT, an app that does perspective correction in IOS.

The goal was to have some way of quickly fixing issues with perspective, and distortions, in photographs. The most common form of this is the keystone effect (see previous post) which occurs when the image plane is not parallel to the lines that are required to be parallel in the photograph. This usually occurs when taking photographs of buildings where we tilt the camera backwards, in order to include the whole scene. The building appears to be “falling away” from the camera. Fig.1 shows a photograph of a church in Montreal. Notice, the skew as the building seems to tilt backwards.

The process of correcting distortions with SKRWT is easy. Pick an image, and then a series of options are provided in the icon bar below the imported picture. The option that best approximates the types of perspective distortion is selected, and a new window opens, with a grid overlaid upon the image. A slider below the image can be used to select the magnitude of the distortion correction, with the image transformed as the slider is moved. When the image looks geometrically corrected, pressing the tick stores the newly corrected image.

Using the SKRWT app, the perspective distortion can be fixed, but at a price. The problem is that correcting for the perspective distortion requires distorting the image, which means it will likely be larger than the original, and will need to be cropped (otherwise the image will contain black background regions).

Here is a third example, of Toronto’s flatiron building, with the building surrounded by enough “picture” to allow for corrective changes that don’t cut off any of the main object.

Overall the app is well designed and easy to use. In fact it will remove quite complex distortions, although there is some loss of content in the images processed. To use this, or any similar perspective correction software properly, you  really have to frame the building with enough background to allow for corrections – not so you are left with half a building.

The sad thing about this app is something that plagues a lot of apps – it has become a zombie app. The developer was suppose to release version 1.5 in December 2020, but alas nothing has appeared, and the website has had no updates. Zombie apps work while the system they are on works, but upgrade the phone, or OS, and there is every likelihood it will no longer work.

Taking photos with an iPhone from a moving vehicle

It’s funny when you are on vacation and see people taking photos from a moving vehicle using an iPhone. The standard iPhone App has no ability to really increase its shutter speed to 1/800 of a second, so you have to install an app like Halide. The photograph below is taken from a train, and has a somewhat artistic flair to it. The closer to the horizon, the less blur there is, because the train is moving slower with respect to distance closer to the horizon (i.e. motion parallax).

iphoneMovingVehicle
A photo taken from a moving train.

But if you are using the Apple camera app, you can’t control shutter speed. Of course it is easier to adjust these sort of settings on a DSLR, using shutter-priority. If you want to control aspects like the shutter speed, you have to turn to an app like Halide. The only problem with this is I find changing settings on an app to be fiddly… one of the reasons to travel with a real camera, and not rely solely on mobile devices. Regardless, it is almost impossible to remove these types of motion blur from an image, where the blur only exists in one plane of the depth of field.

Here’s a great intro to shutter speed on the iPhone, an intro into advanced photo shooting on the iPhone, and some info on the manual controls in Halide.

The disposable image

Smartphone cameras have lead to the age of the disposable image. 

It is not the first time this has happened of course, there have been other instances since the birth of photography. During the Victorian period, technologies such a albumen prints brought photographs to the masses. But then photography was a new phenomena, and seeing visual depictions of the world far away through photographs such as stereoviews, likely left people in awe.  New technology displaces old, and old photographs were soon forgotten in a drawer somewhere. For a good many years snapshots of time were captured using black-and-white paper photographs, which were then displaced by colour in various mediums – print, slide, instant photograph.

The concept of film slowly gave way to digital, which swept away the constraints of the physical medium. All of a sudden you could take hundreds of photographs, view them instantly, and not have to worry about having them developed. In 2018 alone, over 1 trillion photos were taken. How many photographs are there of the Eiffel Tower? The vast difference of course it that film technology left us with physical prints that sat in cupboards, or were framed. Digital photographs offer another form of disposable image, one which has an uber short lifespan. We don’t dispose of them, but rather just forget them.