Image resolution and human perception

Sometimes we view a poster or picture from afar and are amazed at the level of detail, or the crispness of the features, yet viewed from up close this just isn’t the case. Is this a trick of the eye? It has to do with the resolving power of the eye.

Images, whether they are analog photographs, digital prints, or paintings, can contain many different things. There are geometric patterns, shapes, colours – everything needed in order to perceive the contents of the image (or in the case of some abstract art, not perceive it). Now as we have mentioned before, the sharpest resolution in the human eye occurs in the fovea, which represents about 1% of the eyes visual field – not exactly a lot. The rest of the visual field until the peripheral vision has progressively less ability to discern sharpness. Of course the human visual system does form a picture, because the brain is able to use visual memory to form a mental model of the world as you move around.

Fig.1: A photograph of a photograph stitched together (photographed at The Rooms, St.John’s, NFLD). .

Image resolution plays a role in our perception of images. The human eye is only able to resolve a certain amount of resolution based on viewing distance. There is actually an equation used to calculate this: 2/(0.000291×distance(inches)). A normal human eye (i.e. 20-20 vision) can distinguish patterns of alternating black and white lines with a feature size as small as one minute of an arc, i.e. 1/60 degree or π/(60*180) = 0.000291 radians.

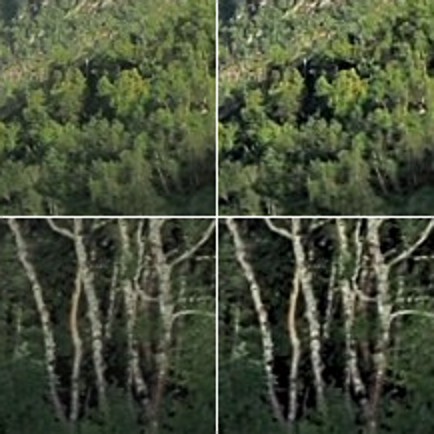
So if a poster were viewed from a distance of 6 feet, the resolution capable of being resolved by the eye is 95 PPI. That’s why the poster in Fig.1, comprised of various separate photographs stitched together (digitally) to form a large image, appears crisp from that distance. It could be printed at 100 DPI, and still look good from that distance. Up close though it is a different story, as many of the edge features are quiet soft, and lack the sharpness expected from the “distant” viewing. The reality it that the poster could be printed at 300 DPI, but viewed from the same distance of 6 feet, it is unlikely the human eye could discern any more detail. It would only be useful if the viewer comes closer, however coming closer then means you may not be able to view the entire scene. Billboards offer another a good example. Billboards are viewed from anywhere from 500-2500 feet away. At 573ft, the human eye can discern 1.0 PPI, at 2500ft it would be 0.23 PPI (it would take 16 in2 to represent 1 pixel). So the images used for billboards don’t need to have a very high resolution.

Fig.2: Blurry details up close

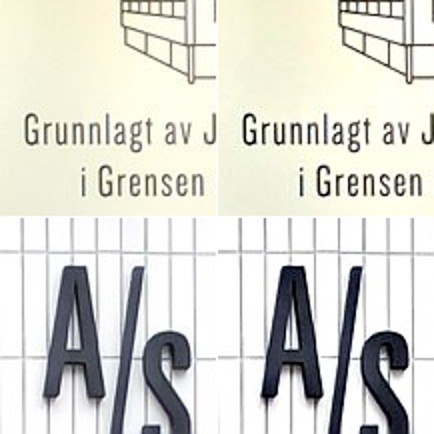
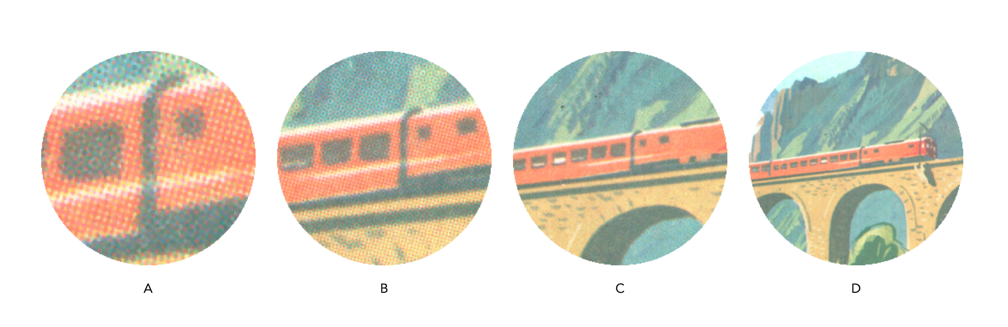
Human perception is then linked to the resolving power of the eye. Resolving power is the ability of the eye to distinguish between very small objects that are very close together. To illustrate this further, consider the images shown in Fig.3. They have been extracted from a digital scan of a vintage brochure taken at various enlargement scales. When viewing the brochure it is impossible to see the dots associated with the printing process, because they are too small to discern (and that’s the point). The original, viewed on the screen is shown in Fig.3D. Even in Fig.3C it is challenging to see the dot pattern that makes up the print. In both Fig.3A and 3B, the dot pattern can be identified. It is no different with any picture. But looking at the picture close up, the perception of the picture is one of blocky, dot matrix, not the continuous image which exists when viewed from afar.

Fig.3: Resolving detail

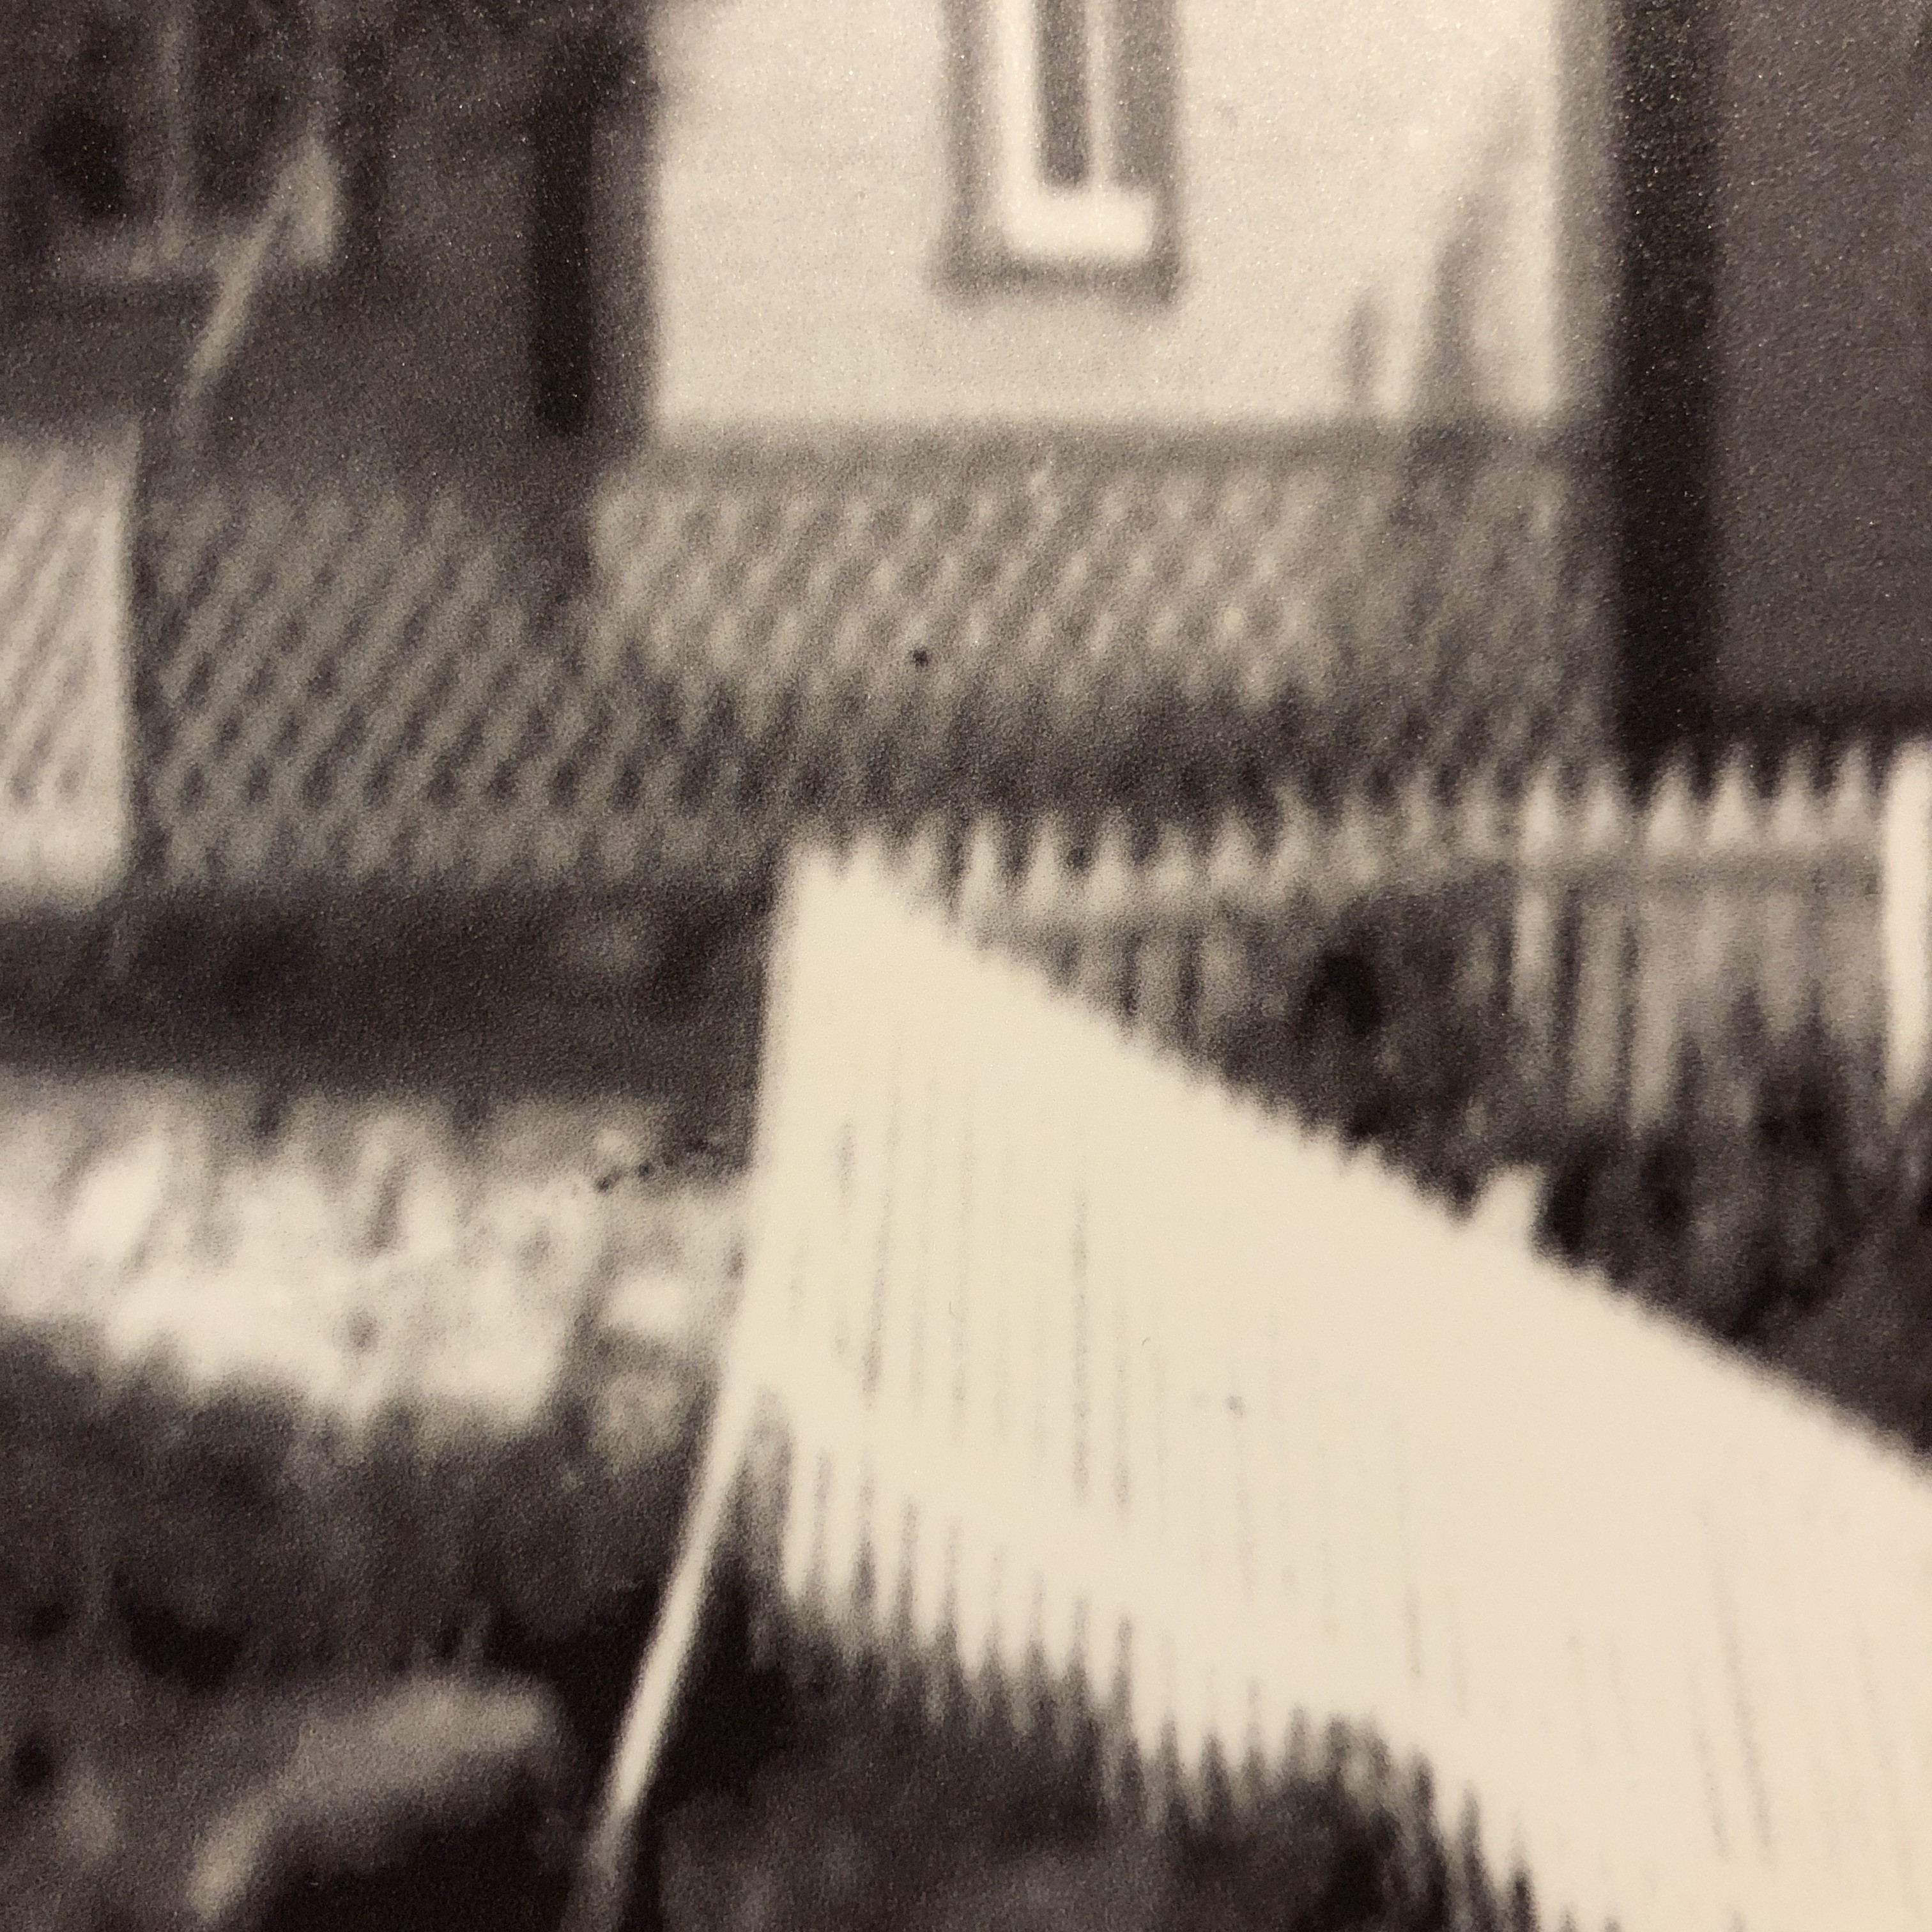
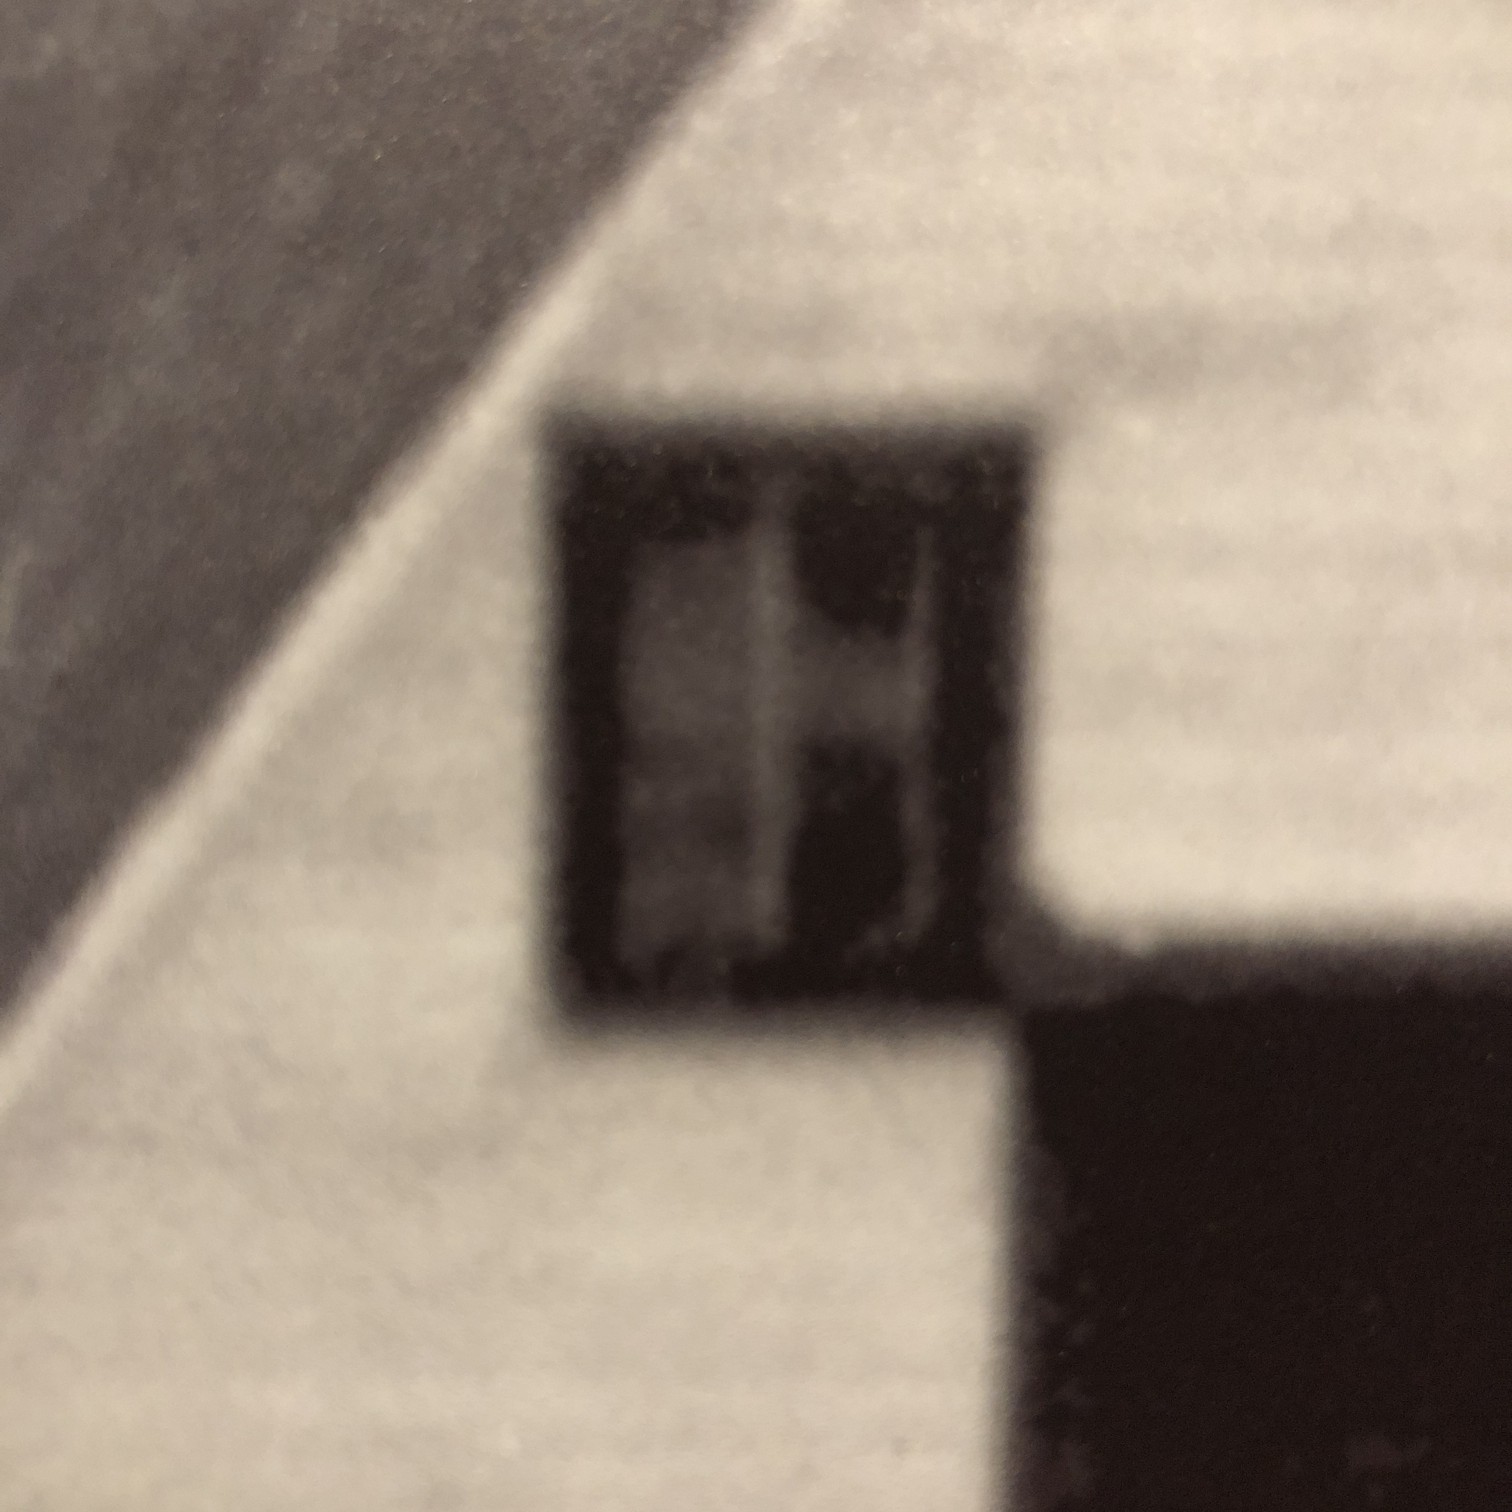
Note that this is an exaggerated example, as the human eye does not have the discerning power to view the dots of the printing process without assistance. If the image were blown up to poster size however, a viewer would be able to discern the printing pattern. Many vintage photographs, such as the vacation pictures sold in 10-12 photo sets work on the same principle. When provided as a 9cm×6cm black-and-white photograph, they seem to show good detail when viewed from 16-24 inches away. However when viewed through a magnifying glass, or enlarged post-digitization, they lack the same sharpness as viewed from afar.

Note that 20-20 vision is based on the 20ft distance from the patient to the acuity chart when taking an eye exam. Outside of North America, the distance is normally 6 metres, and so 20-20 = 6-6.

Image sharpening – image content and filter types

Using a sharpening filter is really contingent upon the content of an image. Increasing the size of a filter may have some impact, but it may also have no perceptible impact – what-so-ever. Consider the following photograph of the front of a homewares store taken in Oslo.

A storefront in Oslo with a cool font

The image (which is 1500×2000 pixels – down sampled from a 12MP image) contains a lot of fine details, from the stores signage, to small objects in the window, text throughout the image, and even the lines on the pavement. So sharpening would have an impact on the visual acuity of this image. Here is the image sharpened using the “Unsharp Mask” filter in ImageJ (radius=10, mask-weight=0.3). You can see the image has been sharpened, as much by the increase in contrast than anything else.

Image sharpened with Unsharp masking radius=10, mask-weight=0.3

Here is a close-up of two regions, showing how increasing the sharpness has effectively increased the contrast.

Pre-filtering (left) vs. post-sharpening (right)

Now consider an image of a landscape (also from a trip to Norway). Landscape photographs tend to lack the same type of detail found in urban photographs, so sharpening will have a different effect on these types of image. The impact of sharpening will be reduced in most of the image, and will really only manifest itself in the very thin linear structures, such as the trees.

Sharpening tends to work best on features of interest with existing contrast between the feature and its surrounding area. Features that are too thin can sometimes become distorted. Indeed sometimes large photographs do not need any sharpening, because the human eye has the ability to interpret the details in the photograph, and increasing sharpness may just distort that. Again this is one of the reasons image processing relies heavily on aesthetic appeal. Here is the image sharpened using the same parameters as the previous example:

Image sharpened with Unsharp masking radius=10, mask-weight=0.3

There is a small change in contrast, most noticeable in the linear structures, such as the birch trees.  Again the filter uses contrast to improve acuity (Note that if the filter were small, say with a radius of 3 pixels, the result would be minimal). Here is a close-up of two regions.

Pre-filtering (left) vs. post-sharpening (right)

Note that the type of filter also impacts the quality of the sharpening. Compare the above results with those of the ImageJ “Sharpen” filter, which uses a kernel of the form:

ImageJ “Sharpen” filter

Notice that the “Sharpen” filter produces more detail, but at the expense of possibly overshooting some regions in the image, and making the image appear grainy. There is such as thing as too much sharpening.

Original vs. ImageJ “Unsharp Masking” filter vs. ImageJ “Sharpen” filter

So in conclusion, the aesthetic appeal of an image which has been sharpened is a combination of the type of filter used, the strength/size of the filter, and the content of the image.

Unsharp masking in ImageJ – changing parameters

In a previous post we looked at whether image blur could be fixed, and concluded that some of it could be slightly reduced, but heavy blur likely could not. Here is the image we used, showing blur at two ends of the spectrum.

Blur at two ends of the spectrum: heavy (left) and light (right).

Now the “Unsharp Masking” filter in ImageJ, is not terribly different from that found in other applications. It allows the user to specify a “radius” for the Gaussian blur filter, and a mask weight (0.1-0.9). How does modifying the parameters affect the filtered image? Here are some examples using a radius of 10 pixels, and a variable mask weight.

Radius = 10; Mask weight = 0.25
Radius = 10; Mask weight = 0.5
Radius = 10; Mask weight = 0.75

We can see that as the mask weight increases, the contrast change begins to affect the colour in the image. Our eyes may perceive the “rent K” text to be sharper in the third image with MW=0.75, but the colour has been impacted in such as way that the image aesthetics have been compromised. There is little change to the acuity of the “Mölle” text (apart from the colour contrast). A change in contrast can certainly improve the visibility of detail in the image (i.e. they are easier to discern), however maybe not their actual acuity. It is sometimes a trick of the eye.

What about if we changed the radius? Does a larger radius make a difference? Here is what happens when we use a radius of 40 pixels, and a MW=0.25.

Radius = 40; Mask weight = 0.25

Again, the contrast is slightly increased, and perceptual acuity may be marginally improved, but again this is likely due to the contrast element of the filter.

Note that using a small filter size, e.g. 3-5 pixels in a large image (12-16MP) will have little effect, unless there are features in the image that size. For example, in an image containing features 1-2 pixels in width (e.g. a macro image), this might be appropriate, however will likely do very little in a landscape image.

What is unsharp masking?

Many image post-processing applications use unsharp masking (UM) as their choice of sharpening algorithm. It is one of the most ubiquitous methods of image sharpening. Unsharp masking was introduced by Schreiber [1] in 1970 for the purpose of improving the quality of wirephoto pictures for newspapers. It is based on the principle of photographic masking whereby a low-contrast positive transparency is made of the original negative. The mask is then “sandwiched” with the negative, and the amalgam used to produce the final print. The effect is an increase in sharpness.

The process of unsharp masking accentuates the high-frequency components of an image, i.e. the edge regions where there is a sharp transition in image intensity. It does this by extracting the high-frequency details from an image, and adding them to the original image. This process can be better understood by first considering a 1D signal shown in the figure below.

An example of unsharp masking using a 1D signal

This is the process of what happens to the signal

  1. The original signal.
  2. The signal is “blurred”, by a filter which enhances the “low-frequency” components of the signal.
  3. The blurred signal, ➁, is subtracted from ➀, to extract the “high-frequency” components of the signal, i.e. the “edge” signal.
  4. The “edge” signal is added to the original signal ➀ to produce the sharpened signal.

In the context of digital images unsharp masking works by subtracting a blurred form of an image from the original image itself to create an “edge” image which is then used to improve the acuity of the original image. There are many different approaches to unsharp masking which use differing forms of filters. Some use a more traditional approach using the process outlines above, with the blurring actuated using a Gaussian blur, while others use specific filters which create “edge” images directly, which can be either added to, or subtracted from the original image.

[1] Schreiber, W., “Wirephoto quality improvement by unsharp masking,” Pattern Recognition, Vol.2, pp.117-121 (1970).