How does digital ISO work?

The term ISO (International Standards Organization) is used to describe light sensitivity. In the world of film, ISO relates to film sensitivity – film with high ISO is made with crystals capable of holding more light. The trade-off is that the crystals need to be larger, therefore as ISO increases crystal size becomes more visible, manifesting as film grain. In the digital realm, photosites cannot increase in size, so in low light they record less information. To compensate for a lack of information, the signal is amplified, thereby mimicking film sensitivity.

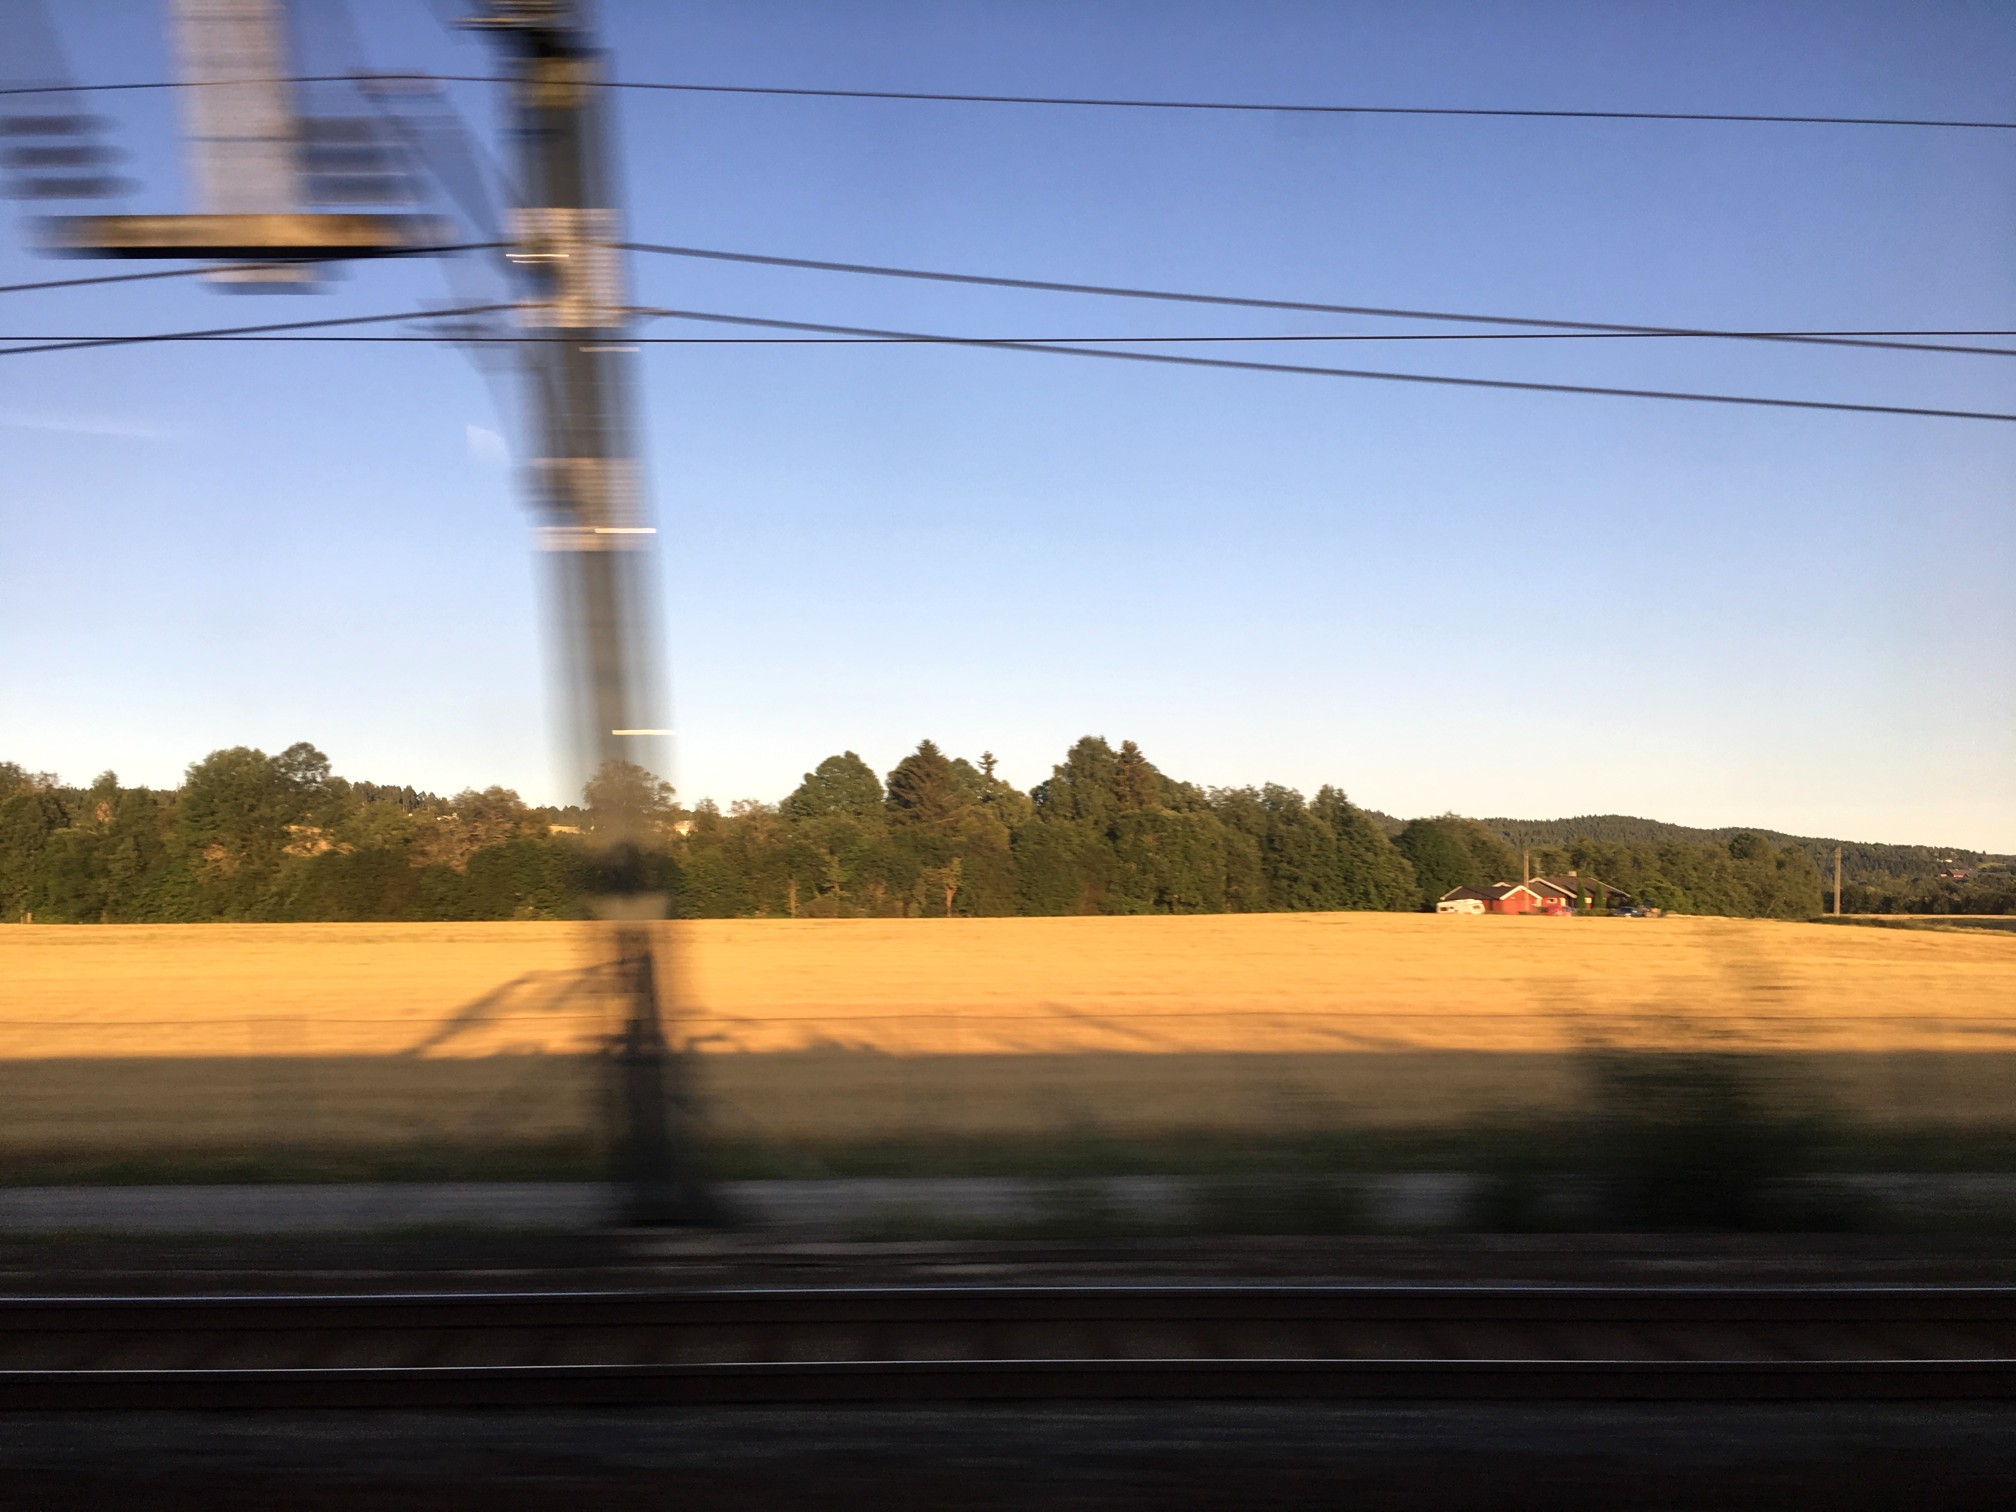
A low ISO (e.g. 100) setting mimics a low-sensitivity film, so that a longer exposure time, or large aperture setting is required. Conversely a high ISO setting, e.g. 1600, mimics a high-sensitivity film, so allows for a short exposure time (fast shutter speed), or small aperture. Increasing the ISO setting will effectively increase the brightness of the resulting image. Note that changing the ISO has nothing to do with the sensitivity of the photosites, they are by no means affected. This is different to film cameras, where changing the ISO setting is directly associated with the sensitivity of the film. The ISO in a digital camera has everything to do with what happens to the signal after it has been captured by the photosite and converted from light to an electrical signal. The ISO setting determines what happens when the electrical signal passes through an analog amplifier, i.e. it determines how much the signal is amplified (this is known as the gain).

Digital ISO

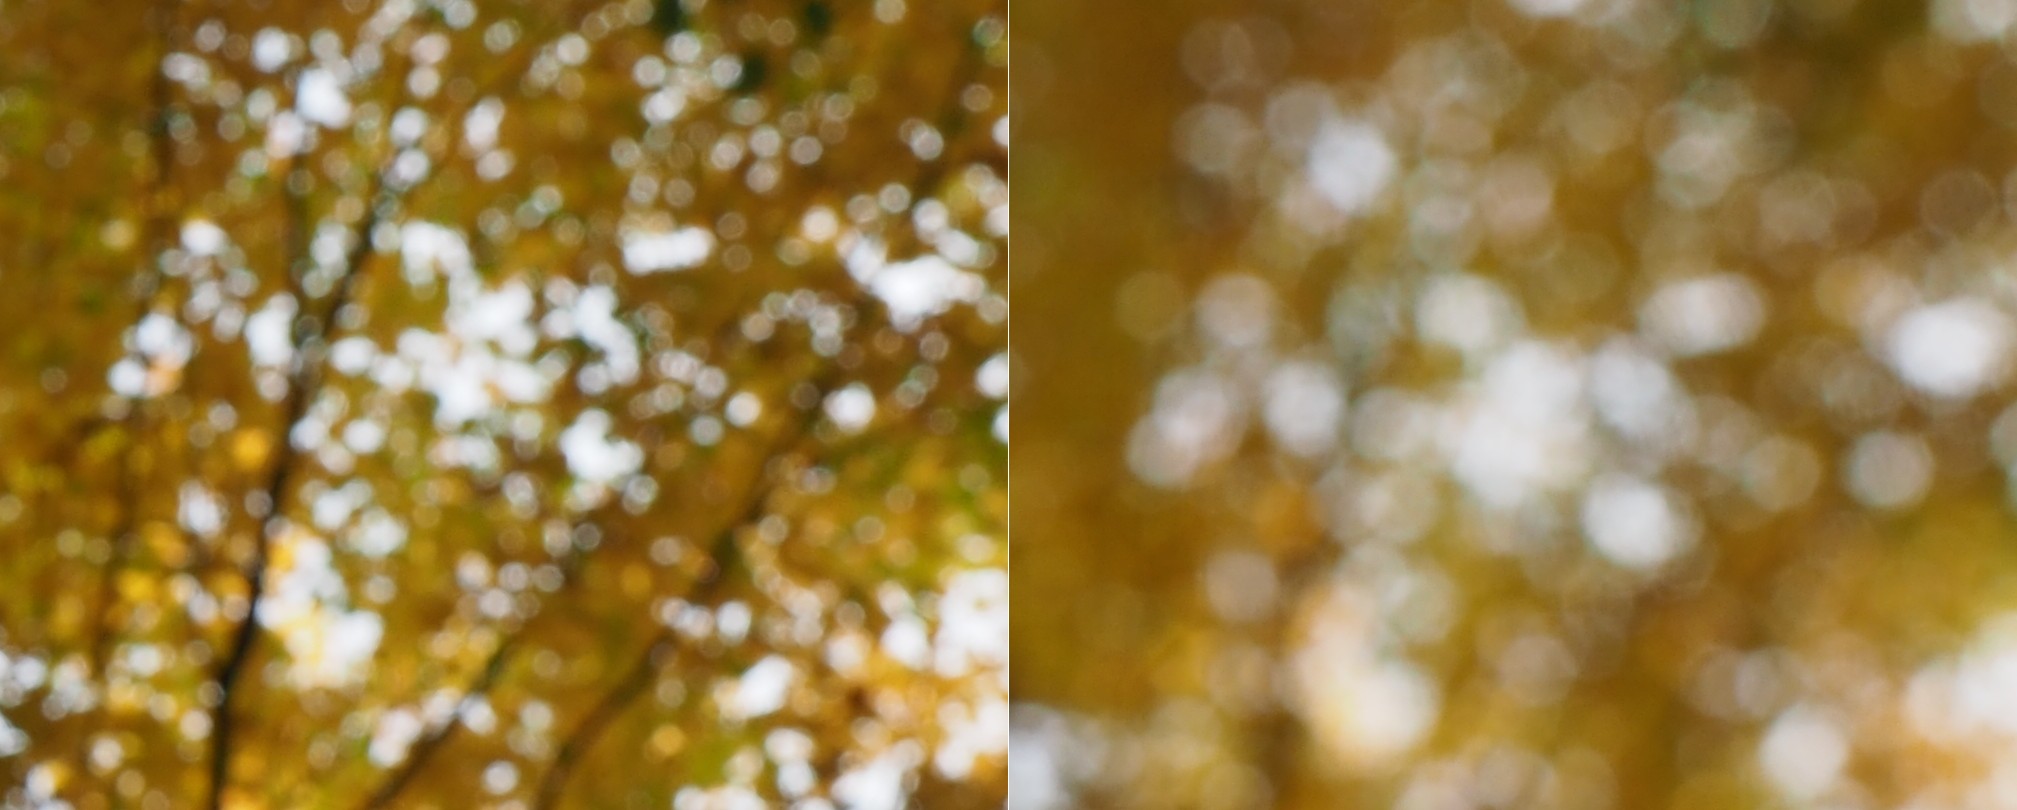
A brightly lit scene will produce a strong electrical signal, which requires less amplification (lower ISO setting), and results in a smoother image with less “grain”. Conversely, less light in a scene means photosites are able to capture less information, and generate weaker electrical signals which have to be amplified (using a high ISO setting). Unfortunately, photosites also capture noise, and changing the ISO will also affect it. For example increasing ISO will increase the amount of noise. This is why photographs taken with a high ISO often have a grainy appearance (attributable to noise). The lower the ISO used, the better the quality of the image will be.

Image histograms tell a story

The simplest data about an image it that contained within its histogram, or rather the distribution of pixel intensities. In an 8-bit grayscale image, this results in a 256-bin histogram which tells a story about how the pixels are distributed within the image. Most digital cameras also have some form of colour histogram which can be used to determine distribution of colours in an image.  This lets the photographer determine whether the photograph is over- under- or correctly exposed.  A correctly exposed photograph will have a fairly uniform histogram, whereas an under-exposed one has a bias towards darker tones, and an over-exposed one will have a bias towards brighter  tones.

This by no means means that a histogram that has two distinct modes does not represent a good image. As long as the histogram is well distributed between the lower and upper limits of the colour space. Consider the image below:

From an aesthetic perspective, this does not seem like a bad looking image. Its histogram somewhat collaborates this:

In fact there is limited scope for enhancement here. Application of  contrast-stretching or histogram equalization will increase its aesthetic appeal marginally. One of the properties of an image that a histogram helps identify is contrast, or dynamic range. On the other end of the spectrum, consider this image which has a narrow dynamic range.

The histogram clearly shows the lack of range in the image.

Stretching the histogram to either end of the spectrum increases the contrast of the image. The result is shown below.

It has a broader dynamic range, and a greater contrast of features within the image.

Unsharp masking in ImageJ – changing parameters

In a previous post we looked at whether image blur could be fixed, and concluded that some of it could be slightly reduced, but heavy blur likely could not. Here is the image we used, showing blur at two ends of the spectrum.

Blur at two ends of the spectrum: heavy (left) and light (right).

Now the “Unsharp Masking” filter in ImageJ, is not terribly different from that found in other applications. It allows the user to specify a “radius” for the Gaussian blur filter, and a mask weight (0.1-0.9). How does modifying the parameters affect the filtered image? Here are some examples using a radius of 10 pixels, and a variable mask weight.

Radius = 10; Mask weight = 0.25
Radius = 10; Mask weight = 0.5
Radius = 10; Mask weight = 0.75

We can see that as the mask weight increases, the contrast change begins to affect the colour in the image. Our eyes may perceive the “rent K” text to be sharper in the third image with MW=0.75, but the colour has been impacted in such as way that the image aesthetics have been compromised. There is little change to the acuity of the “Mölle” text (apart from the colour contrast). A change in contrast can certainly improve the visibility of detail in the image (i.e. they are easier to discern), however maybe not their actual acuity. It is sometimes a trick of the eye.

What about if we changed the radius? Does a larger radius make a difference? Here is what happens when we use a radius of 40 pixels, and a MW=0.25.

Radius = 40; Mask weight = 0.25

Again, the contrast is slightly increased, and perceptual acuity may be marginally improved, but again this is likely due to the contrast element of the filter.

Note that using a small filter size, e.g. 3-5 pixels in a large image (12-16MP) will have little effect, unless there are features in the image that size. For example, in an image containing features 1-2 pixels in width (e.g. a macro image), this might be appropriate, however will likely do very little in a landscape image.

Optical blur and the circle of non-sharpness

Most modern cameras automatically focus a scene before a photograph is acquired. This is way easier than the manual focus that occurred in the ancient world of analog cameras. When part of a scene is blurry, then we consider this to be out-of-focus. This can be achieved in a couple of ways. One way is by means of using the Aperture Priority setting on a camera.  Blur occurs when there is a shallow depth of field. Opening up the aperture to f/2.8 allows in more light, and the camera will compensate with the appropriate shutter speed. It also means that objects not in the focus plane will be blurred. Another way is through manually focusing a lens.

Either way, the result is optical blur. But optical blur is by no means shapeless, and has a lot to do with a concept known as the circle of confusion (CoC). The CoC occurs when the light rays passing through the lens are not perfectly focused. It is sometimes known as the disk of confusioncircle of indistinctnessblur circle, or blur spot. CoC is also associated with the concept of Bokeh, which I will discuss in a later post. Although honestly – circle of confusion may not be the best term. In German the term used is “Unschärfekreis”, which translates to “circle of non-sharpness“, which inherently makes more sense.

A photograph is basically an accumulation of many points – which represent the exact points in the real scene. Light striking an object reflects off many points on the object, which are then redirected onto the sensor by  the lens. Each of these points is reproduced by the lens as a circle. When in focus, the circle appears as a sharp point, otherwise the out-of-focus region appears as circle to the eye. Naturally the “circle” normally takes the shape of the aperture, because the light passes through it. The following diagram illustrates the “circle of confusion“. A photograph is exactly sharp only on the focal plane, with more or less blur around it.  The amount of blur depends on an objects  distance from the focal plane. The further away, the more distinct the blur. The blue lines signify an object in focus. Both the red and purple lines show objects not in the focal plane, creating large circles of confusion (i.e. non-sharpness = blur).

The basics of the “circle of confusion”

Here is a small example. The photograph below is taken in Bergen, Norway. The merlon on the battlement is in focus with the remainder of the photograph beyond that blurry. Circles of confusion are easiest to spot as small bright objects on darker backgrounds. Here a small white sign becomes a blurred circle-of-confusion.

An example of the circle of confusion as a bright object.

Here is a second example, of a forest canopy, taken through focusing manually. The CoC are very prevalent.

An example where the whole image is composed of blur.

As we de-focus the image further, the CoC’s become larger, as shown in the example below.

As the defocus increases (from left to right), so too does the blur, and the size of the CoC.

Note that due to the disparity in blurriness in a photograph, it may be challenging to apply a “sharpening” filter to such an image.

Why do buildings lean? (the keystone effect)

Some types of photography lend themselves to inherent distortions in the photograph, most notably those related to architectural photography. The most prominent of these is the keystone effect, a form of perspective distortion which is caused by shooting a subject at an extreme angle, which results in converging vertical (and also horizontal) lines. The name is derived from the archetypal shape of the distortion, which is similar to a keystone, the wedge-shaped stone at the apex of a masonry arch.

keystone effect in buildings
Fig.1: The keystone effect

The most common form of keystone effect is a vertical distortion. It is most obvious when photographing man-made objects with straight edges, like buildings. If the object is taller than the photographer, then an attempt will be made to fit the entire object into the frame, typically by tilting the camera. This causes vertical lines that seem parallel to the human visual system to converge at the top of the photograph (vertical convergence). In photographs containing tall linear structures, it appears as though they are “falling” or “leaning” within the picture. The keystone effect becomes very pronounced with wide-angle lenses.

Fig.2: Why the keystone effect occurs

Why does it occur? Lenses are designed to show straight lines, but only if the camera is pointed directly at the object being photographed, such that the object and image plane are parallel. As soon as a camera is tilted, the distance between the image plane and the object is no longer uniform at all points. In Fig.2, two examples are shown. The left example shows a typical scenario where a camera is pointed at an angle towards a building so that the entire building is in the frame. The angle of both the image plane and the lens plane are different to the vertical plane of the building, and so the base of the building appears closer to the image plane than the top, resulting in a skewed building in the resulting image. Conversely the right example shows an image being taken with the image plane parallel to the vertical plane of the building, at the mid-point. This is illustrated further in Fig.3.

Fig.3: Various perspectives of a building

There are a number of ways of alleviating the keystone effect. The first method involves the use of specialized perspective control and tilt-shift lenses. The best way to avoid the keystone effect is to move further back from the subject, with the reduced angle resulting in straighter lines. The effects of this perspective distortion can be removed through a process known as keystone correction, or keystoning. This can be achieved in-camera using the cameras proprietary software, before the shot is taken, or in post processing on mobile devices using apps such as SKRWT. It is also possible to perform the correction with post-processing using software such as Photoshop.

Fig.4: Various keystone effects

Taking photos with an iPhone from a moving vehicle

It’s funny when you are on vacation and see people taking photos from a moving vehicle using an iPhone. The standard iPhone App has no ability to really increase its shutter speed to 1/800 of a second, so you have to install an app like Halide. The photograph below is taken from a train, and has a somewhat artistic flair to it. The closer to the horizon, the less blur there is, because the train is moving slower with respect to distance closer to the horizon (i.e. motion parallax).

iphoneMovingVehicle
A photo taken from a moving train.

But if you are using the Apple camera app, you can’t control shutter speed. Of course it is easier to adjust these sort of settings on a DSLR, using shutter-priority. If you want to control aspects like the shutter speed, you have to turn to an app like Halide. The only problem with this is I find changing settings on an app to be fiddly… one of the reasons to travel with a real camera, and not rely solely on mobile devices. Regardless, it is almost impossible to remove these types of motion blur from an image, where the blur only exists in one plane of the depth of field.

Here’s a great intro to shutter speed on the iPhone, an intro into advanced photo shooting on the iPhone, and some info on the manual controls in Halide.

What is motion parallax?

Motion parallax is one of those perceptual things that you notice the most when looking out the window of a fast moving vehicle, like a train. It refers to the fact that objects moving at a constant speed across the frame will appear to move a greater amount if they are nearer to an observer (or camera) than they would if they were at a great distance (parallax = change in position). This phenomenon is true whether (i) the observer/camera is moving relative to the object, or (ii) object itself that is moving relative to the observer/camera. The rationale for this effect has to do with the distance the object moves with respect to the percentage of the camera’s field of view that it moves across. This helps provide perceptual cues about difference in distance and motion, and is associated with depth perception.

Consider the example below simulating taking a photograph out of a moving vehicle. The tree that is 300m away will move 20m in a particular direction (opposite the direction of the vehicle), but only traverse 25% of the field-of-view. The closer tree, which is only 100m away will move out of the frame completely with the same 20m displacement.

Motion parallax is an attribute of perception, so it exists in real scenes, but not when one views a photograph. Can a photograph contain artifacts of motion parallax? Yes, and it is easy – just take a photograph from a moving vehicle (trains are best), using a relatively slow shutter speed. The picture below was taken on the VIA train to Montreal, using my iPhone pressed up against the glass, with the focus plane approximately in the middle of the window.

Every colour photograph is a manipulation of the truth

Previous discussions have focused on the quasi untruths the camera produces. What is the greatest of them? The freezing or blur of movement? The distortion of perspective? Or maybe the manipulation of colour? When it comes to colour, where does the truth lie? Colour is interpreted differently by each person, and even the camera itself. No one may truly understand the complexities of how colour is actually perceived. Most people see a blue sky, but what shade of blue? Consider the following photograph taken at Point Pleasant Park, in Halifax (Nova Scotia). The sky seems over-saturated, but there was no processing done. Is it natural, or an affect of being in the right place at the right time?

Prince of Wales Tower, Point Pleasant Park, Halifax

Colours in a digital photograph are a result of many differing processes – light passes through the various glass optics of the lens, and is absorbed by the sensor which converts the photons into a digital signal. This does not mean that the colours which exist in a scene will be properly interpreted. The pure “light” of white can be used to manipulate the colours of a photograph, something called white balancing. Scroll through the available choices, and the colour temperature of the photograph will change. Sometimes we manipulate colours through white balancing, other times through manipulation of the colour histogram, all to make the contents of the photograph seem more akin to our perception of realism. Sometimes we add colour to add a sense of non-realism. Sometimes we saturate the colours to make them seem bright, and other times we mute them. 

Take a photograph of something. Look at the colours in the scene, and try to remember what they looked like. Maybe take the same photo with different cameras. It is hard to reproduce the exact colour… so in many ways the photograph the camera produces is something of a generic interpretation to be manipulated in a human way to some visual aesthetic. Which takes us to the question of what is the truth? Is there any real truth to a photograph? 

Nothing has a true colour- it is all varying perceptions of the interaction of light and colour pigments, and the human eye. We apply filters in Instagram to make things seem more vivid and hyper real, or desaturated and contemplative. There is no right or wrong way of understanding colour, although our experiences are influenced by the other senses such as smell. I mean, as far as wavelengths go, the Earth’s sky is really more of a bluish violet colour, but because of the human visual system we perceive it as pale blue. So maybe our own eyes are manipulating the truth?

Fixing photographs (e.g. travel snaps) (ii)

3︎⃣ Fixing light with B&W

There are some images which contain shafts of light. Sometimes this light helps highlight certain objects in the photograph, be it as hard light or soft light. Consider the following photo of a viking carving from the Viking Ship Museum in Oslo. There are some nice shadows caused by the light streaming in from the right side of the scene. One way to reduce the effects of light is to convert the photograph to black-and-white.

By suppressing the role colour plays in the image, the eyes become more fixated on the fine details, and less on the light and shadows.

4︎⃣ Improving on sharpness

Sometimes it is impossible to take a photograph with enough sharpness. Tweaking the sharpness just slightly can help bring an extra crispness to an image. This is especially true in macro photographs, or photographs with fine detail. If the image is blurry, there is every likelihood that it can not be salvaged. There is only so much magic that can be performed by image processing. Here is a close-up of some water droplets on a leaf.

If we filter the image using some unsharp masking to sharpen the image, we get:

5︎⃣ Saturating colour

Photographs of scenes containing vivid colour may sometimes appear quite dull, or maybe you want to boost the colour in the scene. By adjusting the colour balance, or manipulating the colour histogram, it is possible to boost the colours in a photograph, although they may end up “unrealistic” colours in the processed image. Here is a street scene of some colourful houses in Bergen, Norway.

Here the image has been processed with a simple contrast adjustment, although the blue parts of the sky have all but disappeared.

Fixing photographs (e.g. travel snaps) (i)

When travelling, it is not always possible to get a perfect photograph. You can’t control the weather – sometimes it is too sunny, and other times there is not enough light. So the option of course is to modify the photographs in some way, fixing what is considered “unaesthetic”. The problem lies in the fact that cameras, as good as they are, don’t always capture a scene the way human eyes do. Your eyes, and brain correct for many things that aren’t possible with a camera. Besides which we are all tempted to make photographs look brighter – a legacy of the filters in apps like Instagram. Should we fix photographs? It’s one of the reasons the RAW file format exists, so we can easily modify an images characteristics. At the end of the day, we fix photographs to make them more aesthetically pleasing. I don’t own a copy of Photoshop, so I don’t spend copious hours editing my photographs, it’s usually a matter of adjusting the contrast, or performing some sharpening.

There is of course the adage that photographs shouldn’t be modified too much. I think performing hundreds of tweaks on a photograph results in an over-processed image that may not really represent what the scene actually looked like. A couple of fixes to improve the aesthetic appeal?

So what sort of fixes can be done?

1︎⃣ Fixing for contrast issues

Sometimes its not possible to take a photograph with the right amount of contrast. In an ideal world, the histogram of a “good” photograph should be uniformly distributed. Sometimes, there are things like the sky being overcast that get in the way. Consider the following photo, which I took from a moving train using shutter-priority with an overcast sky.

A lack of contrast

The photograph seems quite nice right? Does it truly reflect the scene I encountered? Likely not quite. If we investigate the histogram (the intensity histogram), we notice that there is one large peak towards the low end of the spectrum. There is also a small spike near the higher intensity regions, most likely related to the light regions such as the sky.

So now if we stretch the histogram, the contrast in the image will improve, and the photograph becomes more aesthetically pleasing, with much brighter tones.

Improving contrast

2︎⃣ Fixing for straight lines

In the real world, the lines of buildings are most often straight. The problem with lenses is that they are curved, and sometimes this impacts the form of photograph being acquired. The wider the lens, the more straight lines converse to the centre of the image. The worse case scenario are fish-eye lenses, which can have a field of view of up to 180°, and result in a barrel distortion. Take a photograph of a building, and the building will appear distorted. Human eyes compensate for this with the knowledge that it is a building, and its sides should be parallel – they do not consciously notice converging vertical lines. However when you view a photograph, things are perceived differently – it often appears as though a building is leaning backwards. Here is an photograph of a building in Bergen, Norway.

Performing a perspective correction creates an image where the vertical lines of the building are truly vertical. The downside is of course that the lower portion of the image has been compressed, so if the plan is to remove distortion in this manner, make sure to allow enough foreground in the image. Obviously it would be better to avoid these problems when photographing buildings.