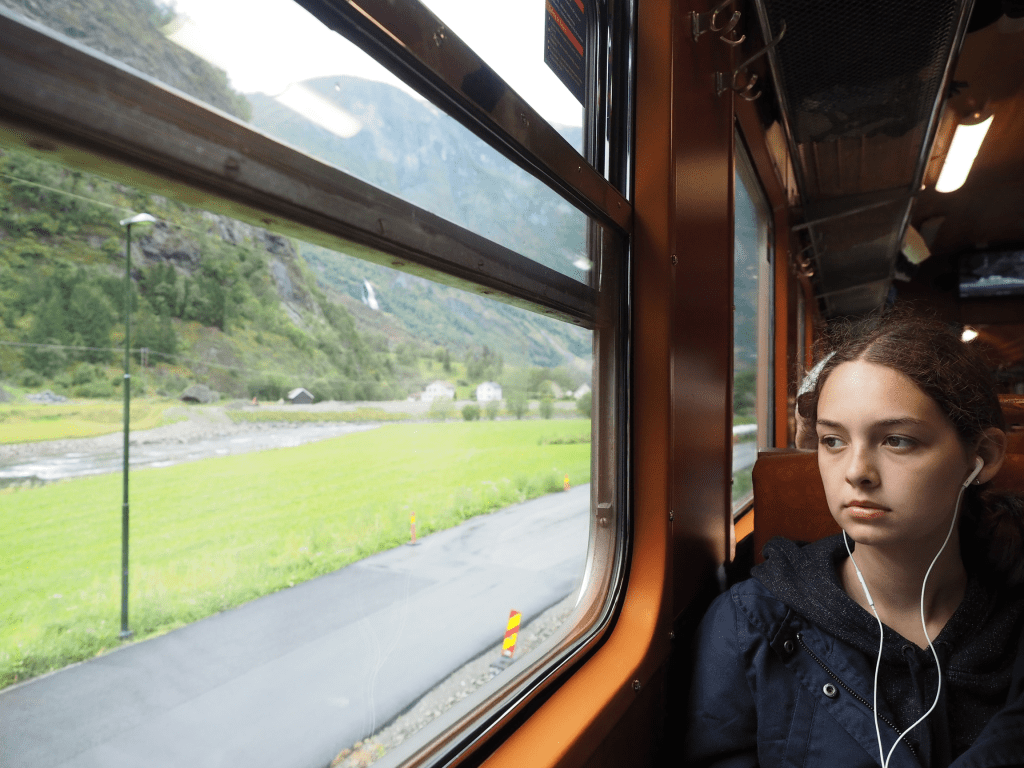
Someday you might be in a situation one day where you will need to take photographs through a window. For example travelling on one of the many of the worlds great rail journeys, which often provide scenery which is impossible to see otherwise. Rail trips that are specifically touted as being “scenic journeys” will often have an observation car with large windows, panoramic windows that take in a view of the sky as well, or an open-air carriage, like that found on the Northern Explorer from Auckland to Wellington (in New Zealand). The problem is that not all trains offer a glass-free interface between you and the scenery.
The biggest problem with photographing through windows is that glass (or perspex) is usually not that clean, often plagued by dust and dirt, things about which you can do little or nothing (well you can clean the inside, but not the outside). If it isn’t in a filmy layer of dirt, or a streak, there is likely very little to worry about. Since you will be focusing on distant objects when shooting from a moving train, nearby dirt specks likely will be of little worry, as they will barely show on a photograph. This becomes more problematic in direct sunlight which can emphasize dirt, streaky panes, and dust smears. Obviously, the best thing to do is to try and find a piece of glass that is pretty clear to shoot through. There may be a chance that there are also windows that can be opened.
Another two issues when shooting through glass are reflections and glare, but they can be alleviated by placing the lens hood directly up near the glass (but don’t press the lens against the glass because that can transfer vibrations from the train to your camera). Select a reasonably sized aperture which will reduce the impact caused by details from the glass (e.g. dirt), but not too large as it might impact depth-of-field. Note that the best results will be achieved using manual focus. Shooting through glass (or even wire mesh), the auto-focus can be misled by the surface and may not focus beyond. Autofocus can also take a while to focus, which can lead to you missing the shot. Trains generally move fast, so if you hesitate you loose the shot.
Here are some general tips:
- Use continuous shooting mode, because it allows taking many photos at once which in turn means a few may produce really good photographs.
- Use a polarizing filter to cut some of the reflections.
- Use fast shutter speeds (and shutter-priority) to compensate for the train’s movement and vibration. Start with 1/500 for distant subjects, and 1/1000 to 1/2000 for nearby ones. Direction matters as well, so moving towards or away from a subject (rather than crossing laterally in front of it) usually allows for a lower shutter speed.
- Use a wide-angle lens, since the short focal length helps to minimize movement.
- An overcast sky is better than sunshine or rain. Too much sun will produce shadows and reflections, and rain will end up creating an artistic distortion effect when you shoot through the window.
- Do research before the train trip to find notable sights, especially where the train may curl itself on a tight curve.
- There will always be some form of blur in the image. The closer to the horizon, the less blur there is, because the train is moving slower with respect to distance closer to the horizon (i.e. motion parallax).
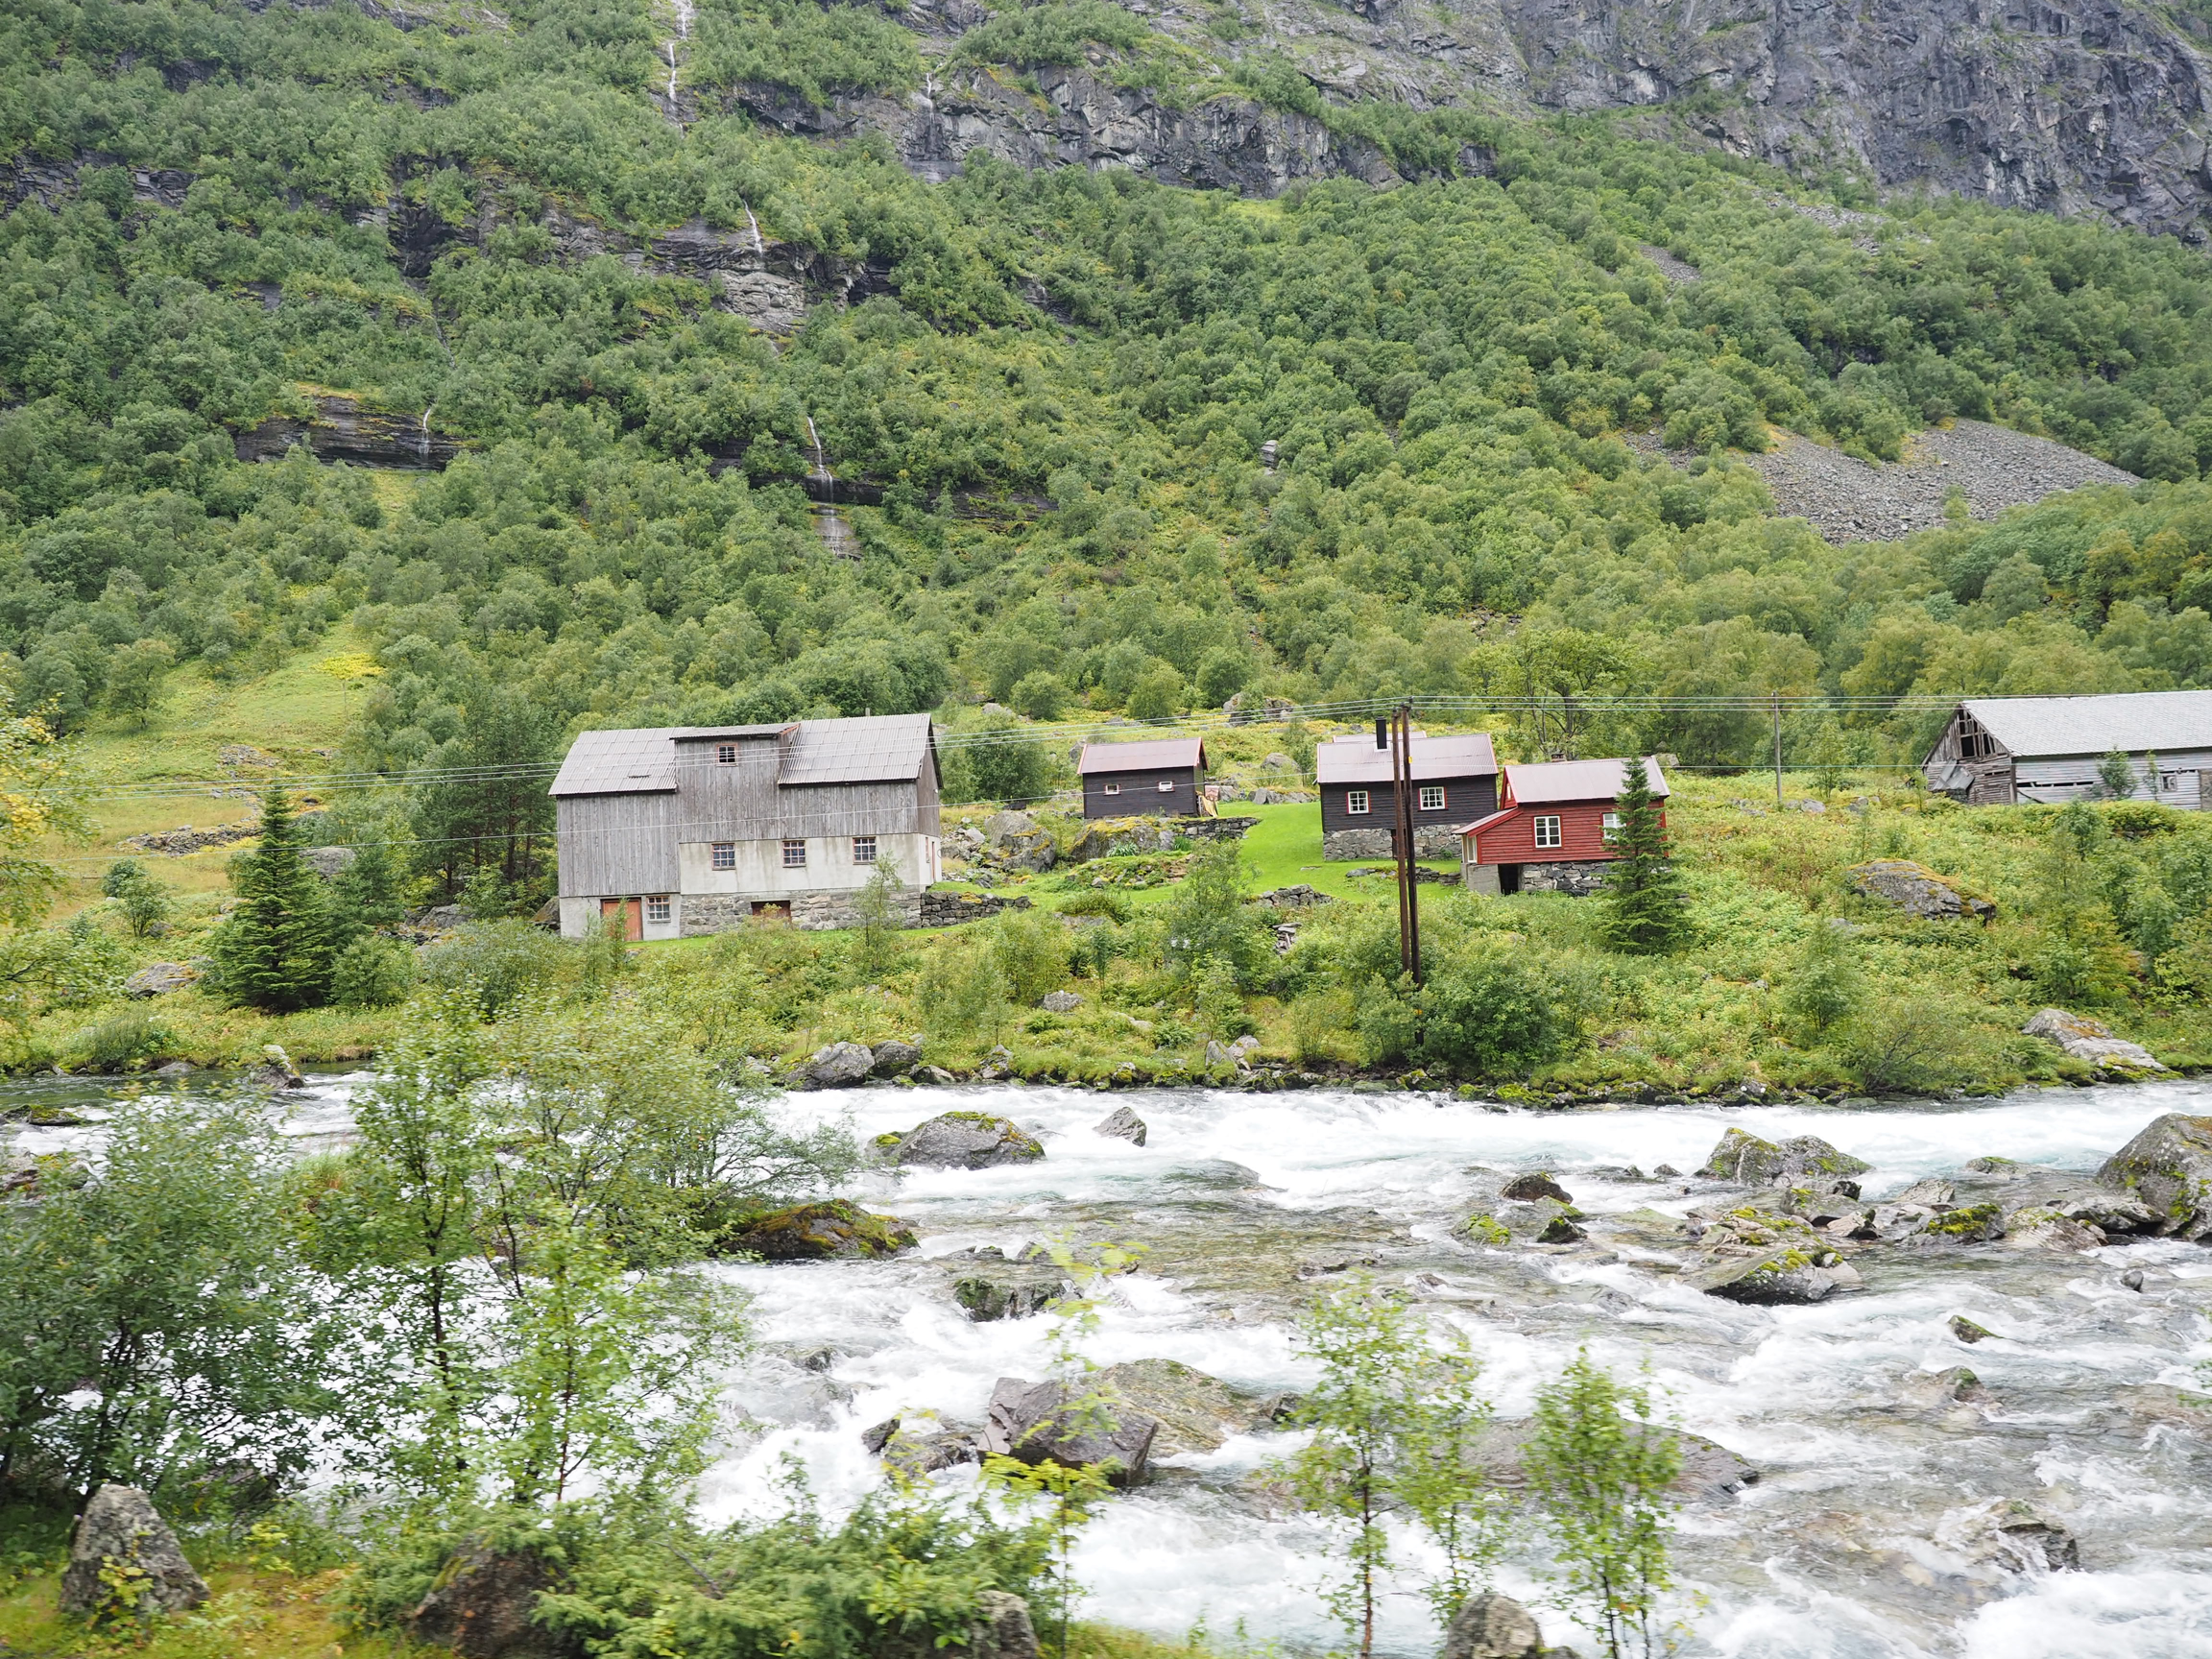
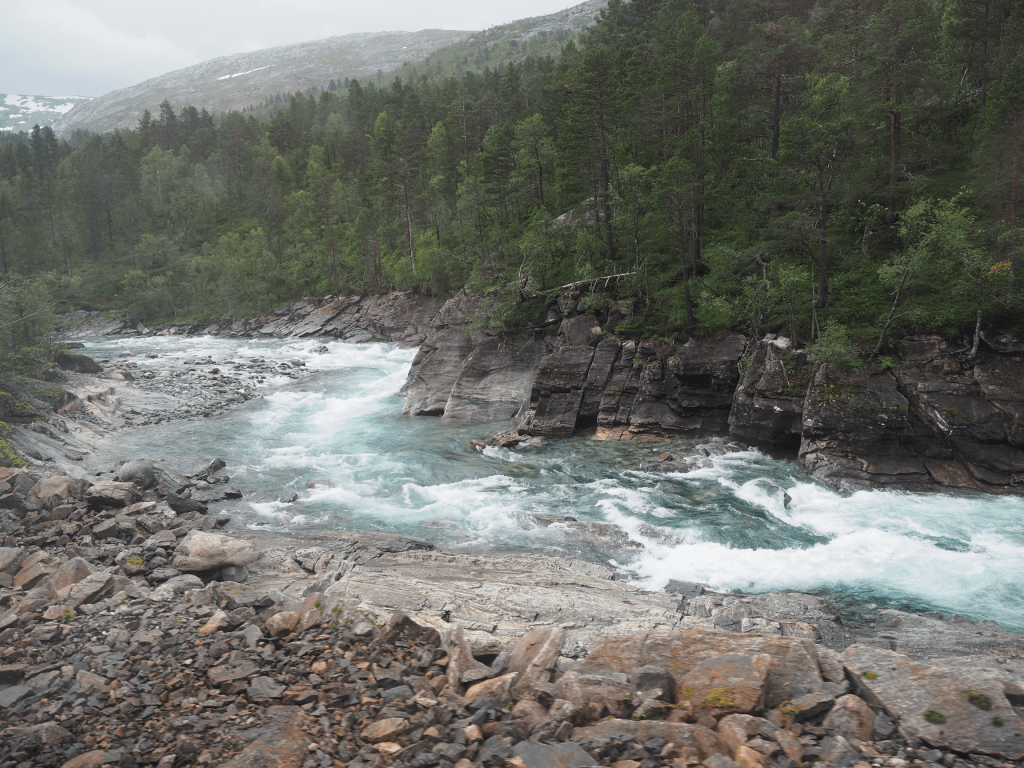
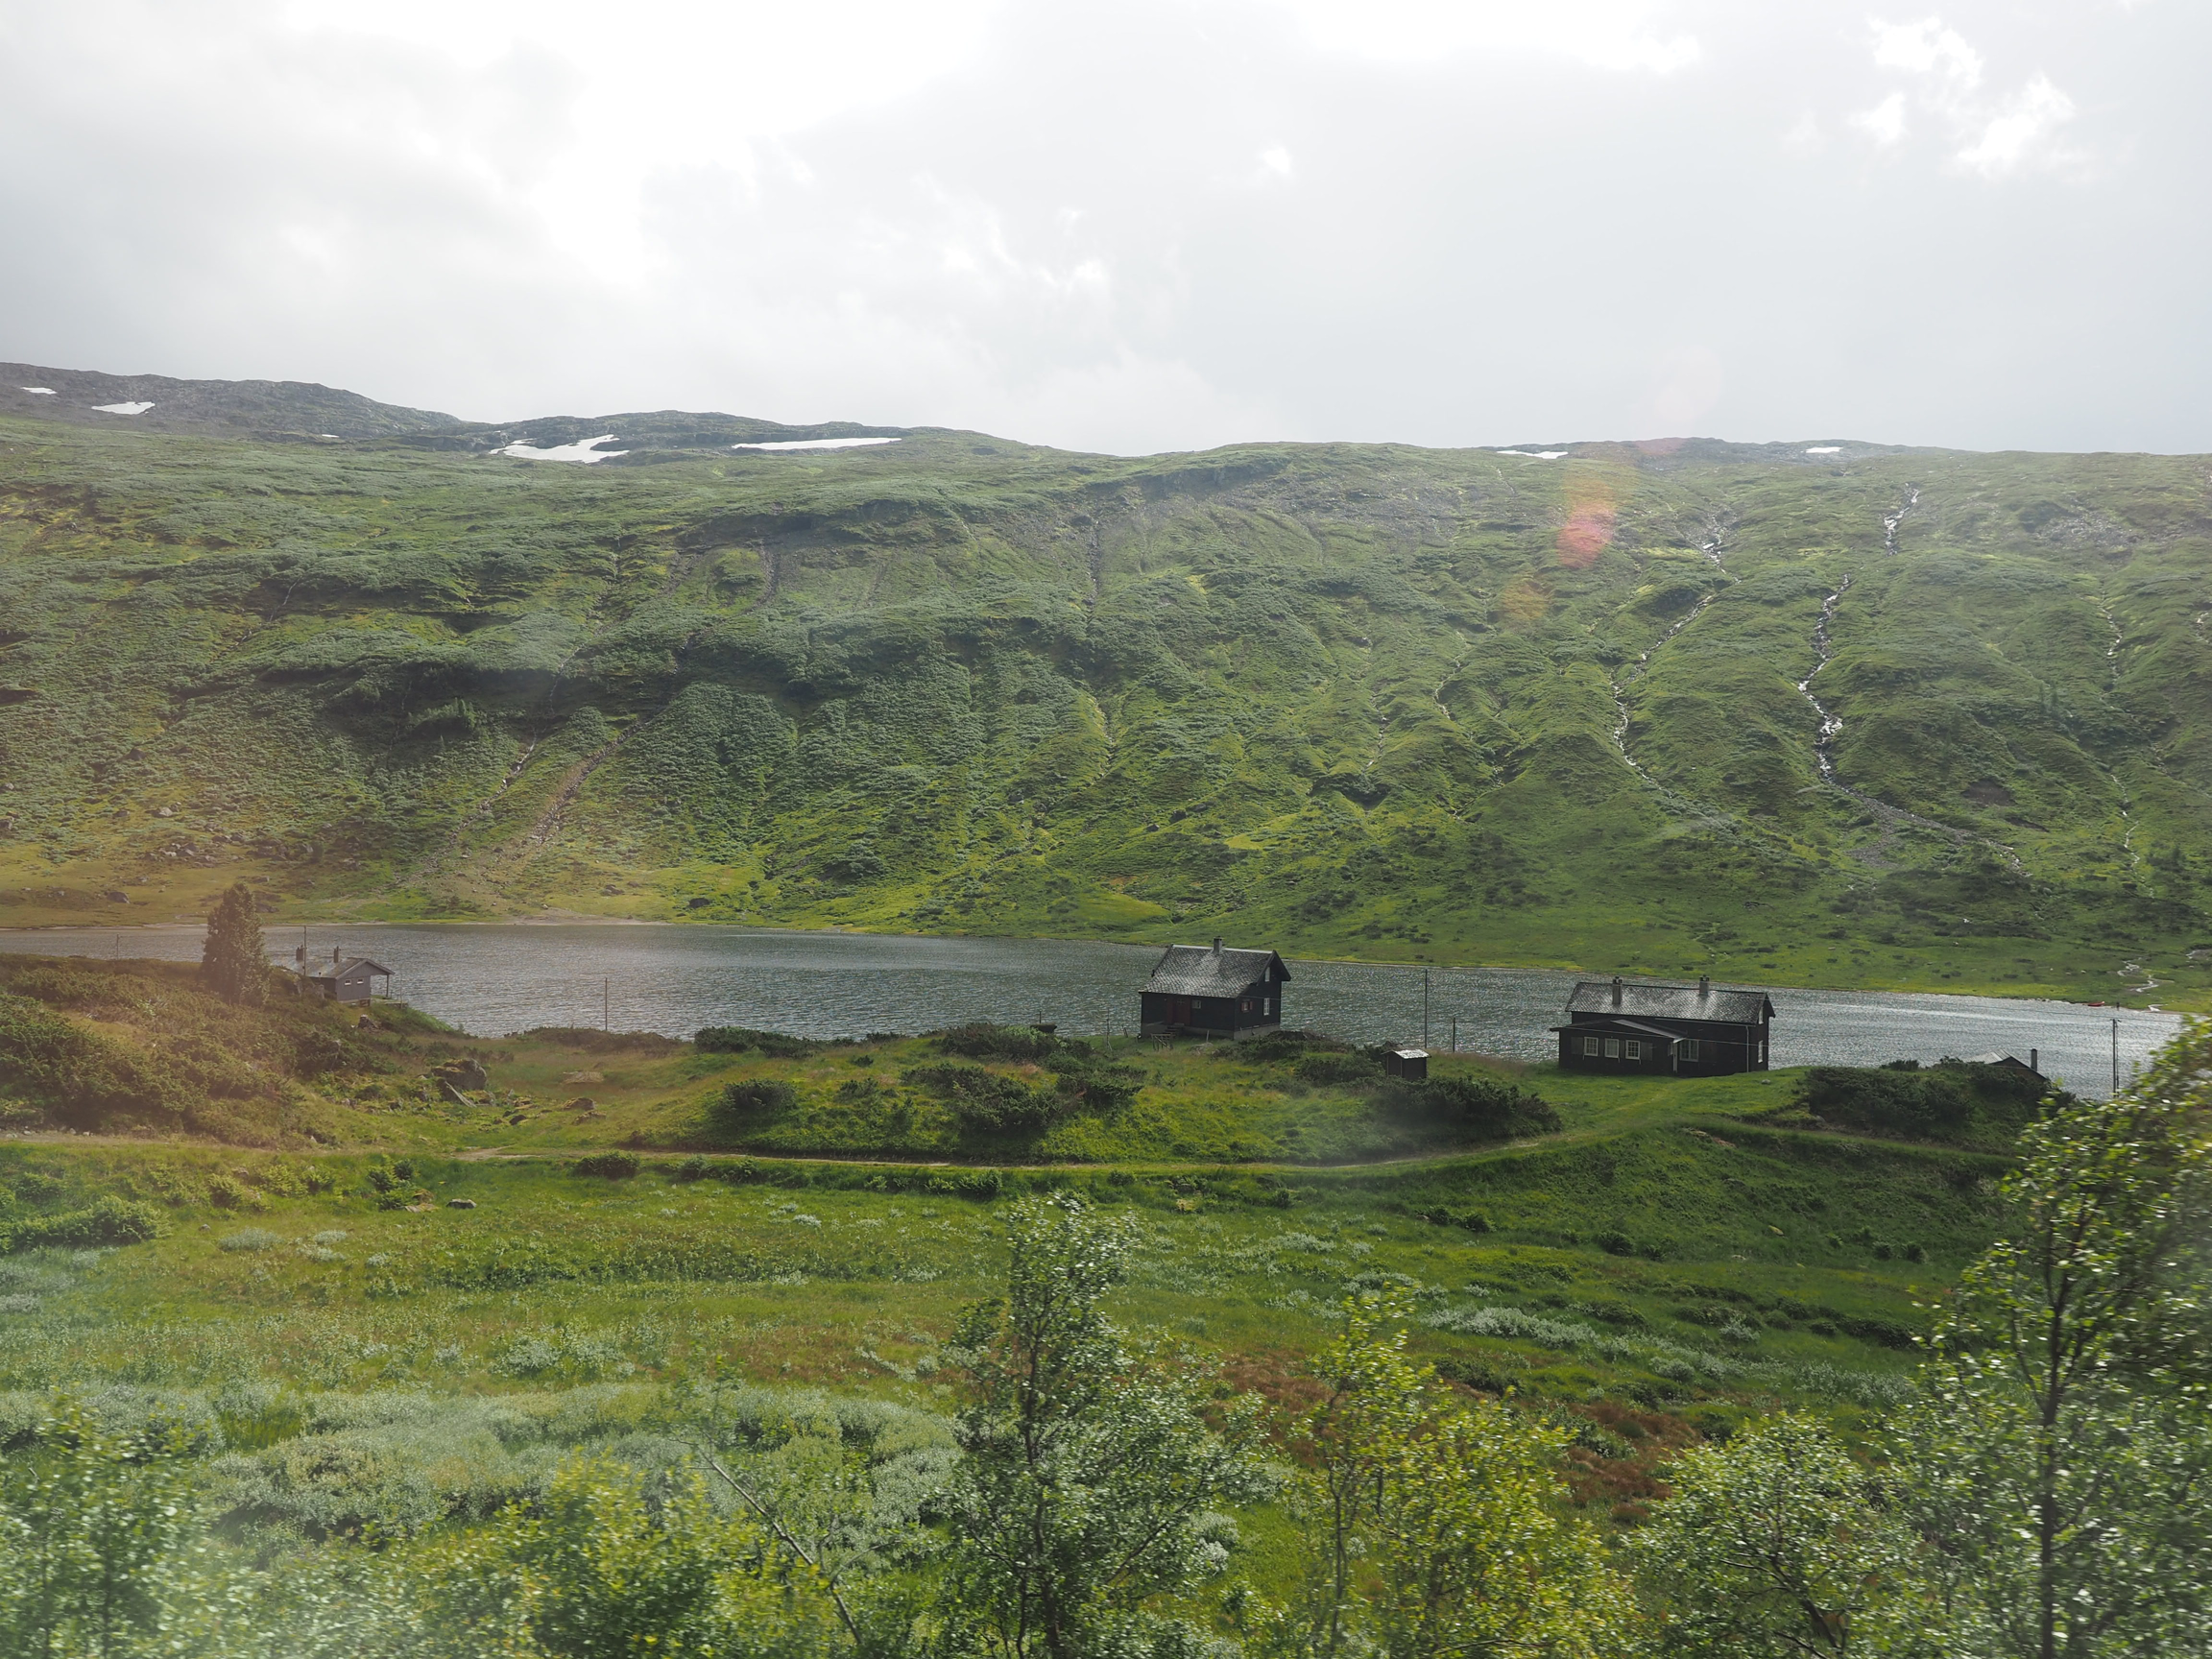
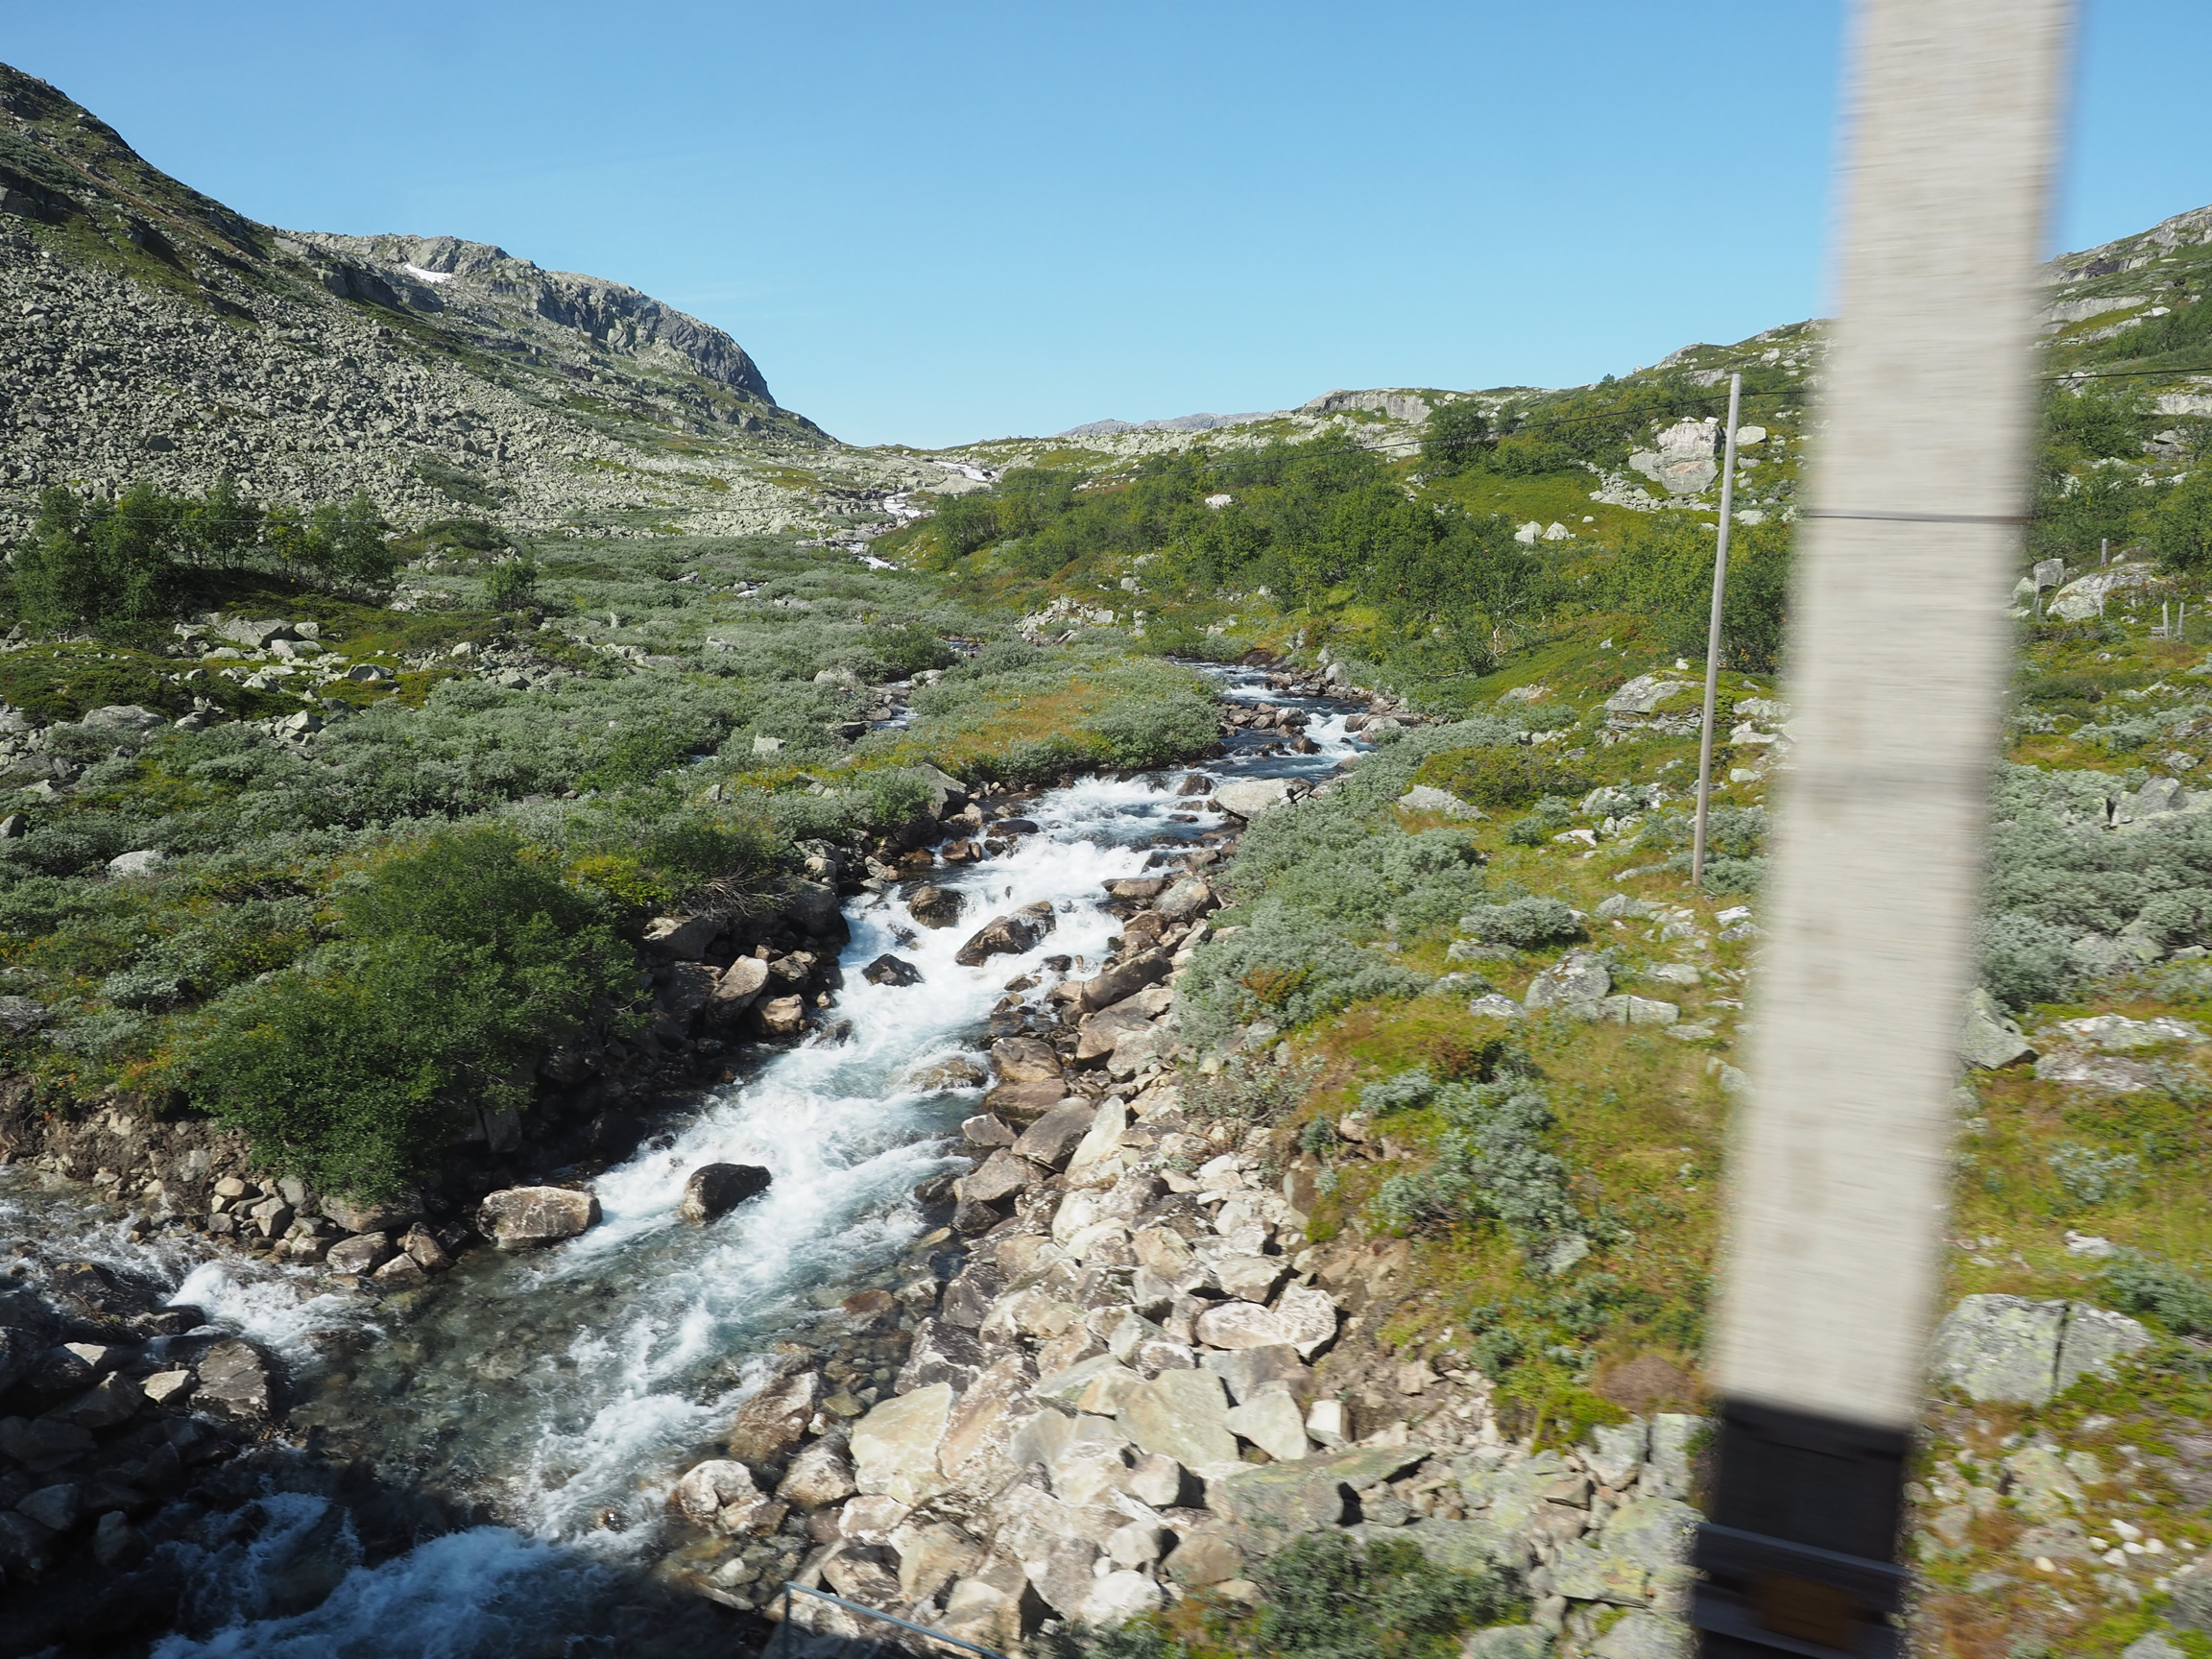
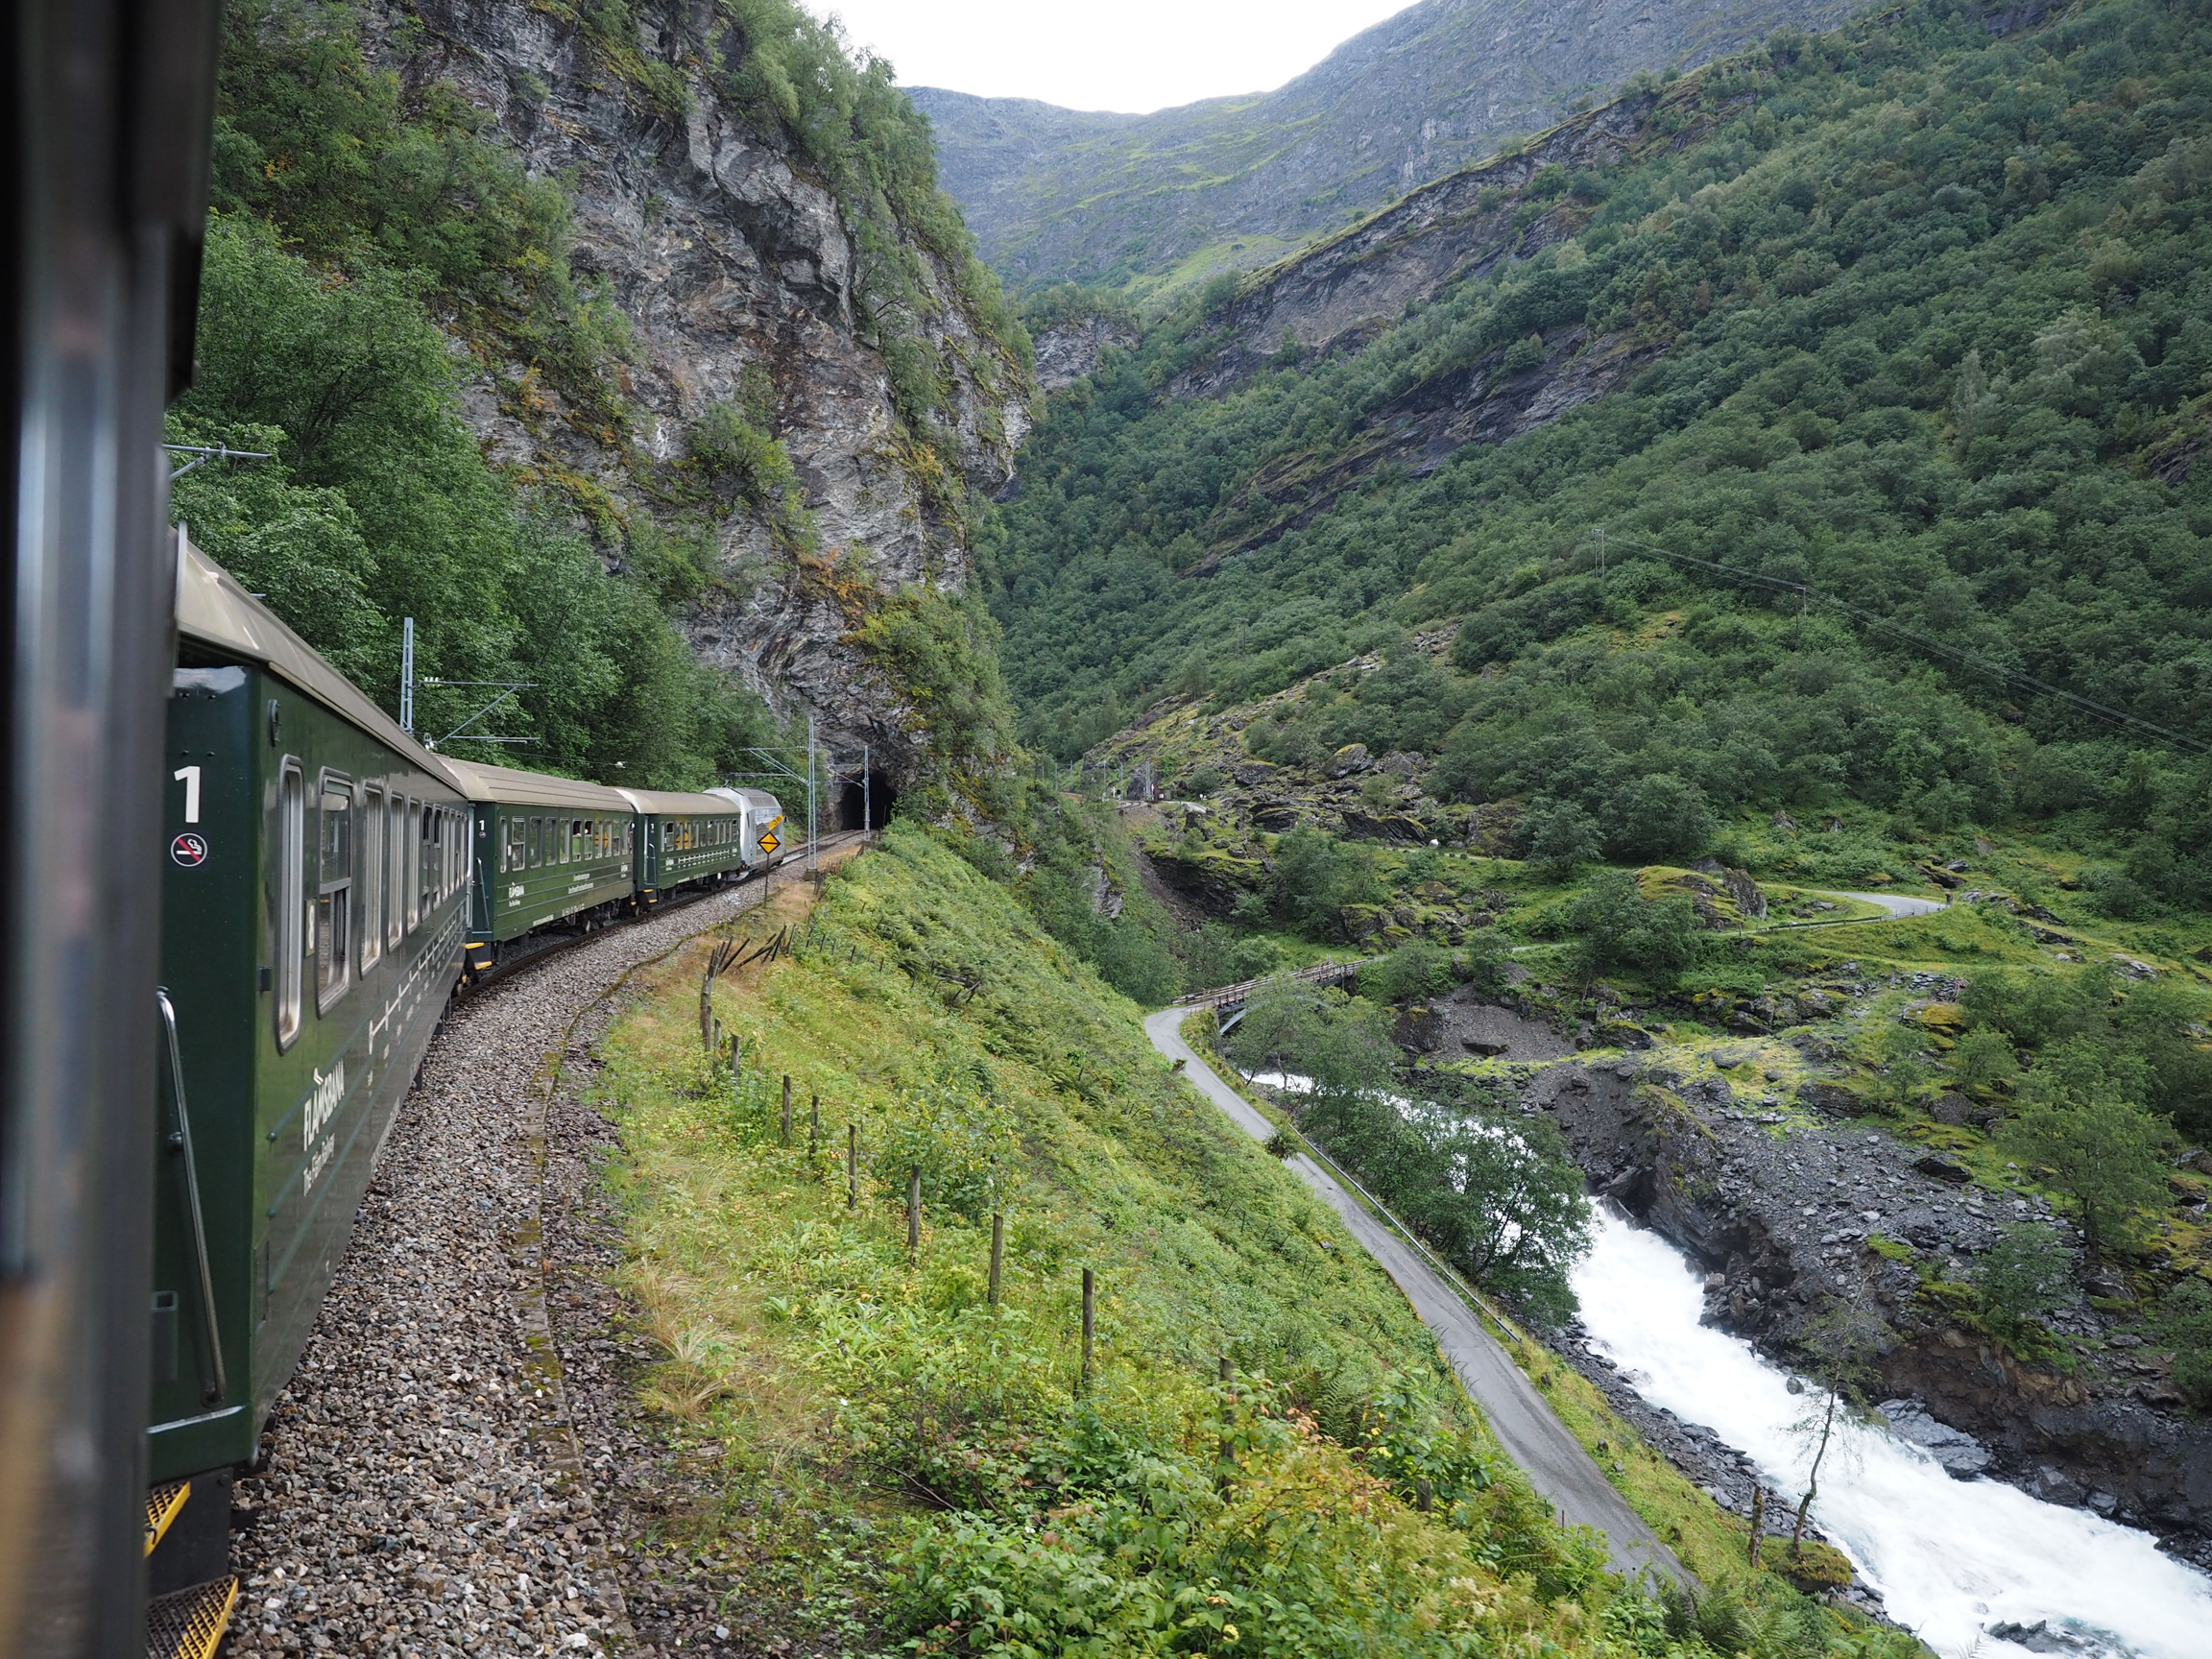
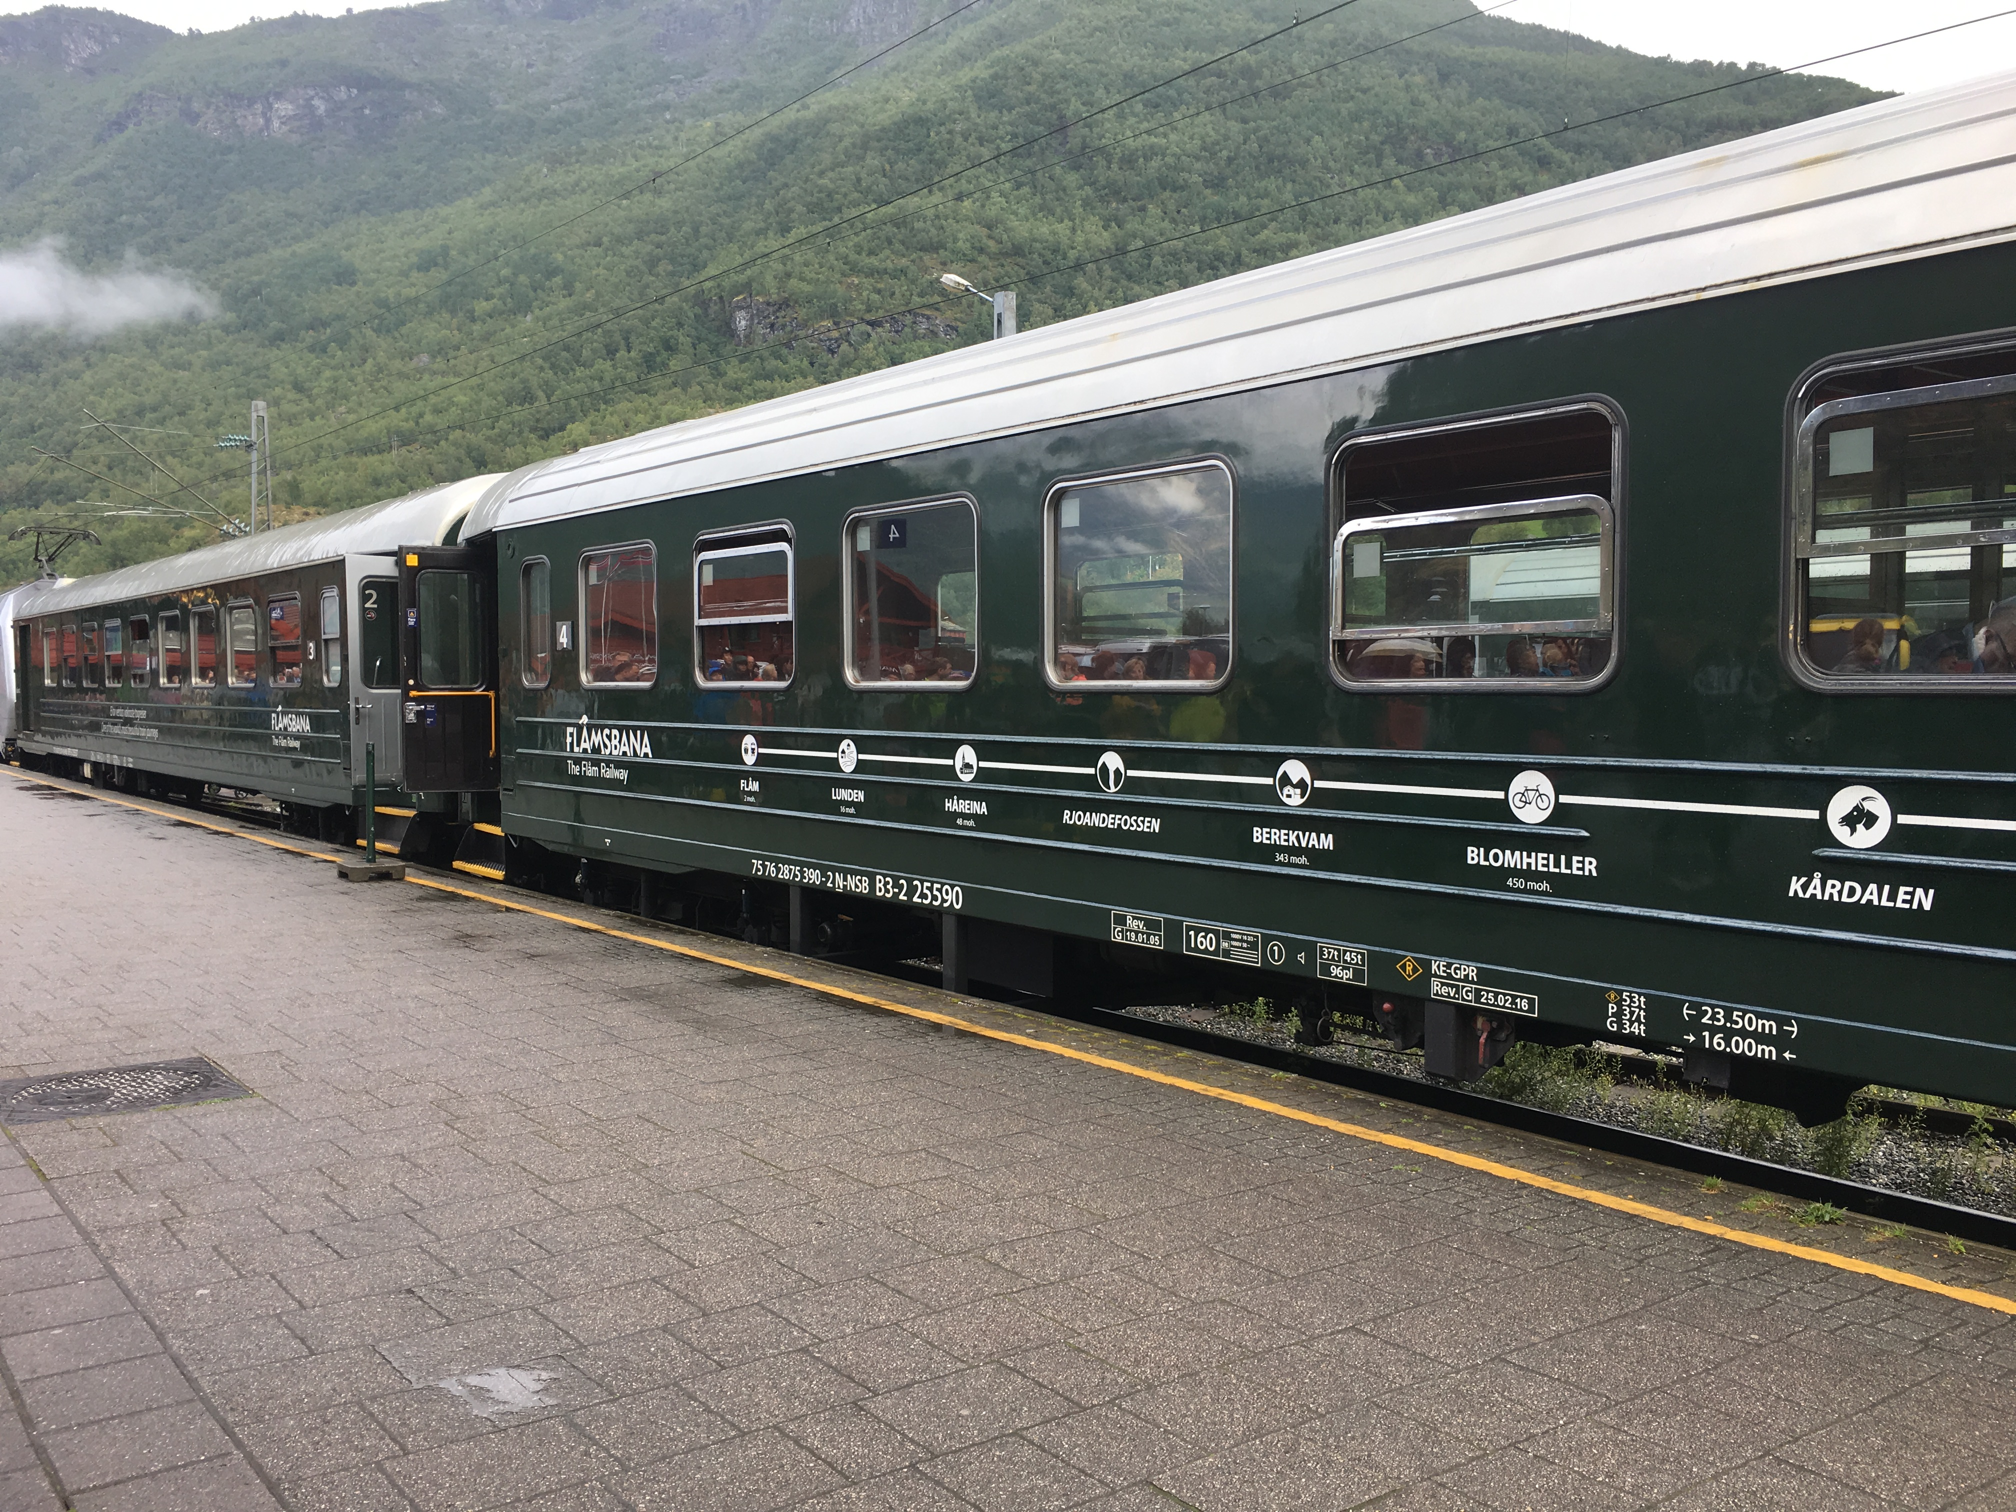
Train speed also plays a factor, both in the shutter speed settings, and timing shots. The Norwegian Flåm Railway which travels between Myrdal and Flåm is an extremely scenic journey (if you can ignore the hoards of tourists). The train journey takes about 60 minutes and travels at a leisurely 40kph along the 20.2 kilometres. Conversely the Bergen Line, all 493km from Oslo to Bergen, the train will travel an average of 70kph.
It is possible to successfully take pictures through glass on a moving vehicle. The caveat is of course that there has to be good scenes to take photos of. For most of the VIA rail trip from Toronto to Montreal, there isn’t a lot to see because the railway line sits level to the surrounding area, and passes through somewhat monotonous scenery (the train travels at 100kph). Some of the best photographs can actually be taken approaching Montreal, when the train slows down. Conversely, train trips like those in Norway offer a richness of photographic scenery. Just remember not to forget those who ride on the train as well.